Changing the Tone of an Image (My Colors)
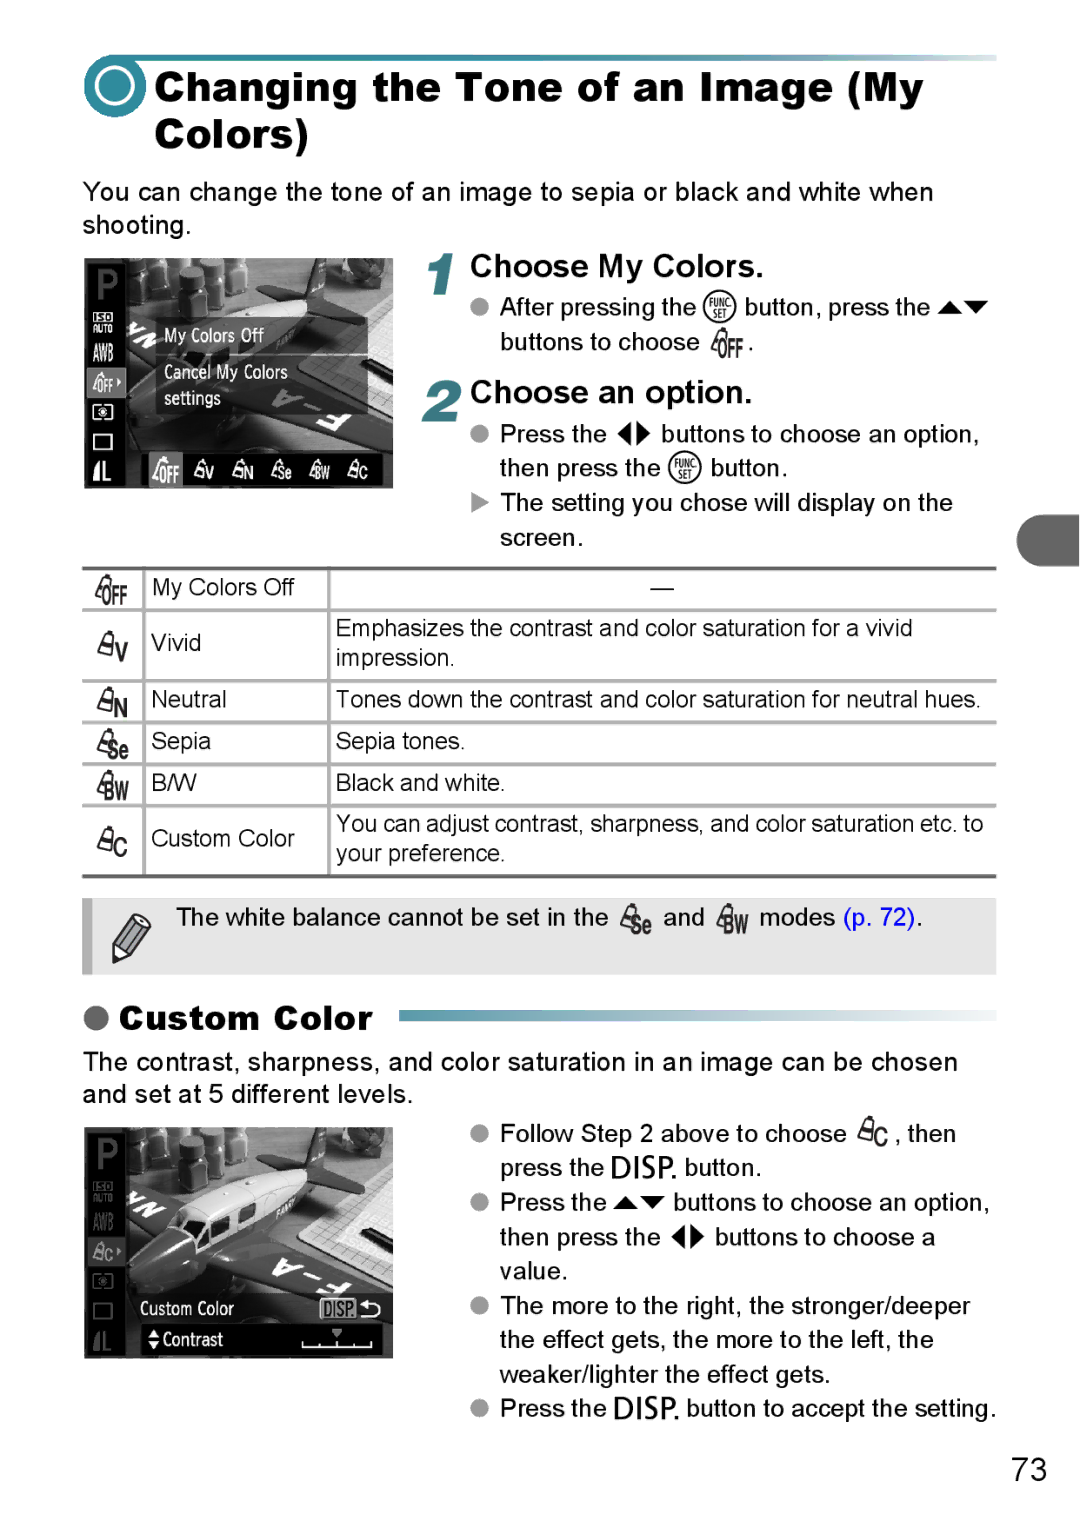
You can change the tone of an image to sepia or black and white when shooting.
|
| 1 Choose My Colors. | ||
|
| ● After pressing the mbutton, press the op | ||
|
| buttons to choose | . | |
|
| 2 Choose an option. | ||
|
| ● Press the qr buttons to choose an option, | ||
|
| then press the m button. | ||
|
| X The setting you chose will display on the | ||
|
| screen. |
|
|
|
|
|
|
|
| My Colors Off |
| — |
|
|
|
| ||
| Vivid | Emphasizes the contrast and color saturation for a vivid | ||
| impression. |
|
| |
|
|
|
| |
| Neutral | Tones down the contrast and color saturation for neutral hues. | ||
|
|
|
|
|
| Sepia | Sepia tones. |
|
|
|
|
|
|
|
| B/W | Black and white. |
|
|
|
|
| ||
| Custom Color | You can adjust contrast, sharpness, and color saturation etc. to | ||
| your preference. |
|
| |
|
|
|
| |
| The white balance cannot be set in the | and | modes (p. 72). | |
| ||||
|
|
|
|
|
●Custom Color
The contrast, sharpness, and color saturation in an image can be chosen and set at 5 different levels.
●Follow Step 2 above to choose ![]() , then press the l button.
, then press the l button.
●Press the op buttons to choose an option, then press the qr buttons to choose a value.
●The more to the right, the stronger/deeper the effect gets, the more to the left, the weaker/lighter the effect gets.
●Press the l button to accept the setting.
73