Operating Procedure
2
Normal Copying
30
Normal
Copying
Use the following procedure when making normal copies.
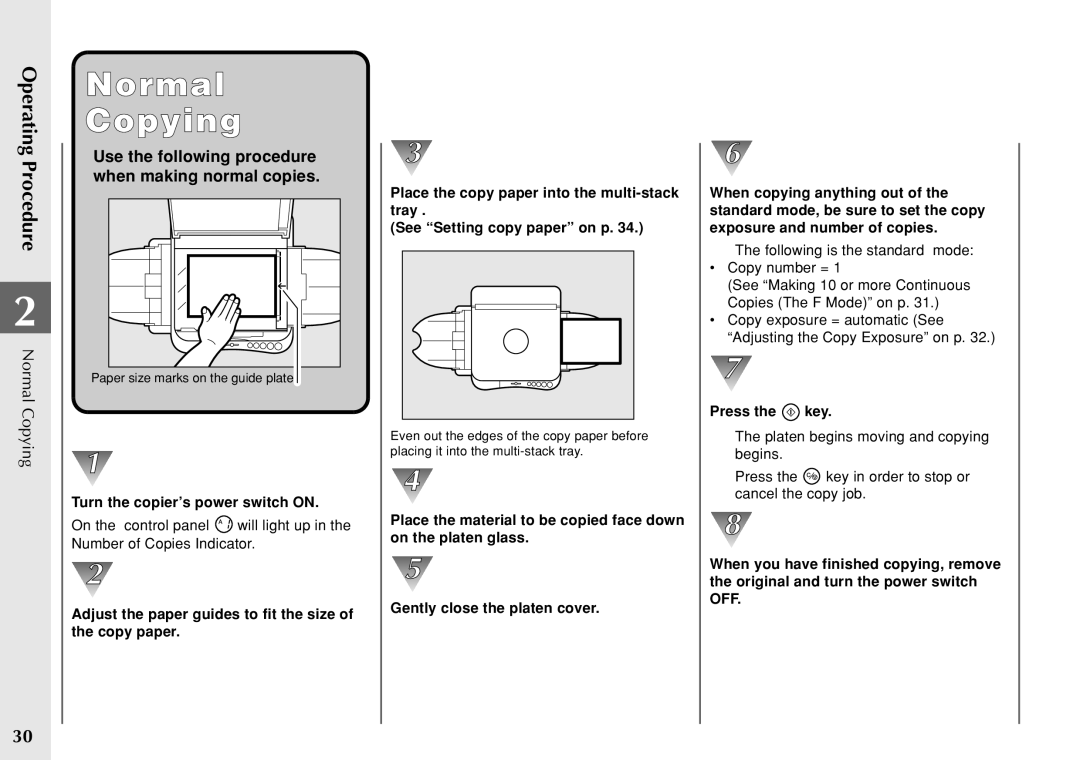
Paper size marks on the guide plate
Turn the copier’s power switch ON.
On the control panel ![]() will light up in the Number of Copies Indicator.
will light up in the Number of Copies Indicator.
Adjust the paper guides to fit the size of the copy paper.
Place the copy paper into the
(See “Setting copy paper” on p. 34.)
Even out the edges of the copy paper before placing it into the
Place the material to be copied face down on the platen glass.
Gently close the platen cover.
When copying anything out of the standard mode, be sure to set the copy exposure and number of copies.
The following is the standard mode:
•Copy number = 1
(See “Making 10 or more Continuous Copies (The F Mode)” on p. 31.)
•Copy exposure = automatic (See “Adjusting the Copy Exposure” on p. 32.)
Press the  key.
key.
The platen begins moving and copying begins.
Press the ![]() key in order to stop or cancel the copy job.
key in order to stop or cancel the copy job.
When you have finished copying, remove the original and turn the power switch OFF.
