Using the Control Panel
The control panel can be used to configure camera settings.
1. In the REC mode, use [8] [8] [2] [4] [6] and [2] to select the
setting you want to change.
This will select one of the control panel icons and display its settings.
[SET] Control dial
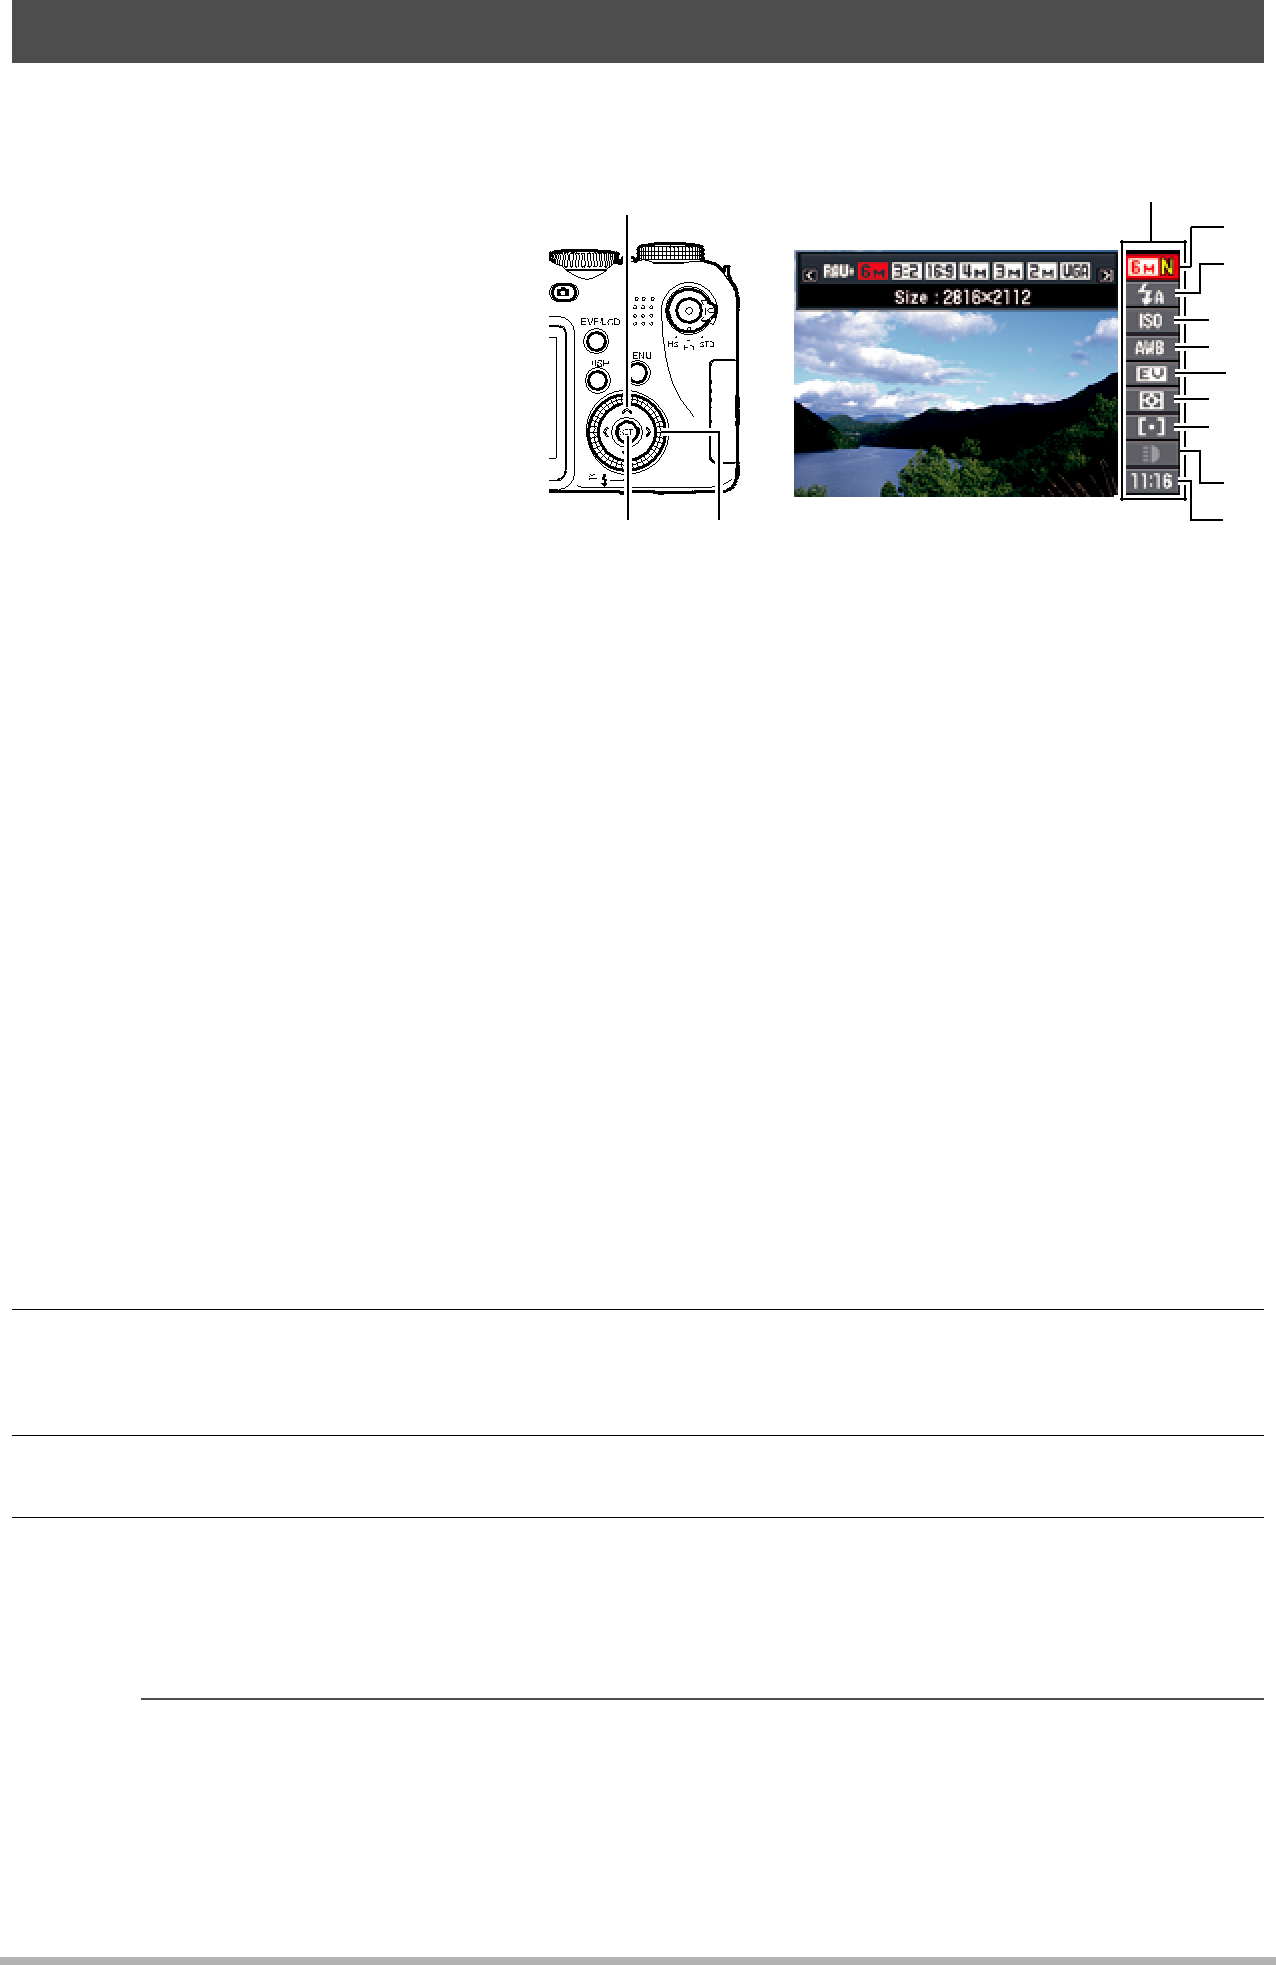
Control panel
1
2
 3
3
 4
4
5
 6
6
 7
7
8
9
1Image size/Quality* (pages 29, 87)
2Flash mode (page 31)
3ISO sensitivity (page 34)
4White balance (page 34)
5EV shift (page 36)
6Metering mode (page 37)
7AF area (page 37)
8REC light (Single Shot mode) (page 39)
Continuous shutter (CS) speed
Bracketing mode (Bracketing mode) (page 54) View speed (Slow Motion View mode) (page 53)
9Date/Time (page 39)
Prerecord (Still image) Time (Prerecord (Still image) mode) (page 50)
Flash continuous shutter (CS) images (Flash CS mode (with flash)) (page 49)
*Image quality cannot be changed using the control panel.
2.Use [4] and [6] to change the setting.
•You also can change this setting using the control dial.
3.If you want to configure another setting, repeat steps 1 and 2.
4.After all of the settings are the way you want, press [SET]. This will apply the settings and return to the REC mode.
 NOTE
NOTE
• You also can configure settings other than those listed above (page 77).
28 | Snapshot Tutorial |
|