2 / INSTALLING YOUR DISHWASHER
• DRAINING AWAY THE WASTE WATER
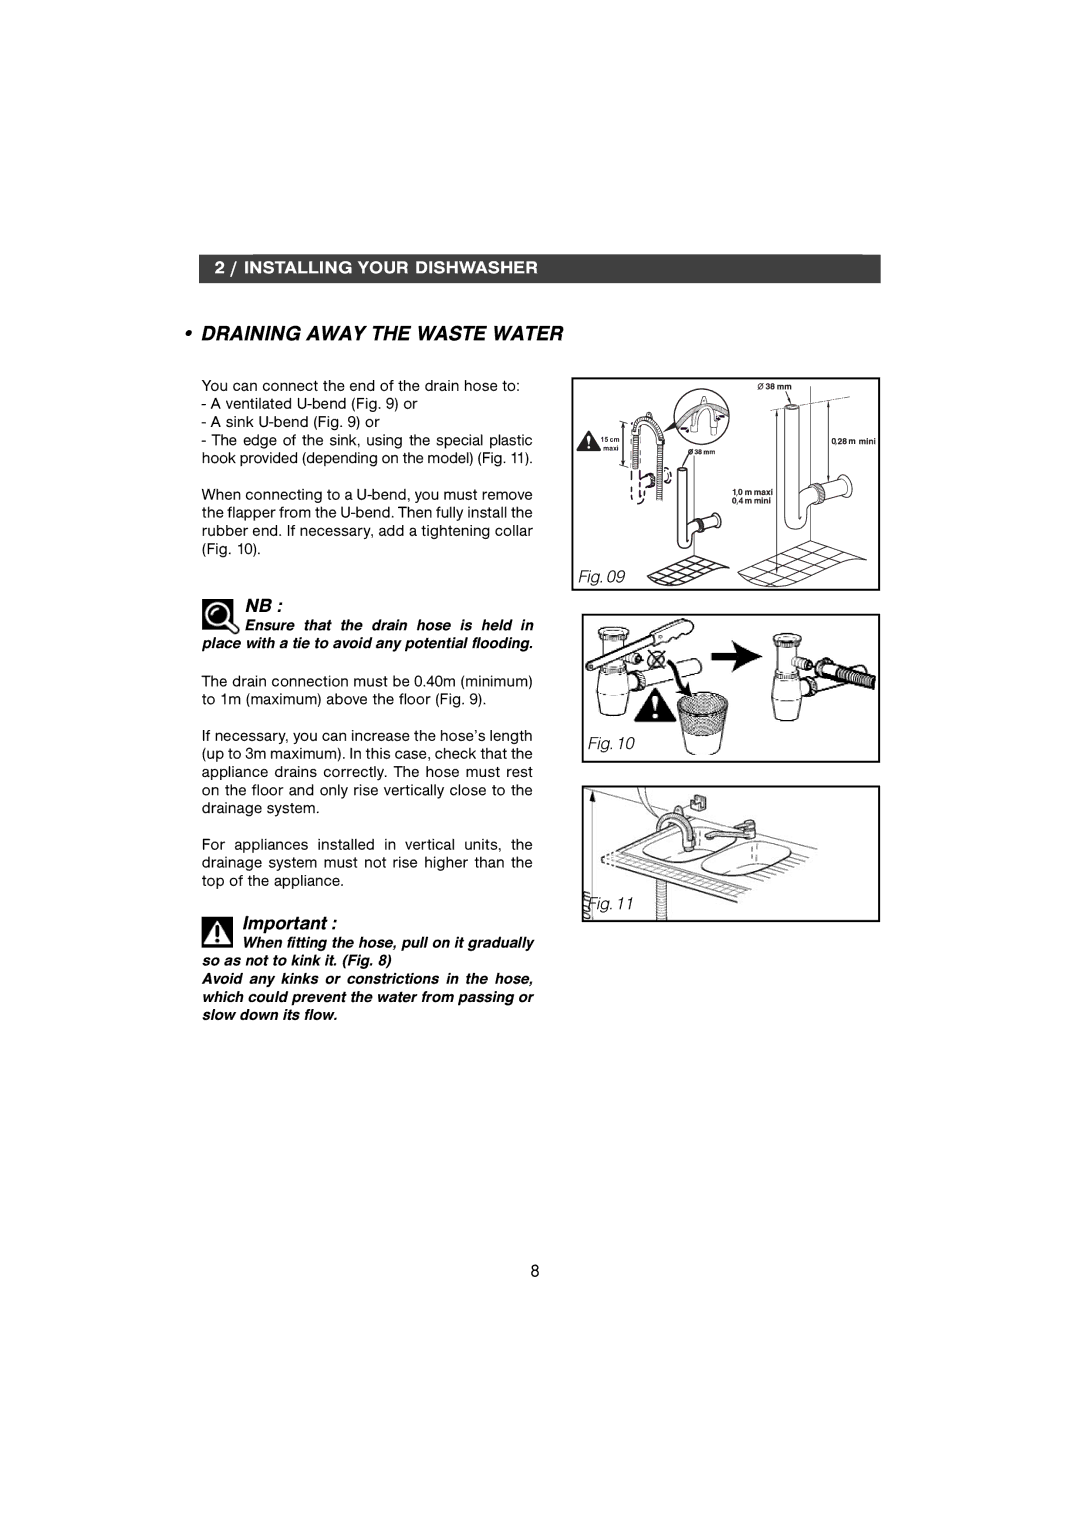
You can connect the end of the drain hose to:
-A ventilated
-A sink
-The edge of the sink, using the special plastic hook provided (depending on the model) (Fig. 11).
When connecting to a
15 cm | , |
maxi |
|
| , |
| ,4 |
Fig. 09 |
|
NB :
Ensure that the drain hose is held in place with a tie to avoid any potential flooding.
The drain connection must be 0.40m (minimum) to 1m (maximum) above the floor (Fig. 9).
If necessary, you can increase the hose’s length (up to 3m maximum). In this case, check that the appliance drains correctly. The hose must rest on the floor and only rise vertically close to the drainage system.
For appliances installed in vertical units, the drainage system must not rise higher than the top of the appliance.
Important :
When fitting the hose, pull on it gradually so as not to kink it. (Fig. 8)
Avoid any kinks or constrictions in the hose, which could prevent the water from passing or slow down its flow.
Fig. 10
Fig. 11
8