Chapter 1
Product Overview
Chapter 1:
Product Overview
Thank you for choosing the Linksys PrintServer for USB with
The PrintServer lets you connect a USB printer directly to your network, eliminating the need to dedicate a PC to print serving chores. In addition, the PrintServer includes a
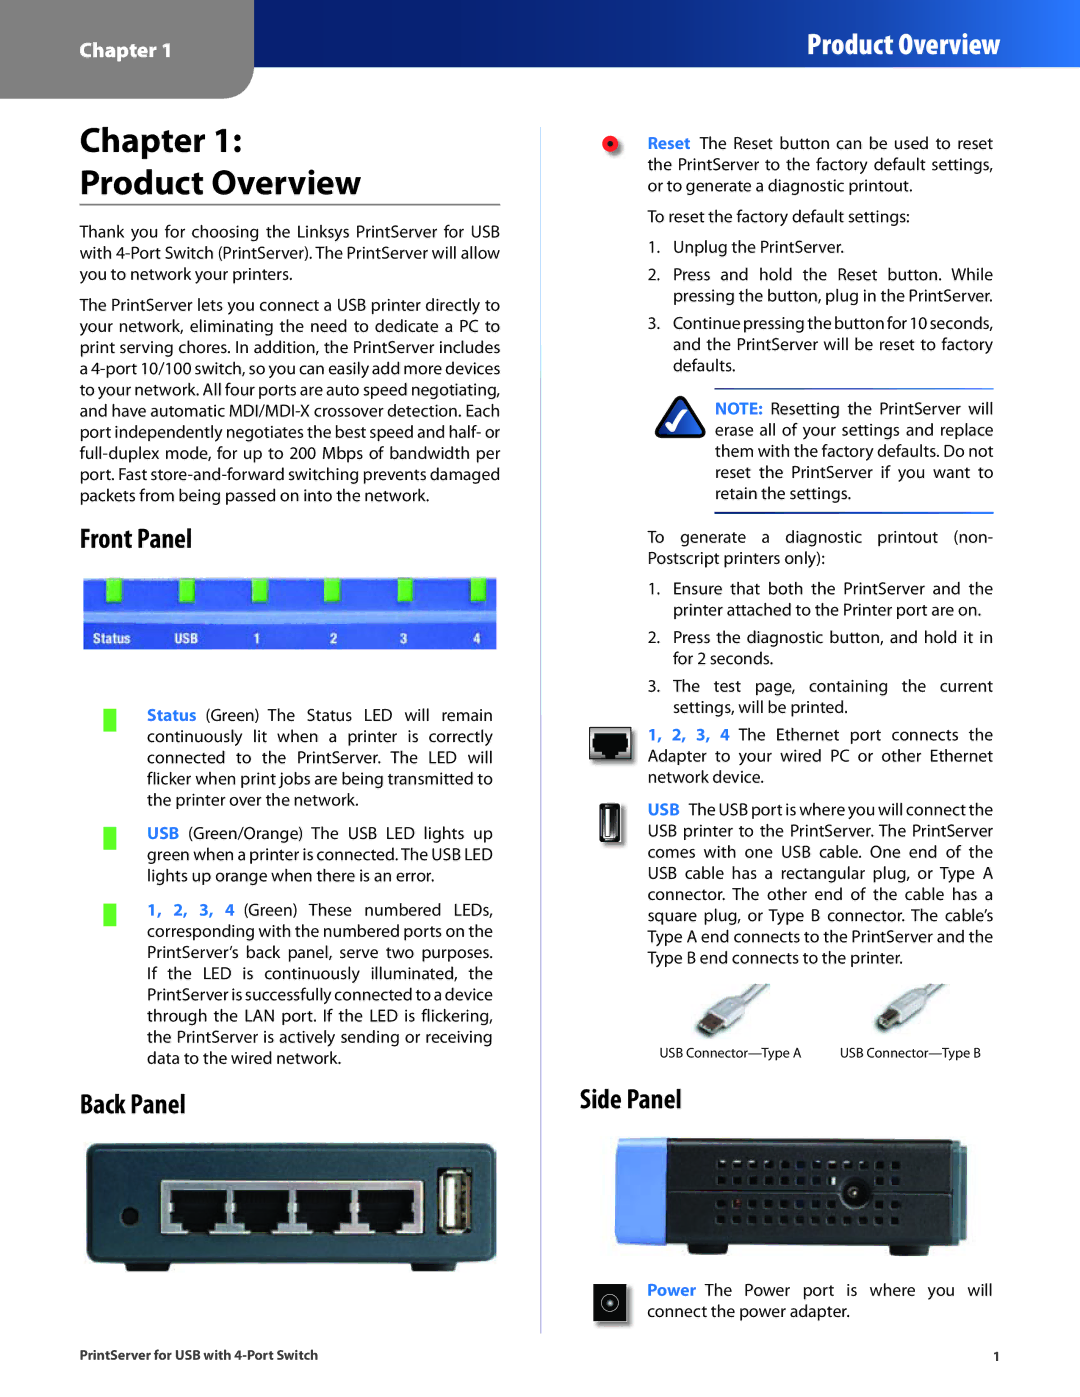
Front Panel
Status (Green) The Status LED will remain continuously lit when a printer is correctly connected to the PrintServer. The LED will flicker when print jobs are being transmitted to the printer over the network.
USB (Green/Orange) The USB LED lights up green when a printer is connected. The USB LED lights up orange when there is an error.
1, 2, 3, 4 (Green) These numbered LEDs, corresponding with the numbered ports on the PrintServer’s back panel, serve two purposes. If the LED is continuously illuminated, the PrintServer is successfully connected to a device through the LAN port. If the LED is flickering, the PrintServer is actively sending or receiving data to the wired network.
Back Panel
Reset The Reset button can be used to reset the PrintServer to the factory default settings, or to generate a diagnostic printout.
To reset the factory default settings:
1.Unplug the PrintServer.
2.Press and hold the Reset button. While pressing the button, plug in the PrintServer.
3.Continue pressing the button for 10 seconds, and the PrintServer will be reset to factory defaults.
NOTE: Resetting the PrintServer will erase all of your settings and replace them with the factory defaults. Do not reset the PrintServer if you want to retain the settings.
To generate a diagnostic printout (non- Postscript printers only):
1.Ensure that both the PrintServer and the printer attached to the Printer port are on.
2.Press the diagnostic button, and hold it in for 2 seconds.
3.The test page, containing the current settings, will be printed.
1, 2, 3, 4 The Ethernet port connects the Adapter to your wired PC or other Ethernet network device.
USB The USB port is where you will connect the USB printer to the PrintServer. The PrintServer comes with one USB cable. One end of the USB cable has a rectangular plug, or Type A connector. The other end of the cable has a square plug, or Type B connector. The cable’s Type A end connects to the PrintServer and the Type B end connects to the printer.
USB | USB |
Side Panel
Power The Power port is where you will connect the power adapter.
PrintServer for USB with | 1 |