Section 5.0 - Setting Up the SSP-60
The
Setup requires use of the supplied Classé remote control. You may use either the
To begin: be sure the
Pressing the MENU key on the remote accesses the main menu. The /\ and \/ keys (above and below the ENTER key) scroll through the main menus and the
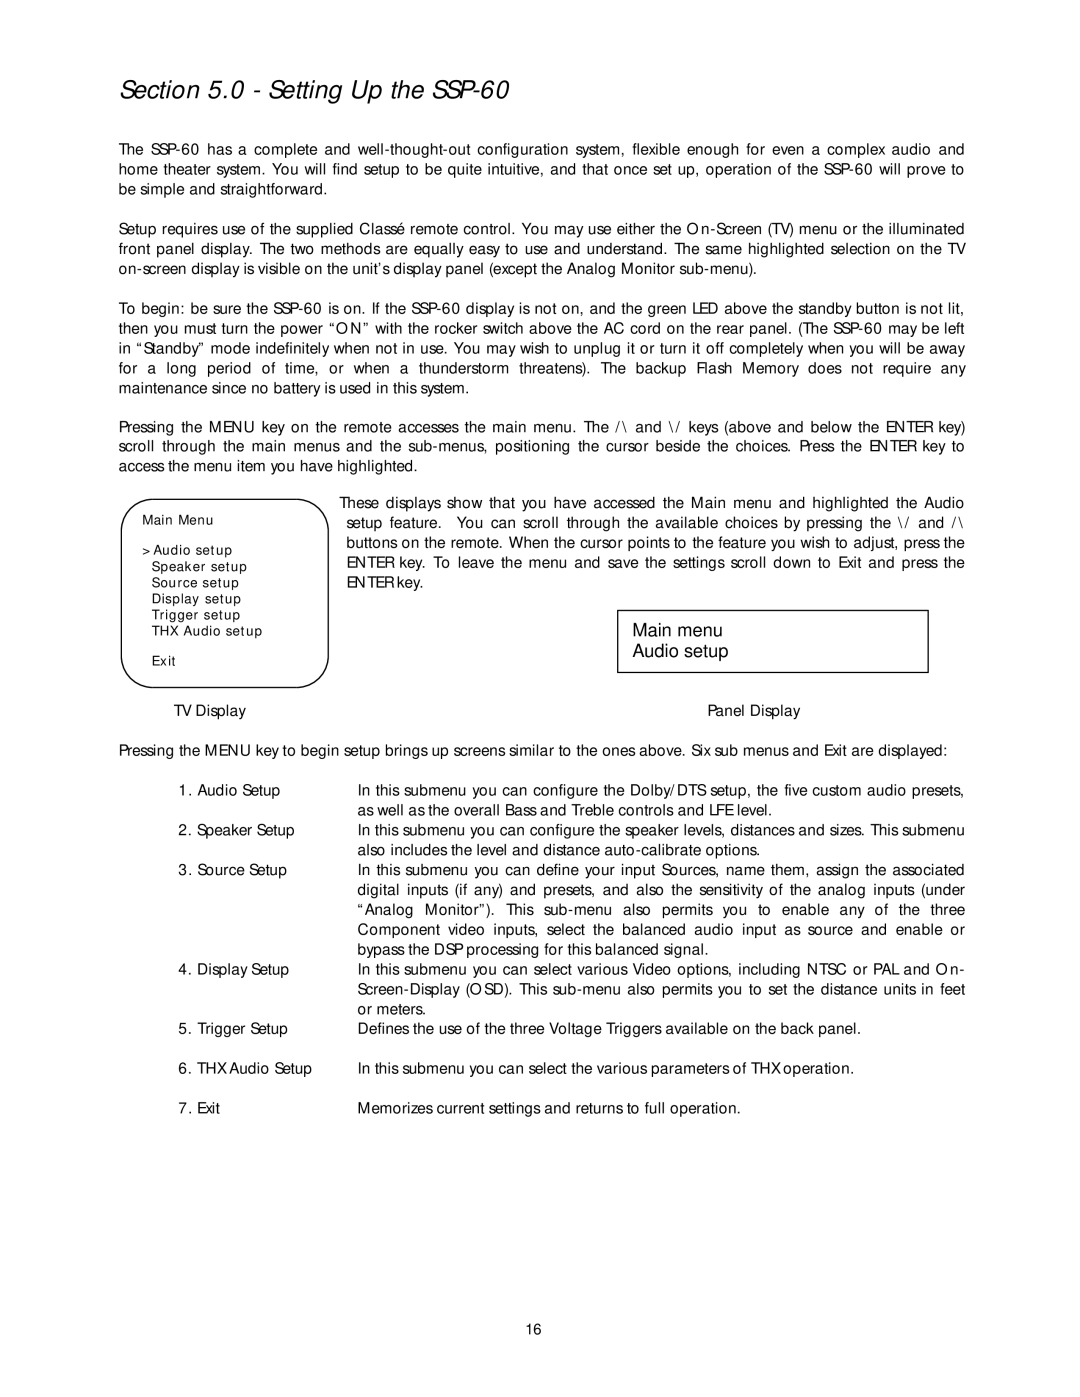
Main Menu
>Audio setup Speaker setup Source setup Display setup Trigger setup THX Audio setup
Exit
These displays show that you have accessed the Main menu and highlighted the Audio setup feature. You can scroll through the available choices by pressing the \/ and /\ buttons on the remote. When the cursor points to the feature you wish to adjust, press the ENTER key. To leave the menu and save the settings scroll down to Exit and press the ENTER key.
Main menu
Audio setup
TV Display | Panel Display |
Pressing the MENU key to begin setup brings up screens similar to the ones above. Six sub menus and Exit are displayed:
1. | Audio Setup | In this submenu you can configure the Dolby/DTS setup, the five custom audio presets, |
|
| as well as the overall Bass and Treble controls and LFE level. |
2. | Speaker Setup | In this submenu you can configure the speaker levels, distances and sizes. This submenu |
|
| also includes the level and distance |
3. | Source Setup | In this submenu you can define your input Sources, name them, assign the associated |
|
| digital inputs (if any) and presets, and also the sensitivity of the analog inputs (under |
|
| “Analog Monitor”). This |
|
| Component video inputs, select the balanced audio input as source and enable or |
|
| bypass the DSP processing for this balanced signal. |
4. | Display Setup | In this submenu you can select various Video options, including NTSC or PAL and On- |
|
| |
|
| or meters. |
5. | Trigger Setup | Defines the use of the three Voltage Triggers available on the back panel. |
6. | THX Audio Setup | In this submenu you can select the various parameters of THX operation. |
7. Exit | Memorizes current settings and returns to full operation. | |
16