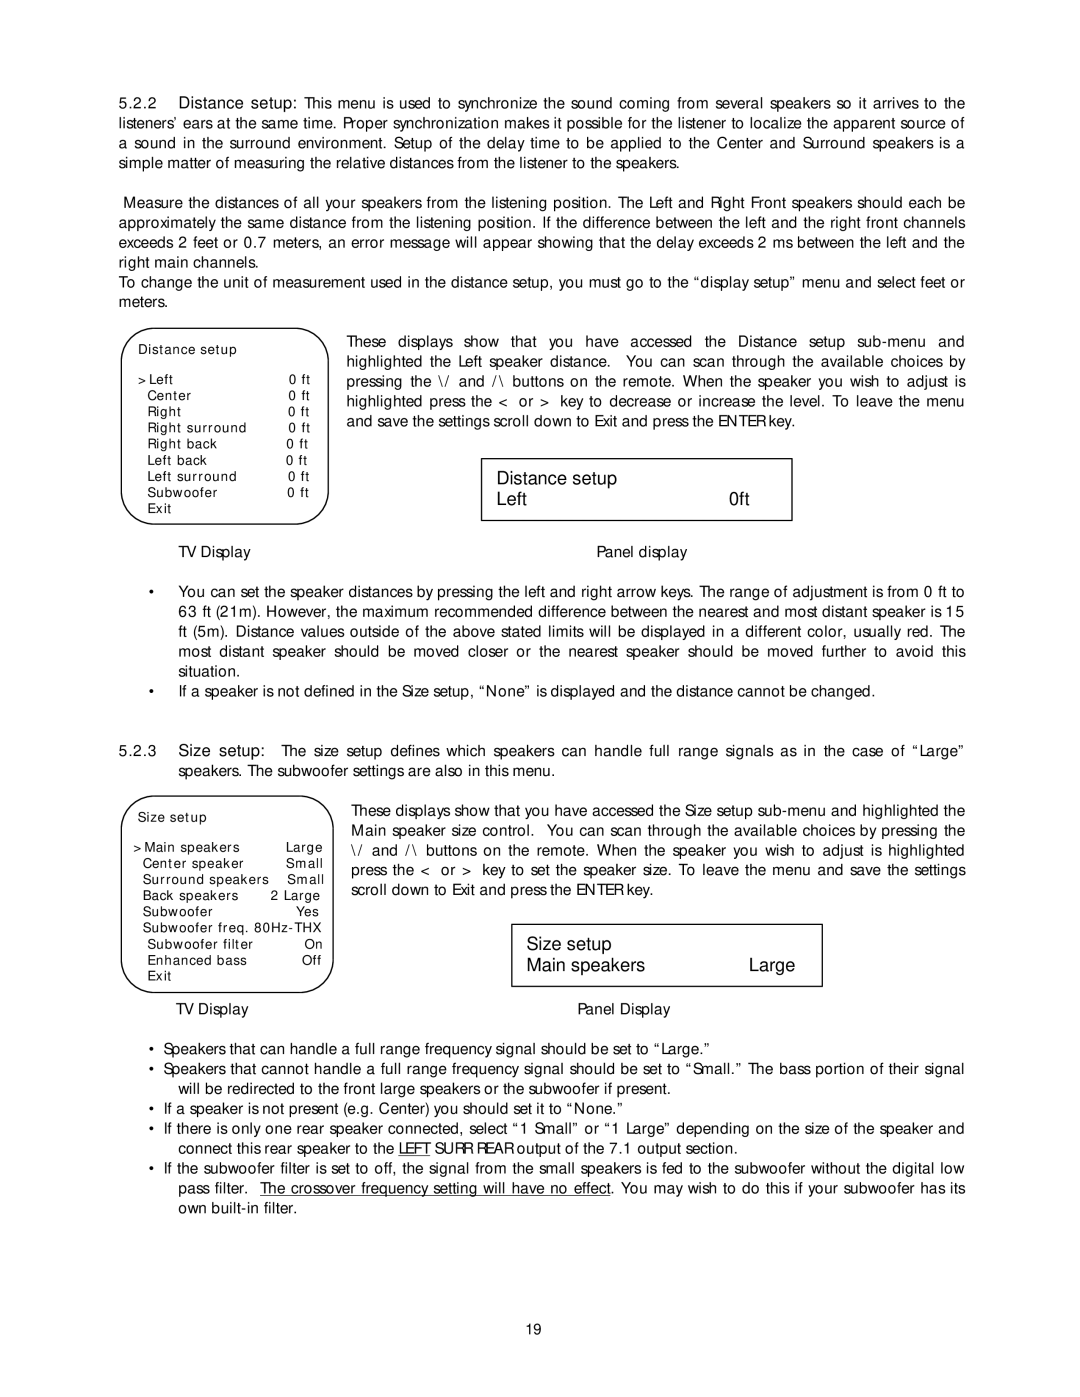
5.2.2Distance setup: This menu is used to synchronize the sound coming from several speakers so it arrives to the listeners’ ears at the same time. Proper synchronization makes it possible for the listener to localize the apparent source of a sound in the surround environment. Setup of the delay time to be applied to the Center and Surround speakers is a simple matter of measuring the relative distances from the listener to the speakers.
Measure the distances of all your speakers from the listening position. The Left and Right Front speakers should each be approximately the same distance from the listening position. If the difference between the left and the right front channels exceeds 2 feet or 0.7 meters, an error message will appear showing that the delay exceeds 2 ms between the left and the right main channels.
To change the unit of measurement used in the distance setup, you must go to the “display setup” menu and select feet or meters.
Distance setup |
|
>Left | 0 ft |
Center | 0 ft |
Right | 0 ft |
Right surround | 0 ft |
Right back | 0 ft |
Left back | 0 ft |
Left surround | 0 ft |
Subwoofer | 0 ft |
Exit |
|
These displays show that you have accessed the Distance setup
Distance setup |
|
Left | 0ft |
TV Display | Panel display |
•You can set the speaker distances by pressing the left and right arrow keys. The range of adjustment is from 0 ft to 63 ft (21m). However, the maximum recommended difference between the nearest and most distant speaker is 15 ft (5m). Distance values outside of the above stated limits will be displayed in a different color, usually red. The most distant speaker should be moved closer or the nearest speaker should be moved further to avoid this situation.
•If a speaker is not defined in the Size setup, “None” is displayed and the distance cannot be changed.
5.2.3Size setup: The size setup defines which speakers can handle full range signals as in the case of “Large” speakers. The subwoofer settings are also in this menu.
Size setup |
|
>Main speakers | Large |
Center speaker | Small |
Surround speakers | Small |
Back speakers | 2 Large |
Subwoofer | Yes |
Subwoofer freq. | |
Subwoofer filter | On |
Enhanced bass | Off |
Exit |
|
TV Display
These displays show that you have accessed the Size setup
Size setup |
|
Main speakers | Large |
|
|
Panel Display |
|
•Speakers that can handle a full range frequency signal should be set to “Large.”
•Speakers that cannot handle a full range frequency signal should be set to “Small.” The bass portion of their signal will be redirected to the front large speakers or the subwoofer if present.
•If a speaker is not present (e.g. Center) you should set it to “None.”
•If there is only one rear speaker connected, select “1 Small” or “1 Large” depending on the size of the speaker and connect this rear speaker to the LEFT SURR REAR output of the 7.1 output section.
•If the subwoofer filter is set to off, the signal from the small speakers is fed to the subwoofer without the digital low pass filter. The crossover frequency setting will have no effect. You may wish to do this if your subwoofer has its own
19