Section 3.0 - Front Panel Controls
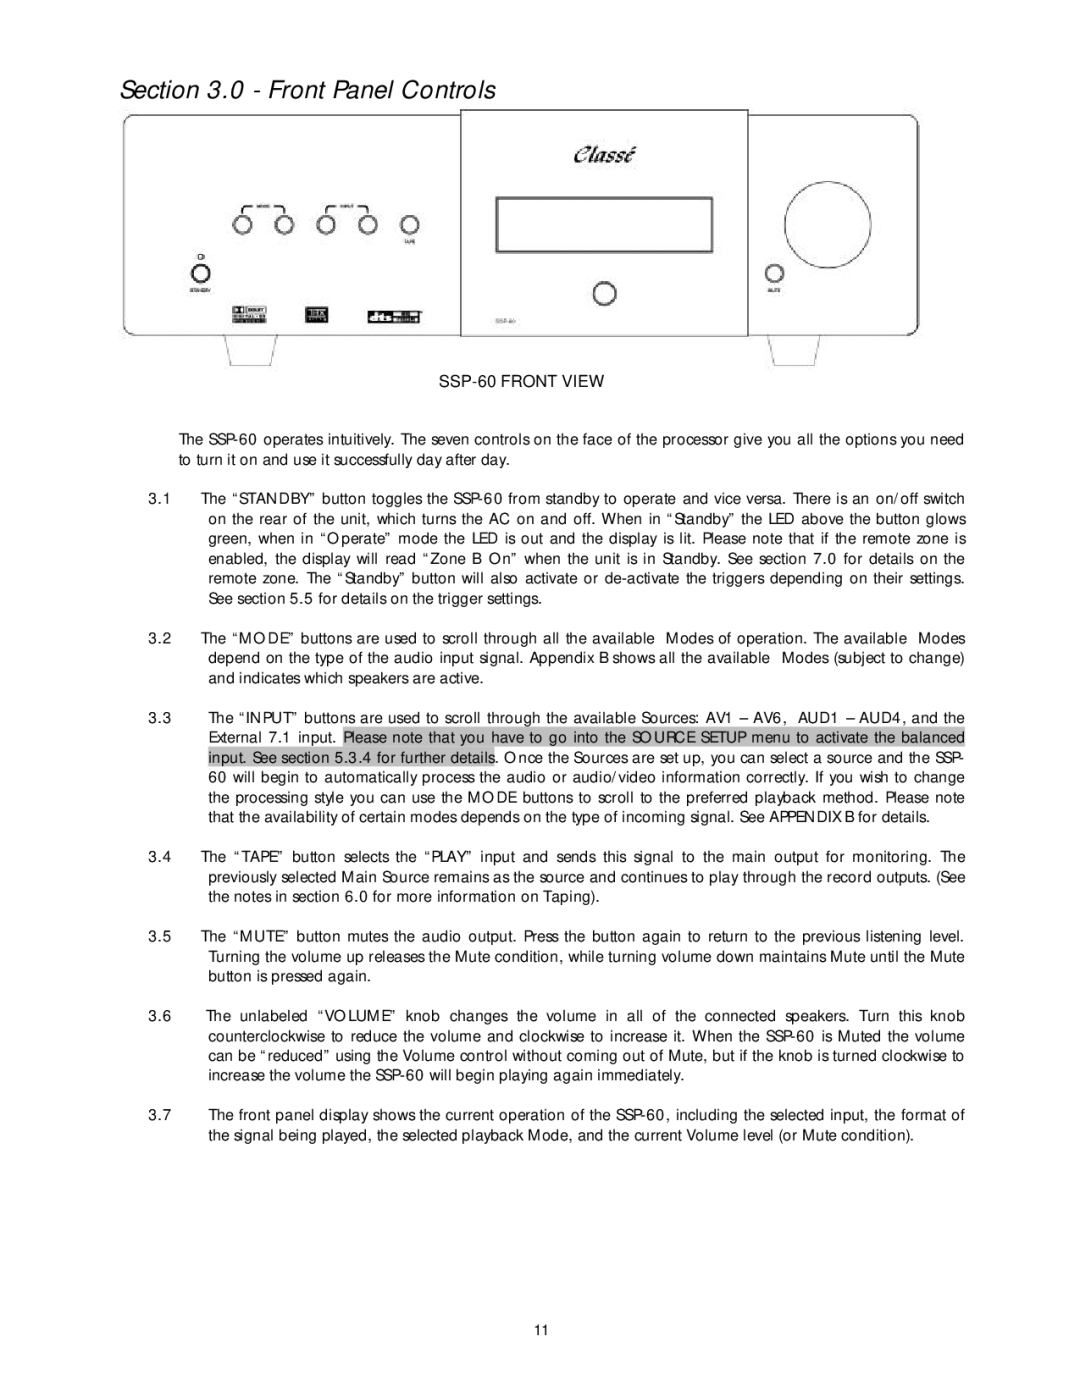
SSP-60 FRONT VIEW
The
3.1The “STANDBY” button toggles the
3.2The “MODE” buttons are used to scroll through all the available Modes of operation. The available Modes depend on the type of the audio input signal. Appendix B shows all the available Modes (subject to change) and indicates which speakers are active.
3.3The “INPUT” buttons are used to scroll through the available Sources: AV1 – AV6, AUD1 – AUD4, and the External 7.1 input. Please note that you have to go into the SOURCE SETUP menu to activate the balanced input. See section 5.3.4 for further details. Once the Sources are set up, you can select a source and the SSP- 60 will begin to automatically process the audio or audio/video information correctly. If you wish to change the processing style you can use the MODE buttons to scroll to the preferred playback method. Please note that the availability of certain modes depends on the type of incoming signal. See APPENDIX B for details.
3.4The “TAPE” button selects the “PLAY” input and sends this signal to the main output for monitoring. The previously selected Main Source remains as the source and continues to play through the record outputs. (See the notes in section 6.0 for more information on Taping).
3.5The “MUTE” button mutes the audio output. Press the button again to return to the previous listening level. Turning the volume up releases the Mute condition, while turning volume down maintains Mute until the Mute button is pressed again.
3.6The unlabeled “VOLUME” knob changes the volume in all of the connected speakers. Turn this knob counterclockwise to reduce the volume and clockwise to increase it. When the
3.7The front panel display shows the current operation of the
11