Installation | Batteries and Charger |
Fully Charged | Maintaining the Battery Charge |
Getting Started
Operating Your Radio
Getting Started
•
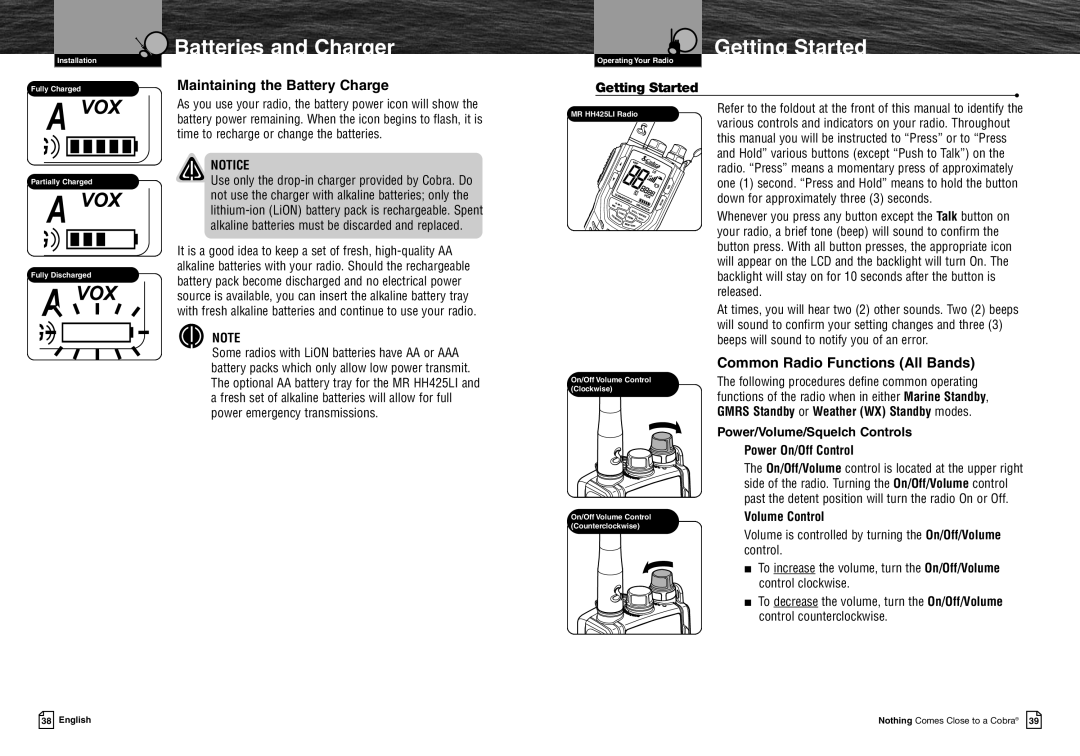
As you use your radio, the battery power icon will show the battery power remaining. When the icon begins to flash, it is time to recharge or change the batteries.
MR HH425LI Radio
Refer to the foldout at the front of this manual to identify the various controls and indicators on your radio. Throughout this manual you will be instructed to “Press” or to “Press and Hold” various buttons (except “Push to Talk”) on the
Partially Charged
Fully Discharged
NOTICE
Use only the
It is a good idea to keep a set of fresh,
NOTE
radio. “Press” means a momentary press of approximately one (1) second. “Press and Hold” means to hold the button down for approximately three (3) seconds.
Whenever you press any button except the Talk button on your radio, a brief tone (beep) will sound to confirm the button press. With all button presses, the appropriate icon will appear on the LCD and the backlight will turn On. The backlight will stay on for 10 seconds after the button is released.
At times, you will hear two (2) other sounds. Two (2) beeps will sound to confirm your setting changes and three (3) beeps will sound to notify you of an error.
Some radios with LiON batteries have AA or AAA battery packs which only allow low power transmit. The optional AA battery tray for the MR HH425LI and a fresh set of alkaline batteries will allow for full power emergency transmissions.
On/Off Volume Control (Clockwise)
On/Off Volume Control (Counterclockwise)
Common Radio Functions (All Bands)
The following procedures define common operating functions of the radio when in either Marine Standby, GMRS Standby or Weather (WX) Standby modes.
Power/Volume/Squelch Controls
Power On/Off Control
The On/Off/Volume control is located at the upper right side of the radio. Turning the On/Off/Volume control past the detent position will turn the radio On or Off.
Volume Control
Volume is controlled by turning the On/Off/Volume control.
■To increase the volume, turn the On/Off/Volume control clockwise.
■To decrease the volume, turn the On/Off/Volume control counterclockwise.
|
|
|
|
38 English | Nothing Comes Close to a Cobra® 39 | ||
