GETTING STARTED
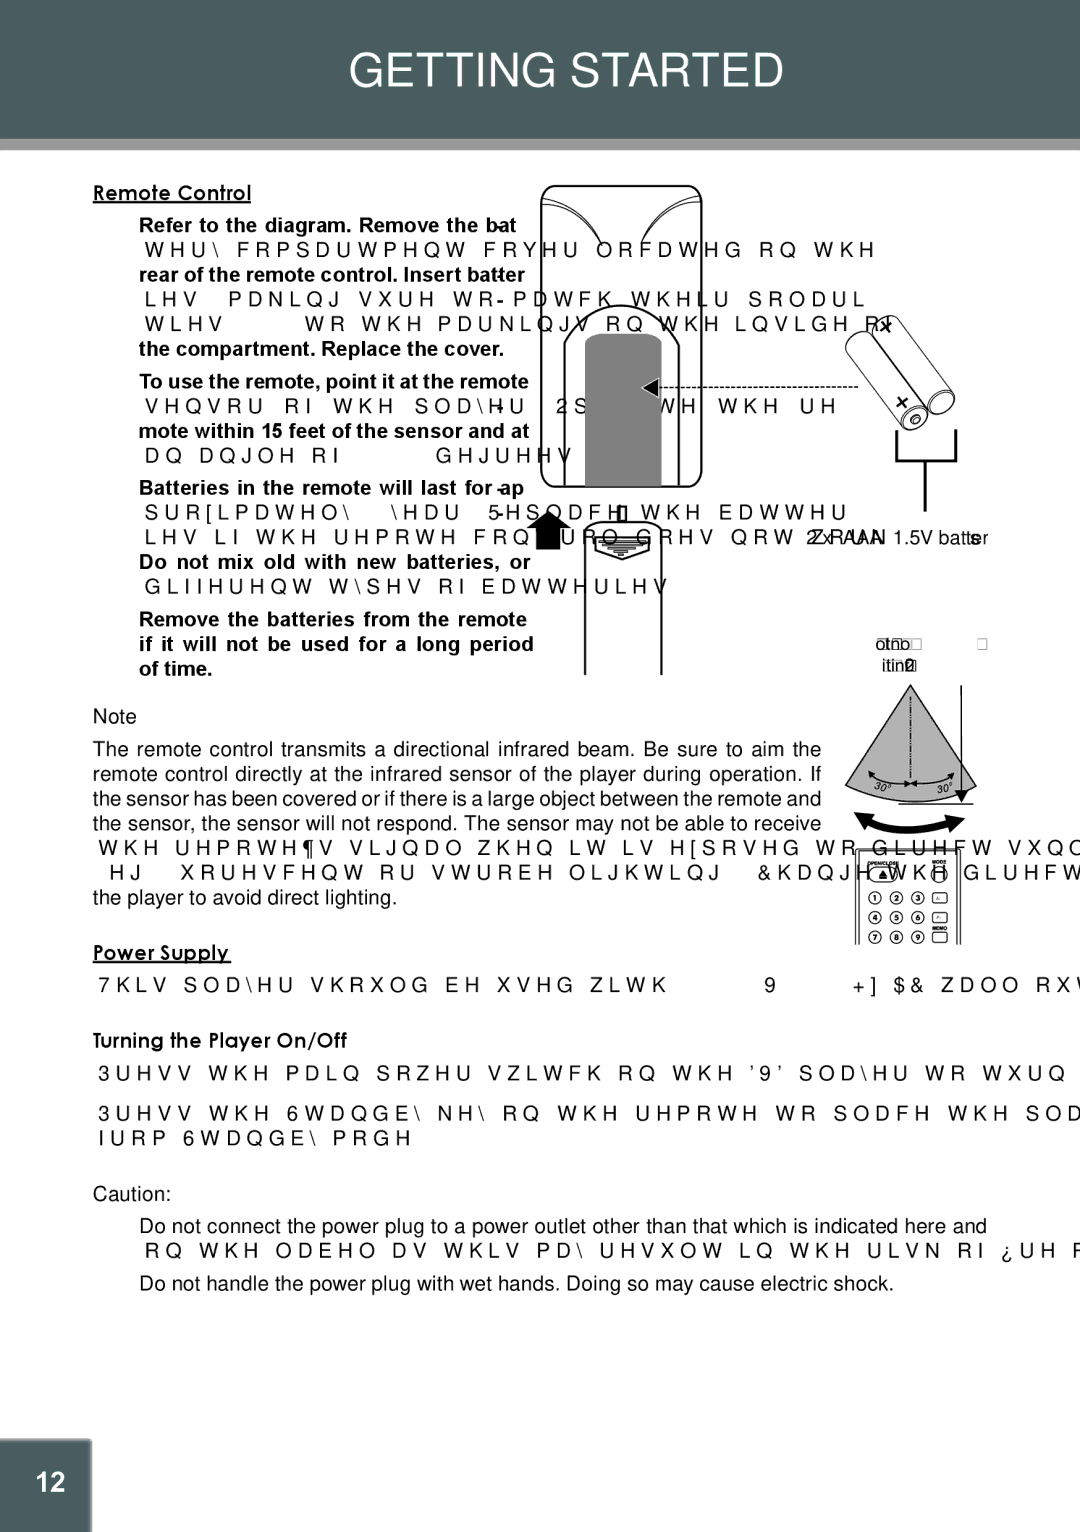
Remote Control
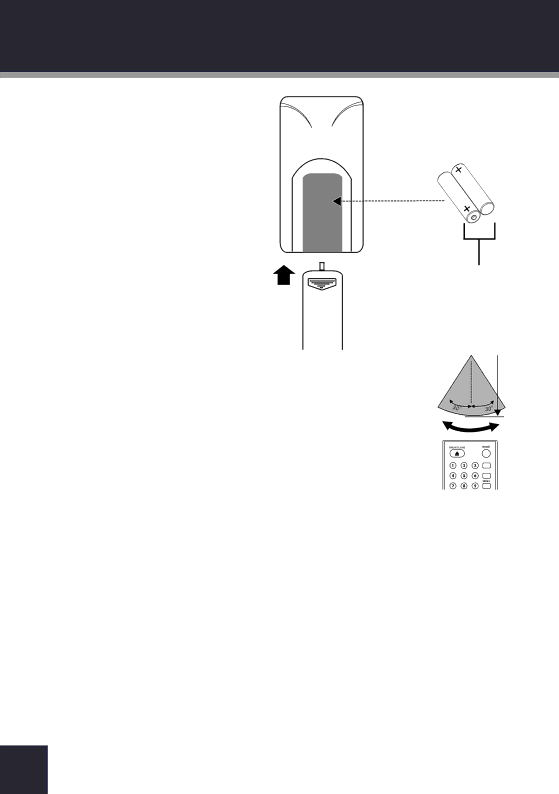
•Refer to the diagram. Remove the bat- tery compartment cover located on the rear of the remote control. Insert batter- ies, making sure to match their polari- ties
•To use the remote, point it at the remote sensor of the player. Operate the re- mote within 15 feet of the sensor and at an angle of +/- 60 degrees.
•Batteries in the remote will last for ap- proximately 1 year. Replace the batter- ies if the remote control does not work.
Do not mix old with new batteries, or different types of batteries.
•Remove the batteries from the remote if it will not be used for a long period of time.
2 x “AAA” 1.5V batteries
Remote sensor
within 20 feet
Note
The remote control transmits a directional infrared beam. Be sure to aim the remote control directly at the infrared sensor of the player during operation. If the sensor has been covered or if there is a large object between the remote and the sensor, the sensor will not respond. The sensor may not be able to receive the remote’s signal when it is exposed to direct sunlight or a strong artificial light (eg, fluorescent or strobe lighting). Change the direction of the light or reposition the player to avoid direct lighting.
Power Supply
AM
FM
CHANNEL
This player should be used with
Turning the Player On/Off
Press the main power switch on the DVD player to turn it on or to turn it off completely.
Press the Standby key on the remote to place the player in Standby mode or to wake the player from Standby mode.
Caution:
•Do not connect the power plug to a power outlet other than that which is indicated here and on the label as this may result in the risk of fire or electric shock.
•Do not handle the power plug with wet hands. Doing so may cause electric shock.
14