XTi 4000 specifications
The Crown Audio XTi 4000 is a professional power amplifier designed to deliver high performance and reliability for a range of audio applications, including live events, installations, and sound reinforcement. Renowned for its rugged design and robust features, the XTi 4000 is engineered to provide exceptional sound quality and ease of use, making it a favorite among audio professionals.One of the standout features of the XTi 4000 is its impressive power output. With a maximum output of 4000 watts at 4 ohms, this amplifier is capable of driving large speakers in demanding environments, ensuring that audiences experience crystal-clear sound reproduction. The XTi 4000 is equipped with onboard DSP (Digital Signal Processing), which allows users to tailor the sound with precision. This DSP includes adjustable crossover, EQ settings, and limiting, enabling users to optimize the amplifier's performance to suit specific venue requirements or speaker configurations.
The XTi 4000 is also designed with advanced protection circuitry, which safeguards both the amplifier and connected speakers from potential damage due to overheating, overloading, or short circuits. This ensures that the amplifier can operate continuously under high-stress conditions, a critical requirement for professionals who rely on consistent performance during events.
In terms of connectivity, the XTi 4000 features multiple input options, including XLR and 1/4-inch TRS connectors, providing compatibility with various audio sources. The rear panel is equipped with Speakon and binding post outputs, allowing for secure connections to speakers. Additionally, the amplifier's lightweight and compact design makes it easy to transport and install, enhancing its versatility in various setups.
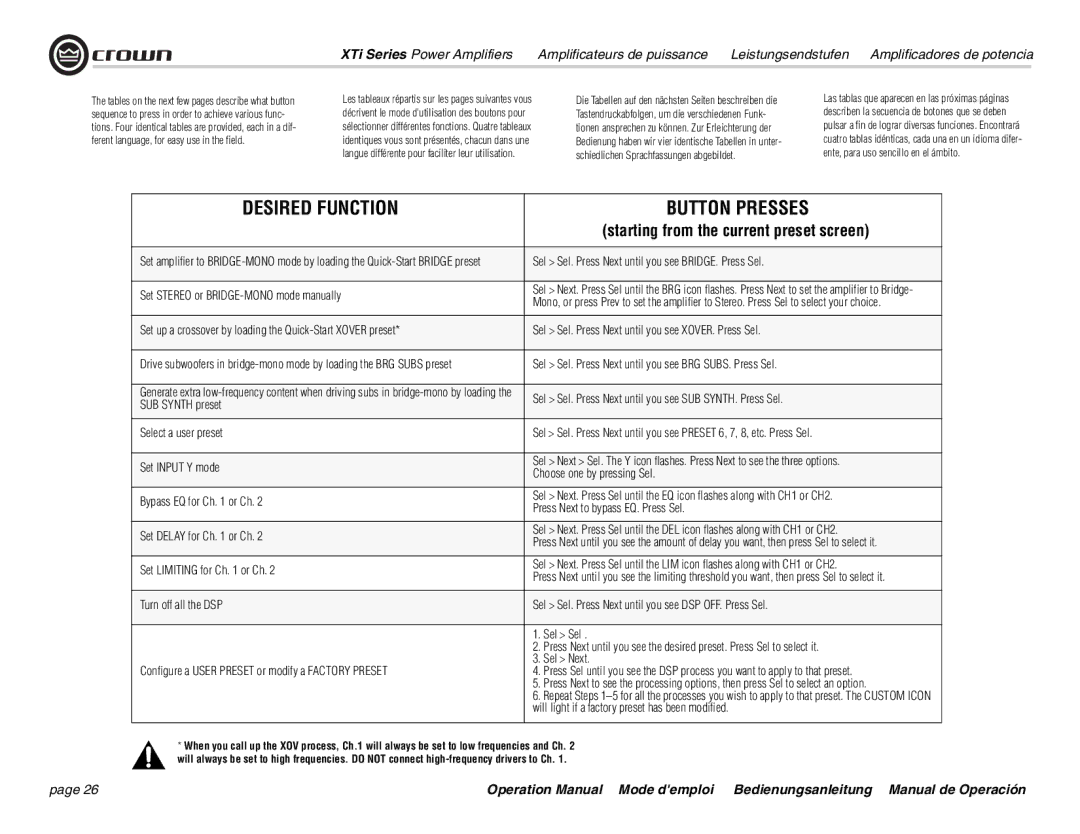
One of the most user-friendly aspects of the XTi 4000 is its front-panel LCD display, which offers easy access to menu navigation for adjusting settings. Users can also control the amplifier remotely via the optional Ethernet connection, using Crown's Integrated Control Software to monitor and adjust parameters without being physically present at the amplifier.
In summary, the Crown Audio XTi 4000 is a powerful, versatile, and reliable amplifier that combines advanced technology with user-friendly features. Ideal for both live sound and installation applications, it delivers exceptional performance, sound quality, and protection, making it a top choice for audio professionals seeking a dependable amplification solution. Whether for a concert, theater production, or installation in a venue, the XTi 4000 stands out as a robust and capable power amplifier.

