Hardware Installation (Continued)
Step 7
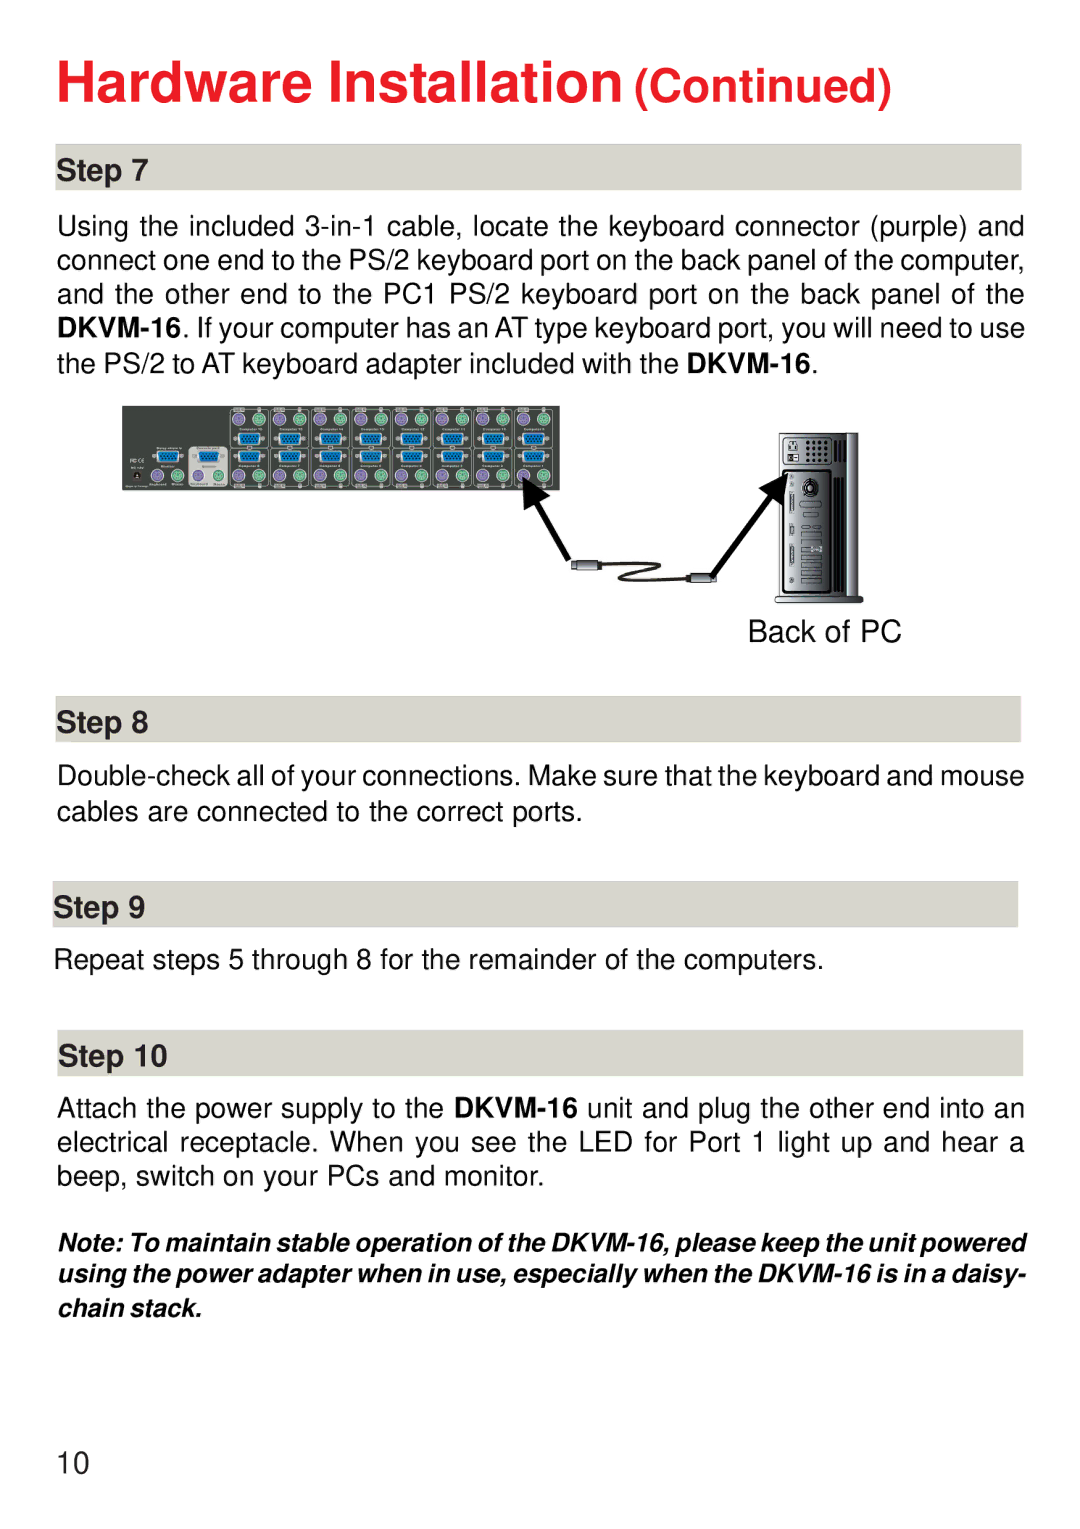
Using the included 3-in-1 cable, locate the keyboard connector (purple) and connect one end to the PS/2 keyboard port on the back panel of the computer, and the other end to the PC1 PS/2 keyboard port on the back panel of the DKVM-16. If your computer has an AT type keyboard port, you will need to use the PS/2 to AT keyboard adapter included with the DKVM-16.
Back of PC
Step 8
Double-check all of your connections. Make sure that the keyboard and mouse cables are connected to the correct ports.
Step 9
Repeat steps 5 through 8 for the remainder of the computers.
Step 10
Attach the power supply to the DKVM-16electrical receptacle. When you see the beep, switch on your PCs and monitor.
unit and plug the other end into an LED for Port 1 light up and hear a
Note: To maintain stable operation of the DKVM-16, please keep the unit powered using the power adapter when in use, especially when the DKVM-16 is in a daisy-
chain stack.