Manuals
/
D-Link
/
Computer Equipment
/
Switch
D-Link
DES-5016
manual
Attach Feet
Models:
DES-5016
1
19
96
96
Download
96 pages
24.59 Kb
16
17
18
19
20
21
22
23
Troubleshooting
Specs
Install
Cable Diagram
Password
LAN Default Gateway
Forward Delay Time
Warranty
System Configuration
System Reset
Page 19
Image 19
Fast Ethernet Switching System User’s Guide
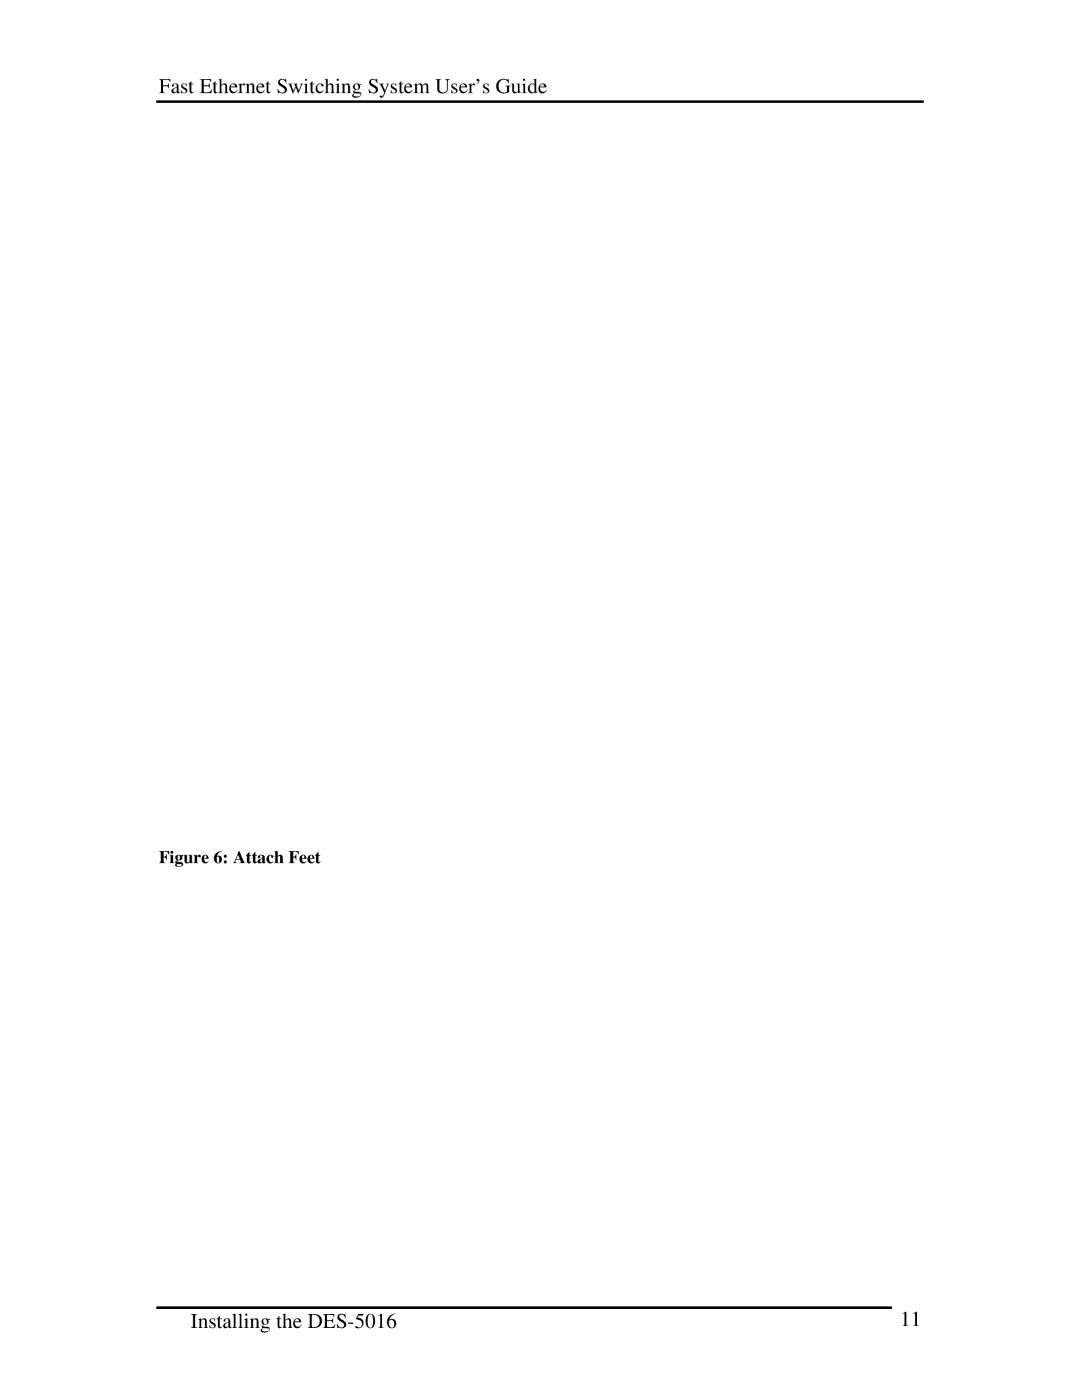
Figure 6: Attach Feet
Installing the
DES-5016
11
Page 18
Page 20
Page 19
Image 19
Page 18
Page 20
Contents
DES-5016 Fast Ethernet Switching System User’s Guide
Software
Link Limited Warranty Hardware
North, Central, and South America
Link Offices for Registration and Warranty Service
Europe and Israel
Copyright Statement
Wichtige Sicherheitshinweise
Table of Contents
Page
Page
Audience
About This Guide
Organization
Introduction
Features
Page
DES-5016TX
Front Panel
DES-5016TF
DES-5016TF
DES-5016 Rear Panel
Rear Panel
Telnet Management
Management Methods
Updating Firmware
Local Console Management
Unpacking the DES-5016
Installing the DES-5016
Installation Options
Install Feet on Bottom
Desktop/ Shelf Installation
Attach Feet
Attach Mounting Brackets
Rack Installation
Insert into Rack
Installing Optional Modules
Remove Blank Bracket
Insert Optional Module
Power On
Cable Specifications
Connecting the DES-5016 to the Network
Copper Cable
Cable Diagram
Fiber Optic Cable
RS-232 Port
Ports
MDI-X Ports
Fiber Optic Ports
DES-5016 to DES-5016 Connection
Connecting the DES-5016 to other Switches and Hubs
DES-5016TF LEDs
LEDs
Status
Power
Diagnostic
CPU Module
LED
100/10
Port TX Module
Link
Act
Port TX Module LEDs
Link/ Act
Port FX Module
Col
Port 100BASE-FX Module
Lit Dark
Gigabit Module LED
Port 1000BASE-SX Module
Managing the DES-5016
∙ Data bits ∙ Parity None ∙ Stop bits ∙ Flow Control None
Local Console Management
Telnet
Log
∙ Default User Name D-Link ∙ Default Password D-Link
Help Message
Help Message
Spacebar
Panel Conventions
Console Program
System Configuration
Switch Port 1-8, 9-16 and Optional Module Configuration
100BASE-FX/ 1000BASE-SX Switch Port Module
Trunking Port Management
Spanning Tree Configuration
Snmp Management Configuration
Vlan Port Management
System Information
System Configuration Menu
System Reset
Factory Reset to Default Config Values
Hardware Revision
Software Update
Boot Prom Firmware Version
System Information Menu
System Name
LAN Default Gateway
MAC Address
System Description
System Reset
System Reset
Factory Reset
Factory Reset
Factory Reset Confirmation
Advantages of Store and Forward
System Rate Control
Disadvantages of Store and Forward
Disadvantages of Cut-Through
Advantages of Cut-Through
Software Update menu
Software Update Menu
Transfer Firmware
Xmodem
User Account Change Menu
User Account Management
Create New User
Password
Confirm Password
Access Level
Page
Status
Delete Users
Delete
Page
Old Password
Change Password
New Password
Page
Switch Port Configuration
State
Switch Port Configuration Menu
Physical
Priority
Port State
Flow Control
Spanning Tree Configuration Menu
Spanning Tree Configuration
STA Operation Levels
Root Cost
Forward Delay Time
Spanning Tree Algorithm
Bridge Priority
Root Port
Root Bridge
Snmp Management Configuration
Snmp Community String
Snmp Management Configuration Menu
Snmp Manager Setting
Access Right
Link Change Event
Snmp Trap Manager Setting
Authentication Failure
Cold Start
Page
Vlan Port Management
Vlan Port Management menu
Vlan Port Management Menu
TrunkGroup
Create New Vlan
New Vlan Name
Port #
Page
Vlan Name
Delete Vlan Menu
Virtual LAN Name
Modify Vlan Menu
Trunking Port Management menu
Trunking Port Management Menu
New Trunking Group Name
Create New Trunking Port
Name
Page
Trunking Port
Delete Trunking Port
Modify Trunking Port
Modify Trunking Port
Trunking Port Name
Port States
Troubleshooting
Problem Solution Post Errors
Cables
Page
Diagnostic LED
Switch Specifications
Appendix a DES-5016 Technical Specifications
Port Specifications
Page
Fast Ethernet Switching System User’s Guide General
EMI
Fast Ethernet Switching System User’s Guide Performance
Act
Index
User Name 52, 54
Top
Page
Image
Contents