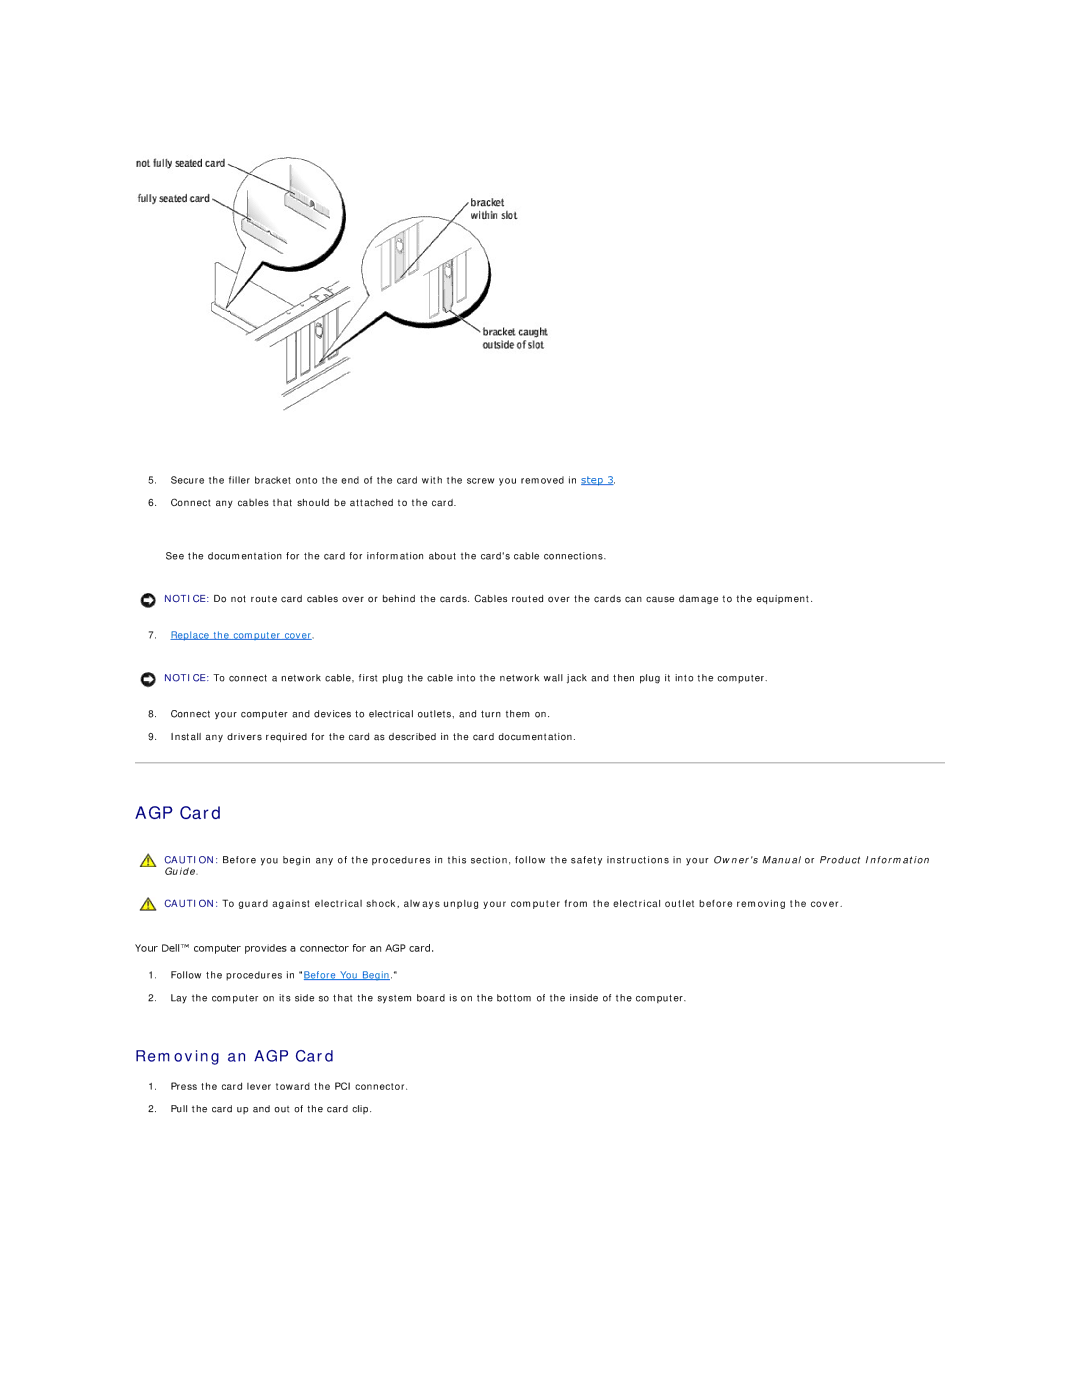
5.Secure the filler bracket onto the end of the card with the screw you removed in step 3.
6.Connect any cables that should be attached to the card.
See the documentation for the card for information about the card's cable connections.
NOTICE: Do not route card cables over or behind the cards. Cables routed over the cards can cause damage to the equipment.
7.Replace the computer cover.
NOTICE: To connect a network cable, first plug the cable into the network wall jack and then plug it into the computer.
8.Connect your computer and devices to electrical outlets, and turn them on.
9.Install any drivers required for the card as described in the card documentation.
AGP Card
CAUTION: Before you begin any of the procedures in this section, follow the safety instructions in your Owner's Manual or Product Information Guide.
CAUTION: To guard against electrical shock, always unplug your computer from the electrical outlet before removing the cover.
Your Dell™ computer provides a connector for an AGP card.
1.Follow the procedures in "Before You Begin."
2.Lay the computer on its side so that the system board is on the bottom of the inside of the computer.
Removing an AGP Card
1.Press the card lever toward the PCI connector.
2.Pull the card up and out of the card clip.
