User’s Guide
Basic
Introduction
Key benefits
Environmentally friendly Convenience
Supports various wireless network setting method
Included, Blank Not available
Features by models
Operating System B1160 B1160w Windows Macintosh Linux
Useful to know
Status LED flashes or remains constantly on
Conventions
About this user’s guide
General icons
Chapter
Important safety symbols
Safety information
Operating environment
Operating method
Installation / Moving
Maintenance / Checking
Supply usage
Accessories
Machine overview
Front view
Rear view
Control panel overview
Turning on the machine
Windows
Select Next
Installing the driver locally
Select Connect to the computer using USB cable. Click Next
Reinstalling the driver
Learning the Basic Usage
To print a test
Printing a test
Click Properties or Preferences Click Dell tab Test
Media and tray
To change the size, you need to adjust the paper guide
Tray overview
Open the output tray
Loading paper in the tray
See Tray overview on
Start printing in application
Manual feeding in the tray
Tips on using the manual feeder
Printing on special media
Envelope
Supported
Labels
Unacceptable
Card stock/ Custom-sized paper Preprinted paper
Setting the paper size and type
Basic printing
Printing
Opening printing preferences
Canceling a print job
Click Properties or Preferences
Using a favorites setting
Using help
Maintenance
Ordering supplies and accessories
Available supplies
Handling instructions
Storing the toner cartridge
Toner cartridge usage
Estimated cartridge life
Redistributing toner
Replacing the toner cartridge
Replacing the toner cartridge
Cleaning the machine
Cleaning the outside
Cleaning the inside
Cleaning the machine
Cleaning the pickup roller
Tips for moving & storing your machine
Troubleshooting
Tips for avoiding paper jams
Out-of-paper error resolution
Clearing paper jams
Tray
Inside the machine
Clearing paper jams
Status LED
Understanding the status LED
Color of the LED indicates the machines current status
Status Description
Toner LED/ WPS LED
Toner cartridge see Replacing the toner cartridge on
Appendix
Specifications
General specifications
Specifications
Print media specifications
Thin paper
Thick paper Refer to the Plain
Paper section
Colored
Card stock ISO B5, Executive
Labels c US Folio, A4, JIS B5
ISO B5, Executive
Postcard Bond paper Refer to the Plain
Microsoft Windows
System requirements
Operating system Requirements Recommended
Macintosh
Linux
Free HDD space Mac OS X
Network environment B1160w only
Items Specifications Network interface
Wireless security
Network operating system
Dell technical support policy
Ftp.dell.com
Contacting Dell
Mobilesupport@us.dell.com Support@us.dell.com
Warranty and return policy
Copyright
REV
Advanced
Advanced
Software Installation
Click Continue
Installation
Open the Applications folder Utilities Print Setup Utility
Click Continue on the User Options Pane
Reinstallation for Macintosh
Print Setup Utility Or Print & Fax
Installation for Linux
Installing the Unified Linux Driver
Click Uninstall
Reinstallation for Linux
Click Next Click Finish
B1160w only
Embedded Web Service
Useful network program
Printing a network configuration report
Installing driver over the network
Select Connect a network printer to the computer. Click Next
Macintosh
Select HP Jetdirect Socket in Protocol
Install the Linux driver and add network printer
Linux
Enter the machine’s IP address in the Address input field
Add a network printer
From the Embedded Web Service
IPv6 configuration
Using Embedded Web Service
ID admin Password dell00000
Understanding your network type
Wireless network setup
Wireless network name and network key
Getting started
From the machine’s control panel
Introducing wireless set up methods
Set up method Connecting method
From the computer
Choosing your type
Using the WPS button
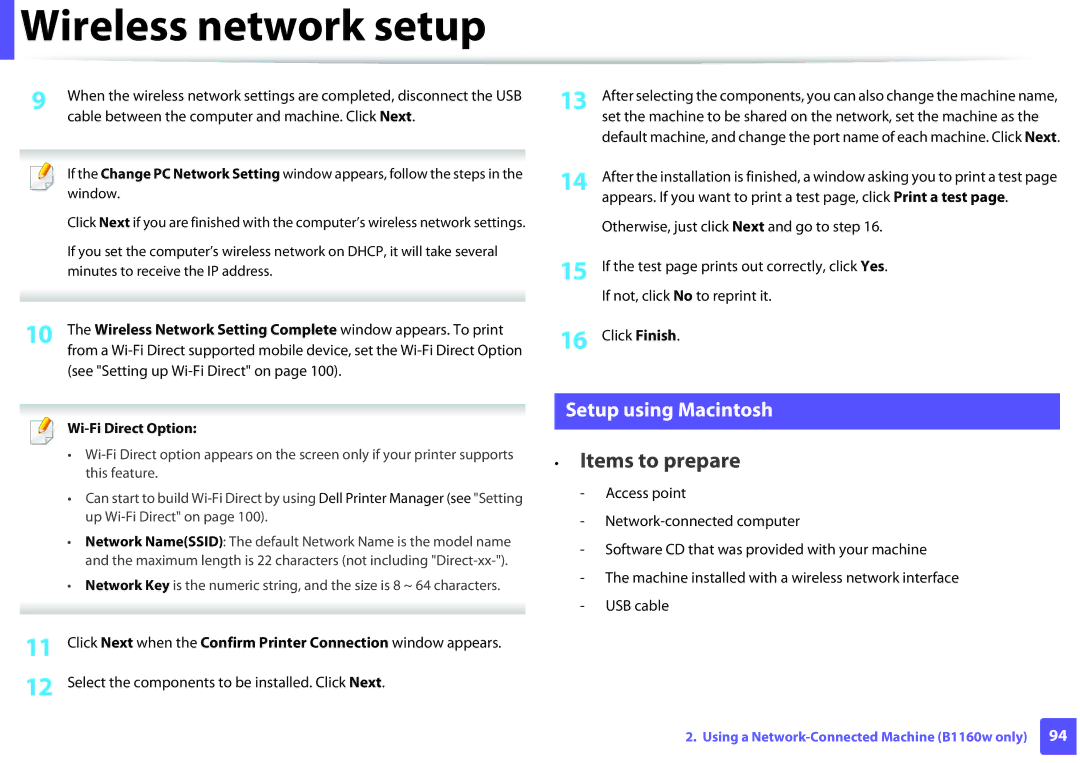
Items to prepare
Connecting in PIN mode
Connecting in PBC mode
Re-connecting to a network
Access point via USB cable in Windows
Canceling the connection process
Disconnecting from a network
Setup using Windows
Software searches the wireless network
Accessories Run
Select Connect to the computer wirelessly. Click Next
WEP
Wireless Network Setting Complete window appears
Ad hoc via USB cable in Windows
Select Connect to the computer wirelessly. Click Next
Operation Mode Select ad hoc
For the Dhcp method
Setup using Macintosh
Access point via USB cable in Macintosh
For the Dhcp method
For the Static method
Wi-Fi Direct Option
Be installed
Click Wireless Setting and Installation
Ad hoc via USB cable in Macintosh
Machine has searched appears
Signal is Printer Self Network
Settings and click Next
Network on the list, which Network NameSSID is Delldevice
Installation is finished, click Quit or Restart
Turning the Wi-Fi network on/off
Cable between the computer and machine
Click Wireless Custom
Setting up Wi-Fi Direct
Setting the Wi-Fi Direct for mobile printing
You can also turn the Wi-Fi network on/off
Setting up the mobile device
Enable or disable Wi-Fi Direct and set other options
Problems during setup or driver installation
Troubleshooting for wireless network
To static address
For a Static network environment
Then the machine’s network information should be as below
Other problems
Wireless network setup
Special Features
Switch to advanced mode Device Settings see Advanced
Altitude adjustment
Settings user interface overview on
For Windows 7, select Control Panel Devices and Printers
Changing the default print settings
Change the settings on each tab Click OK
Preferences
Setting your machine as a default machine
Understanding special printer features
Using advanced print features
Printing to a file PRN
Poster Printing
Multiple Pages per
Side
Booklet Printinga Description
Creating a watermark
Paper Options
Watermark
Watermark drop-down list. The Edit Watermarks
Current Watermarks list and click Delete
Editing a watermark
Deleting a watermark
Overlaya
Creating a new Preferences
Using a page overlay
Overlay
If necessary, check Confirm Page Overlay When
This option is not available when you use XPS driver
Printing a document
Changing printer settings
Macintosh printing
Printing multiple pages on one sheet
Using help
Linux printing
Printing from applications
Open the Unified Driver Configurator
Configuring Printer Properties
Printing files
Useful Management Tools
Click Update Firmware
Using Firmware Update Utility
Click Browse and select the downloaded firmware file
To order replacement toner cartridges or supplies from Dell
Using Dell Supplies Ordering Utility
Dell Supplies Ordering Utility window opens
Accessing Embedded Web Service
Using Embedded Web Service B1160w only
Logging into Embedded Web Service
Embedded Web Service overview
Maintenance tab
Settings tab
Security tab
Just click button
Using Dell Printer Manager
Understanding Dell Printer Manager
To open the program
Alert Settings Windows only
Device Settings
Advanced settings user interface overview
These icons appear on the Windows task bar
Using Dell Printer Status
Dell Printer Status overview
Icon Mean Description
User’s Guide
Changing the Dell Printer Status Program Settings
Option
Close
Opening Unified Driver Configurator
Using the Linux Unified Driver Configurator
Icon will automatically be created on your desktop
Switches to Printers configuration
Printers configuration
Printers tab
Classes tab
Classes tab shows a list of available machine classes
Ports configuration
Switches to Ports configuration
Troubleshooting
Paper feeding problems
Power/cancel button on the control panel
Power and cable connecting problems
Condition
Power/cancel
Printing problems
Print
Print job is extremely
Machine selects print
Paper source
Slow Half the page is blank
Pages print, but they are
Text is wrong
Garbled, or incomplete
Blank
Printing problems
Top half of the paper is
Printing quality problems
Condition Suggested Solutions Light or faded print
Printed lighter than the rest
Dropouts
Condition Suggested Solutions Toner specks
White Spots
Black background
Condition Suggested Solutions Vertical lines
Toner smear
Background scatter
Bold characters or pictures
Curl or wave
Back of printouts are dirty
Condition Suggested Solutions Wrinkles or creases
Solid color or black pages
Character voids
Condition Suggested Solutions Loose toner
Horizontal stripes
Repetitively appears on a
Condition Suggested Solutions Curl
An unknown image
Few sheets
Operating system problems
Common Windows problems
Condition Suggested solutions
Common Macintosh problems
Print incorrectly
Common Linux problems
ADF
BMP
CSV
Bootp
CCD
Dadf
Dlna
Dhcp
Dimm
DPI
FDI
ECM
FTP
Ieee
HDD
ITU-T
IPM
IPP
IPX/SPX
MFP
Ldap
LED
MMR
Pabx
OPC
OSI
PCL
Pstn
PPM
Radius
Ssid
SMB
Smtp
TCP/IP
USB
Twain
URL
WEP
WPS
WPA-PSK
XPS
Index
Printer preferences
Tray

 Wireless network setup