bottom of the opposite side of the assembly upwards.
6. Slide the fan assembly toward the back of the computer and lift to remove the assembly.
Front I/O Panel
CAUTION: Before you begin any of the procedures in this section, follow the safety instructions in the Product Information Guide.
CAUTION: To guard against electrical shock, always unplug your computer from the electrical outlet before removing the cover.
NOTICE: To prevent static damage to components inside your computer, discharge static electricity from your body before you touch any of your computer's electronic components. You can do so by touching an unpainted metal surface on the computer chassis.
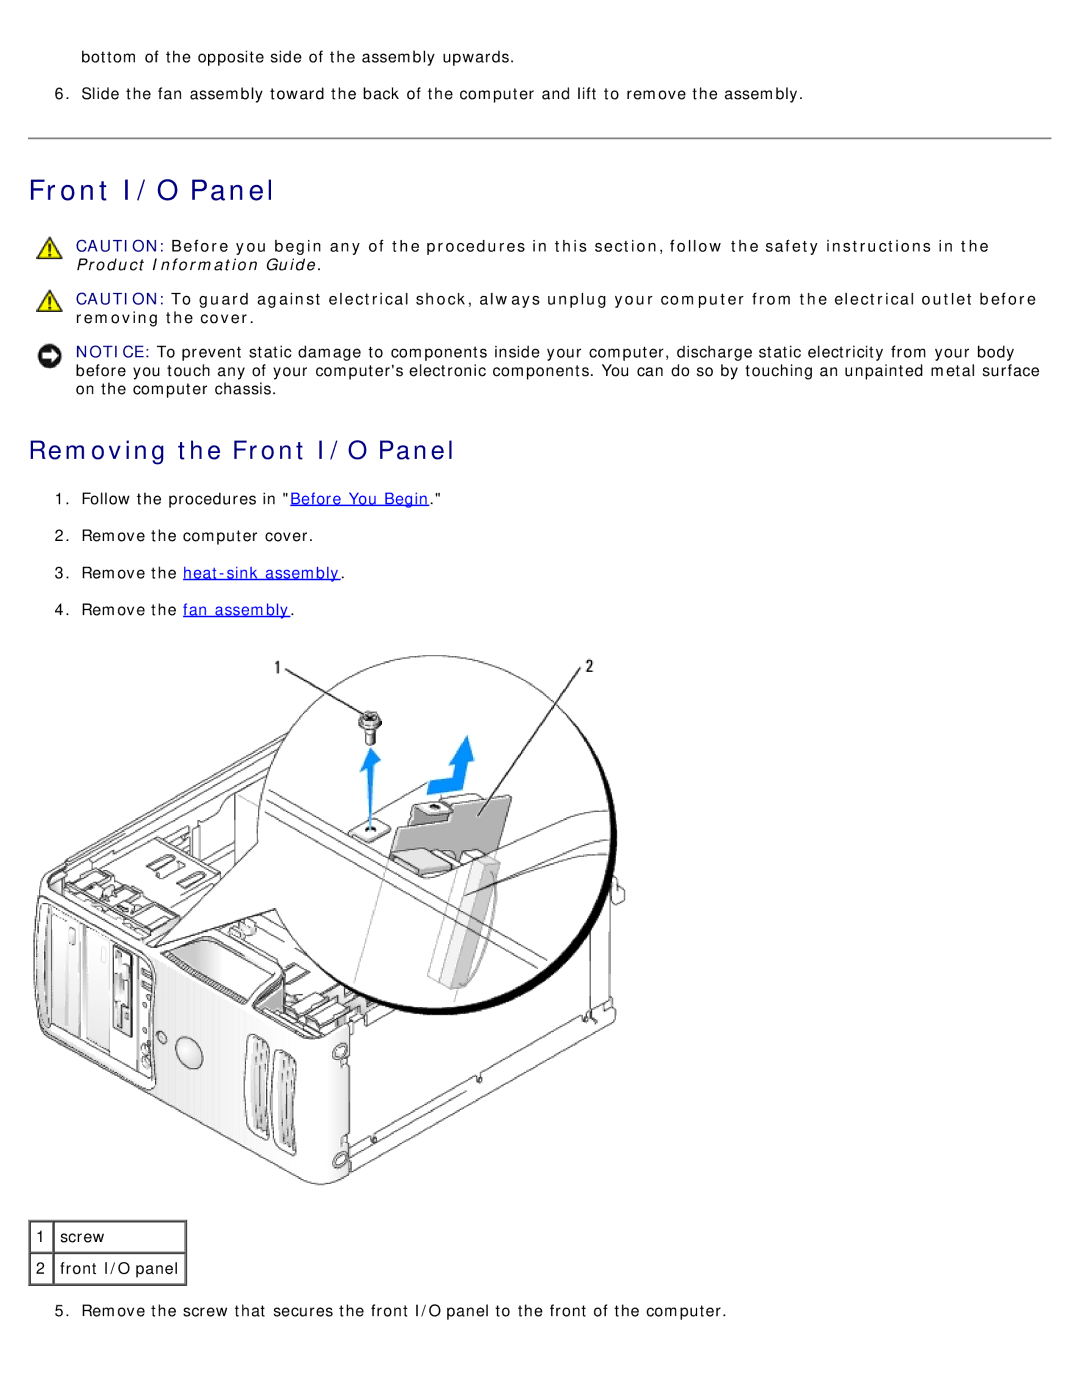
Removing the Front I/O Panel
1.Follow the procedures in "Before You Begin."
2.Remove the computer cover.
3.Remove the heat-sink assembly.
4.Remove the fan assembly.
![]() 1
1 ![]() screw
screw
![]() 2
2 ![]() front I/O panel
front I/O panel
5. Remove the screw that secures the front I/O panel to the front of the computer.