Removing and Installing Parts: Dell Dimension E520 Service Manual
a.Pivot the mechanism upward and gently squeeze in on the sides to release the mechanism from the two tab slots holding it in place.
b.Set the retention mechanism aside.
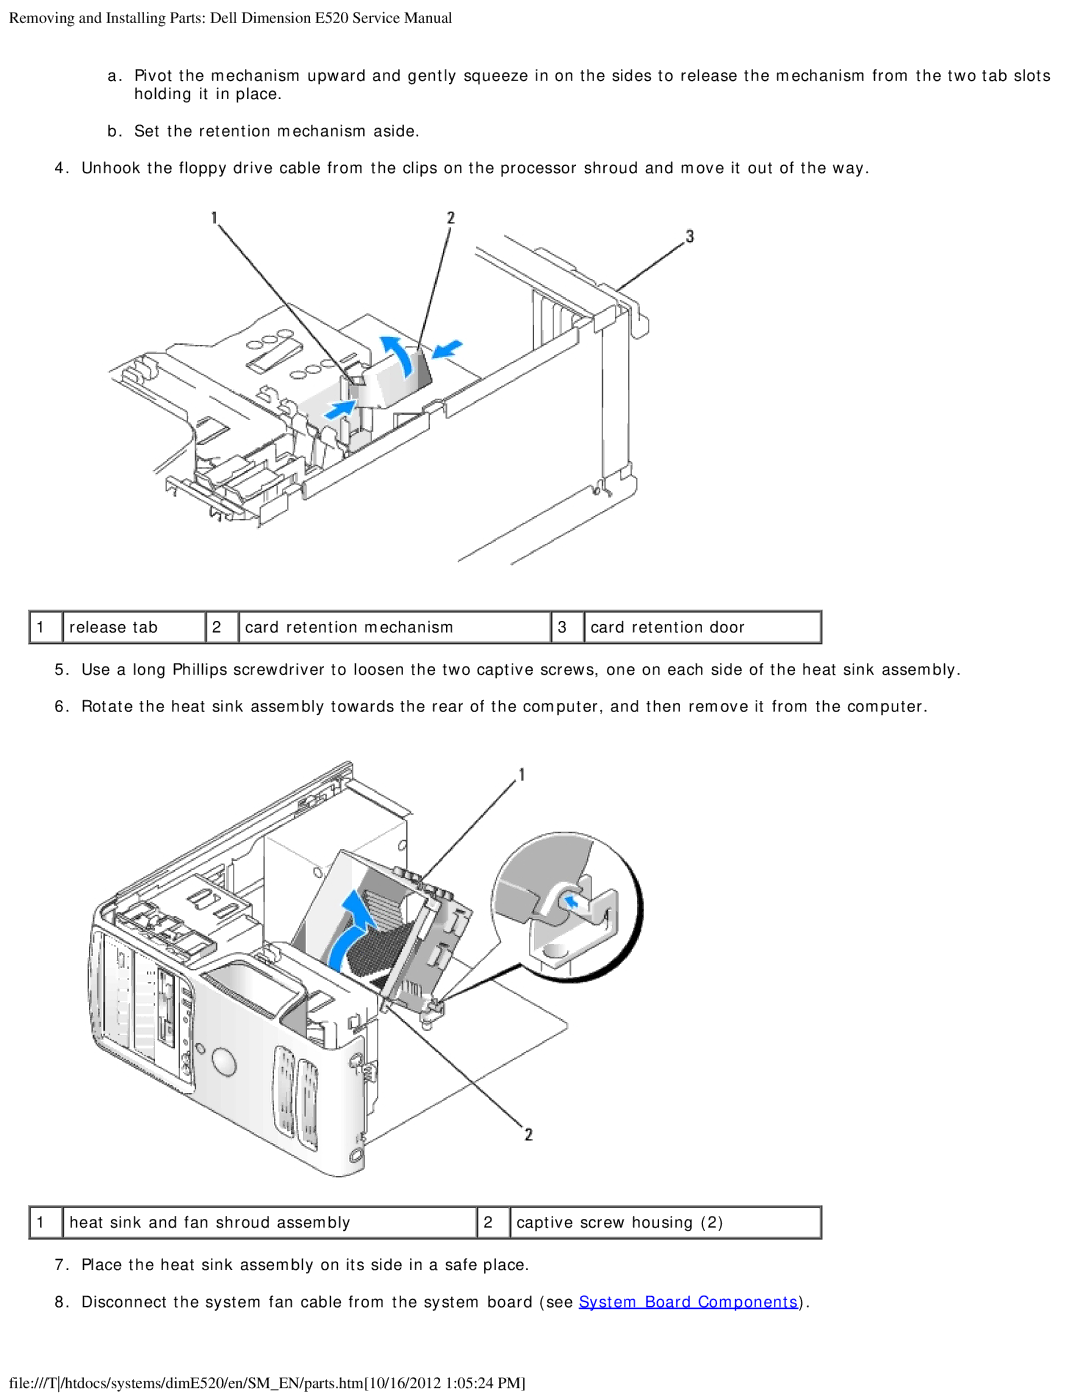
4.Unhook the floppy drive cable from the clips on the processor shroud and move it out of the way.
1 release tab | 2 card retention mechanism | 3 card retention door |
5.Use a long Phillips screwdriver to loosen the two captive screws, one on each side of the heat sink assembly.
6.Rotate the heat sink assembly towards the rear of the computer, and then remove it from the computer.
1 heat sink and fan shroud assembly | 2 captive screw housing (2) |
7.Place the heat sink assembly on its side in a safe place.
8.Disconnect the system fan cable from the system board (see System Board Components).
file:///T/htdocs/systems/dimE520/en/SM_EN/parts.htm[10/16/2012 1:05:24 PM]