ENGLISH
2Inserting Disc
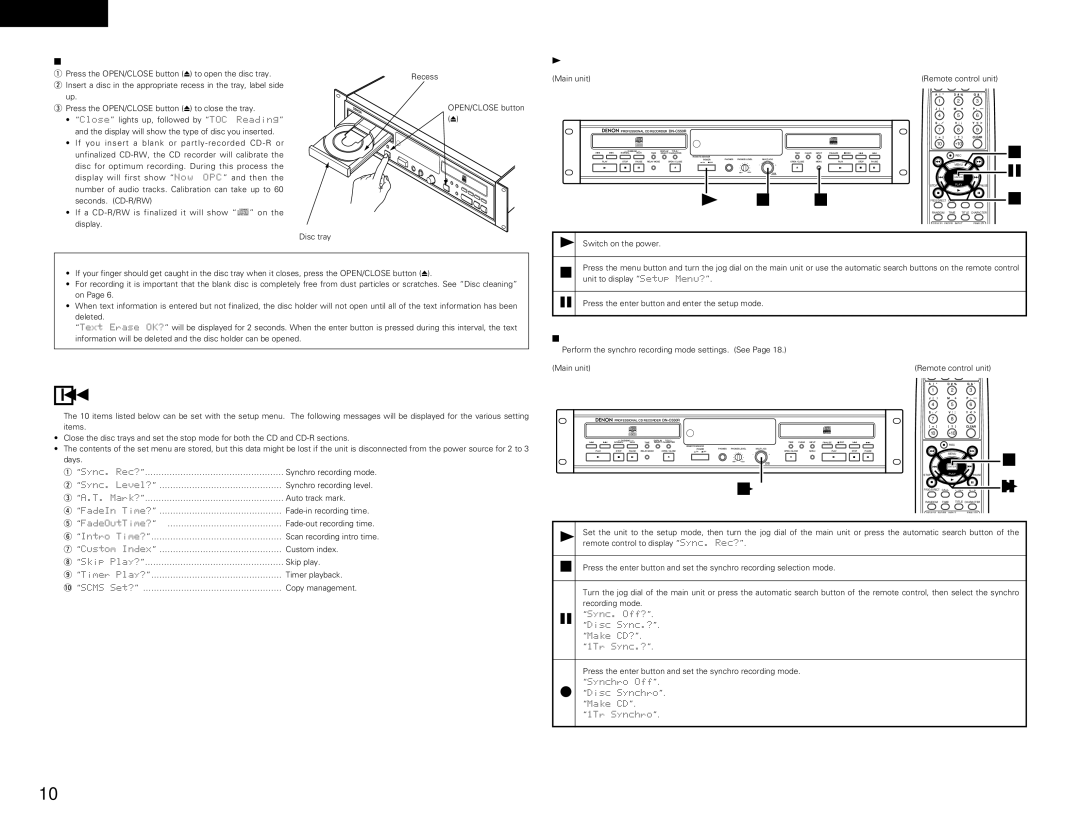
qPress the OPEN/CLOSE button (5) to open the disc tray. w Insert a disc in the appropriate recess in the tray, label side
up.
e Press the OPEN/CLOSE button (5) to close the tray.
• “Close” lights up, followed by “TOC Reading”
and the display will show the type of disc you inserted.
• If you insert a blank or
•If a
Recess
OPEN/CLOSE button (5)
(1) Setup Method
(Main unit)
|
| PROFESSIONAL CD RECORDER |
|
|
|
|
|
|
|
|
|
|
|
|
| ||||
|
| DUBBING |
| DISPLAY | TITLE / |
|
|
|
|
|
|
|
|
|
|
|
|
| |
8 | 9 | NORMAL | HIGH | TIME | SELECT CHARACTER |
|
|
|
|
|
| TIME | CLEAR | INPUT | FINALIZE | 4REC | 8 | 9 | |
|
|
|
|
|
|
| REMOTE SENSOR |
|
|
|
|
|
|
|
|
|
|
| |
|
|
|
|
|
|
| POWER | PHONES | PHONES LEVEL |
| MULTI JOG |
|
|
|
|
|
| ||
| PLAY | STOP | PAUSE | RELAY MODE | OPEN / CLOSE | ON | OFF |
|
|
|
| OPEN /CLOSE |
| MENU |
| PLAY | STOP | PAUSE | |
|
|
|
|
|
|
|
|
|
|
|
| - | + |
|
|
|
|
|
|
| 1 | 2 | 3 |
|
| 5 |
|
|
|
|
|
| 5 |
|
|
| 1 | 2 | 3 |
|
|
|
|
|
|
|
|
|
| MIN | MAX |
| PUSH |
|
|
|
|
|
|
|
|
|
|
|
|
|
|
|
|
|
|
| ENTER |
|
|
|
|
|
|
|
|
|
|
|
|
| 1 |
|
|
|
| 2,3 |
| 2 |
|
|
|
| |
(Remote control unit)
A | ! | " | D # % | G & ' | |
| 1 |
| 2 |
| 3 |
J | ( | ) | M ✽ + | P , – | |
| 4 |
| 5 |
| 6 |
S . |
| V : | ; | Y < > | |
| 7 |
| 8 |
| 9 |
[ | = | ] | { ? | } | CLEAR |
10 |
| +10 |
| ||
REC
67
MENU
8 | ENTER | 9 |
STOP | PLAY | PAUSE |
23
PROG/DIRECT CALL | 1 / ALL | A - B | |
RANDOM | TIME | TITLE CHARACTER | |
DISPLAY SEL | FADER INPUT | FINALIZE | |
2
3
2
Disc tray
1 | Switch on the power. |
NOTES:
• If your finger should get caught in the disc tray when it closes, press the OPEN/CLOSE button (5). | |
• | For recording it is important that the blank disc is completely free from dust particles or scratches. See “Disc cleaning” |
| on Page 6. |
• | When text information is entered but not finalized, the disc holder will not open until all of the text information has been |
| deleted. |
| “Text Erase OK?” will be displayed for 2 seconds. When the enter button is pressed during this interval, the text |
2 | Press the menu button and turn the jog dial on the main unit or use the automatic search buttons on the remote control | |
unit to display “Setup Menu?”. | ||
| ||
|
| |
3 | Press the enter button and enter the setup mode. |
information will be deleted and the disc holder can be opened. |
8SETUP METHOD
★The 10 items listed below can be set with the setup menu. The following messages will be displayed for the various setting items.
• Close the disc trays and set the stop mode for both the CD and |
• The contents of the set menu are stored, but this data might be lost if the unit is disconnected from the power source for 2 to 3 |
days. |
q “Sync. Rec?”…………………………………………… Synchro recording mode. |
w “Sync. Level?” ……………………………………… Synchro recording level. |
e “A.T. Mark?”…………………………………………… Auto track mark. |
r “FadeIn Time?” ……………………………………… |
t “FadeOutTime?” …………………………………… |
(2) Setting the Synchro Recording Mode
★Perform the synchro recording mode settings. (See Page 18.) (Main unit)
|
| PROFESSIONAL CD RECORDER |
|
|
|
|
|
|
|
|
|
|
|
| ||||
|
| DUBBING |
| DISPLAY | TITLE / |
|
|
|
|
|
|
|
|
|
|
|
| |
8 | 9 | NORMAL | HIGH | TIME | SELECT CHARACTER |
|
|
|
|
| TIME | CLEAR | INPUT | FINALIZE | 4REC | 8 | 9 | |
|
|
|
|
|
|
| REMOTE SENSOR |
|
|
|
|
|
|
|
|
|
| |
|
|
|
|
|
|
| POWER | PHONES | PHONES LEVEL | MULTI JOG |
|
|
|
|
|
| ||
| PLAY | STOP | PAUSE | RELAY MODE | OPEN / CLOSE | ON | OFF |
|
|
| OPEN /CLOSE |
| MENU |
| PLAY | STOP | PAUSE | |
|
|
|
|
|
|
|
|
|
|
| - | + |
|
|
|
|
|
|
| 1 | 2 | 3 |
|
| 5 |
|
|
|
|
| 5 |
|
|
| 1 | 2 | 3 |
|
|
|
|
|
|
|
|
|
| MIN | MAX | PUSH |
|
|
|
|
|
|
|
|
|
|
|
|
|
|
|
|
|
| ENTER |
|
|
|
|
|
|
|
|
|
|
|
|
|
|
|
|
| 1,2,3,4 |
|
|
|
|
|
| |
(Remote control unit)
A | ! | " | D # % | G & ' | |
| 1 |
| 2 |
| 3 |
J | ( | ) | M ✽ + | P , – | |
| 4 |
| 5 |
| 6 |
S . |
| V : | ; | Y < > | |
| 7 |
| 8 |
| 9 |
[ | = | ] | { ? | } | CLEAR |
10 |
| +10 |
| ||
REC
67
MENU
8 | ENTER | 9 |
STOP | PLAY | PAUSE |
23
PROG/DIRECT CALL | 1 / ALL | A - B | |
RANDOM | TIME | TITLE CHARACTER | |
DISPLAY SEL | FADER INPUT | FINALIZE | |
2,4
1,3
y “Intro Time?”………………………………………… Scan recording intro time. |
u “Custom Index” ……………………………………… Custom index. |
i“Skip Play?”…………………………………………… Skip play.
o“Timer Play?”………………………………………… Timer playback.
!0“SCMS Set?” …………………………………………… Copy management.
1 | Set the unit to the setup mode, then turn the jog dial of the main unit or press the automatic search button of the | |
remote control to display “Sync. Rec?”. | ||
| ||
|
| |
2 | Press the enter button and set the synchro recording selection mode. | |
|
| |
| Turn the jog dial of the main unit or press the automatic search button of the remote control, then select the synchro | |
| recording mode. | |
3 | “Sync. Off?”. | |
“Disc Sync.?”. | ||
| ||
| “Make CD?”. | |
| “1Tr Sync.?”. | |
|
| |
| Press the enter button and set the synchro recording mode. | |
4 | “Synchro Off”. | |
“Disc Synchro”. | ||
| “Make CD”. | |
| “1Tr Synchro”. |
10