MAINTENANCE
Cleaning Disc
A defective or soiled disc inserted into the Unit can cause sound to drop out during playback.
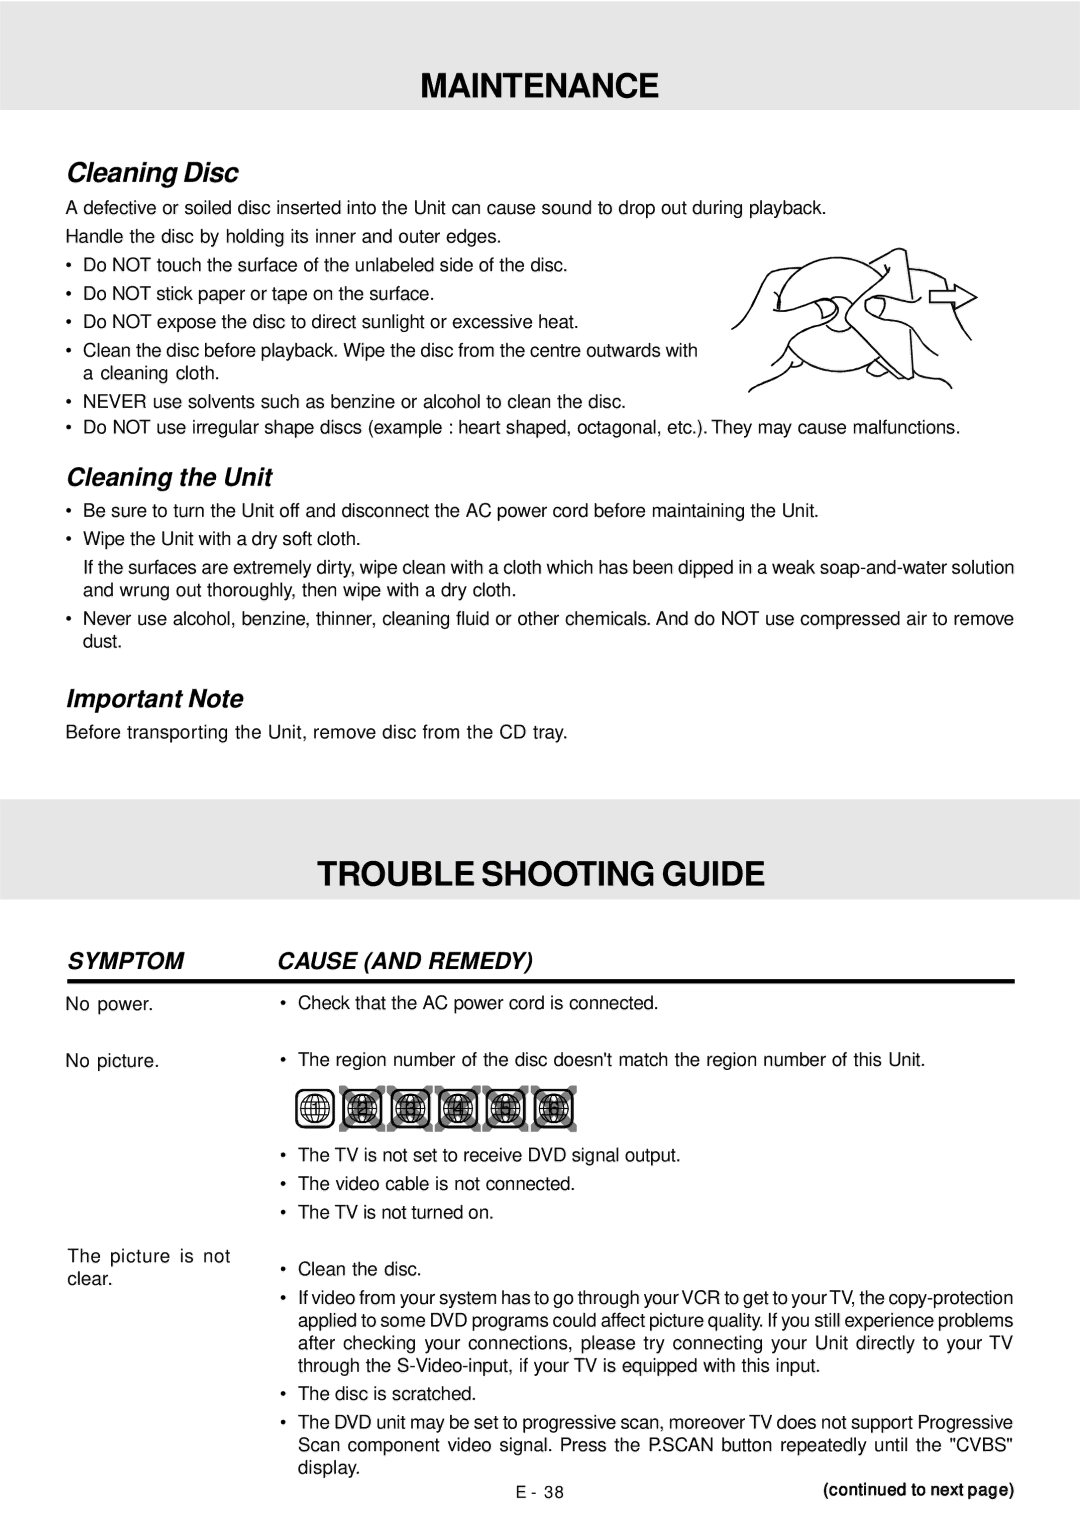
Handle the disc by holding its inner and outer edges.
• Do NOT touch the surface of the unlabeled side of the disc.
• Do NOT stick paper or tape on the surface.
• Do NOT expose the disc to direct sunlight or excessive heat.
• Clean the disc before playback. Wipe the disc from the centre outwards with a cleaning cloth.
•NEVER use solvents such as benzine or alcohol to clean the disc.
•Do NOT use irregular shape discs (example : heart shaped, octagonal, etc.). They may cause malfunctions.
Cleaning the Unit
•Be sure to turn the Unit off and disconnect the AC power cord before maintaining the Unit.
•Wipe the Unit with a dry soft cloth.
If the surfaces are extremely dirty, wipe clean with a cloth which has been dipped in a weak
•Never use alcohol, benzine, thinner, cleaning fluid or other chemicals. And do NOT use compressed air to remove dust.
Important Note
Before transporting the Unit, remove disc from the CD tray.
TROUBLE SHOOTING GUIDE
SYMPTOM | CAUSE (AND REMEDY) |
| ||||||
No power. | • | Check that the AC power cord is connected. | ||||||
No picture. | • | The region number of the disc doesn't match the region number of this Unit. | ||||||
|
| 1 | 2 | 3 | 4 | 5 | 6 | |
| • | The TV is not set to receive DVD signal output. | ||||||
| • | The video cable is not connected. | ||||||
| • | The TV is not turned on. |
|
| ||||
The picture is not | • | Clean the disc. |
|
|
| |||
clear. |
|
|
| |||||
• If video from your system has to go through your VCR to get to your TV, the | ||||||||
| ||||||||
|
| applied to some DVD programs could affect picture quality. If you still experience problems | ||||||
|
| after checking your connections, please try connecting your Unit directly to your TV | ||||||
|
| through the | ||||||
| • | The disc is scratched. |
|
| ||||
| • The DVD unit may be set to progressive scan, moreover TV does not support Progressive | |||||||
Scan component video signal. Press the P.SCAN button repeatedly until the "CVBS" display.
E - 38 | (continued to next page) |
