TIMER RECORDING
TO PROGRAM TIME RECORDING
This function sets the recorder to record unattended at some preset time.
Steps
1.Press the button SETUP MENU and select MAIN PAGE, then select PVR Control. And press ENTER.
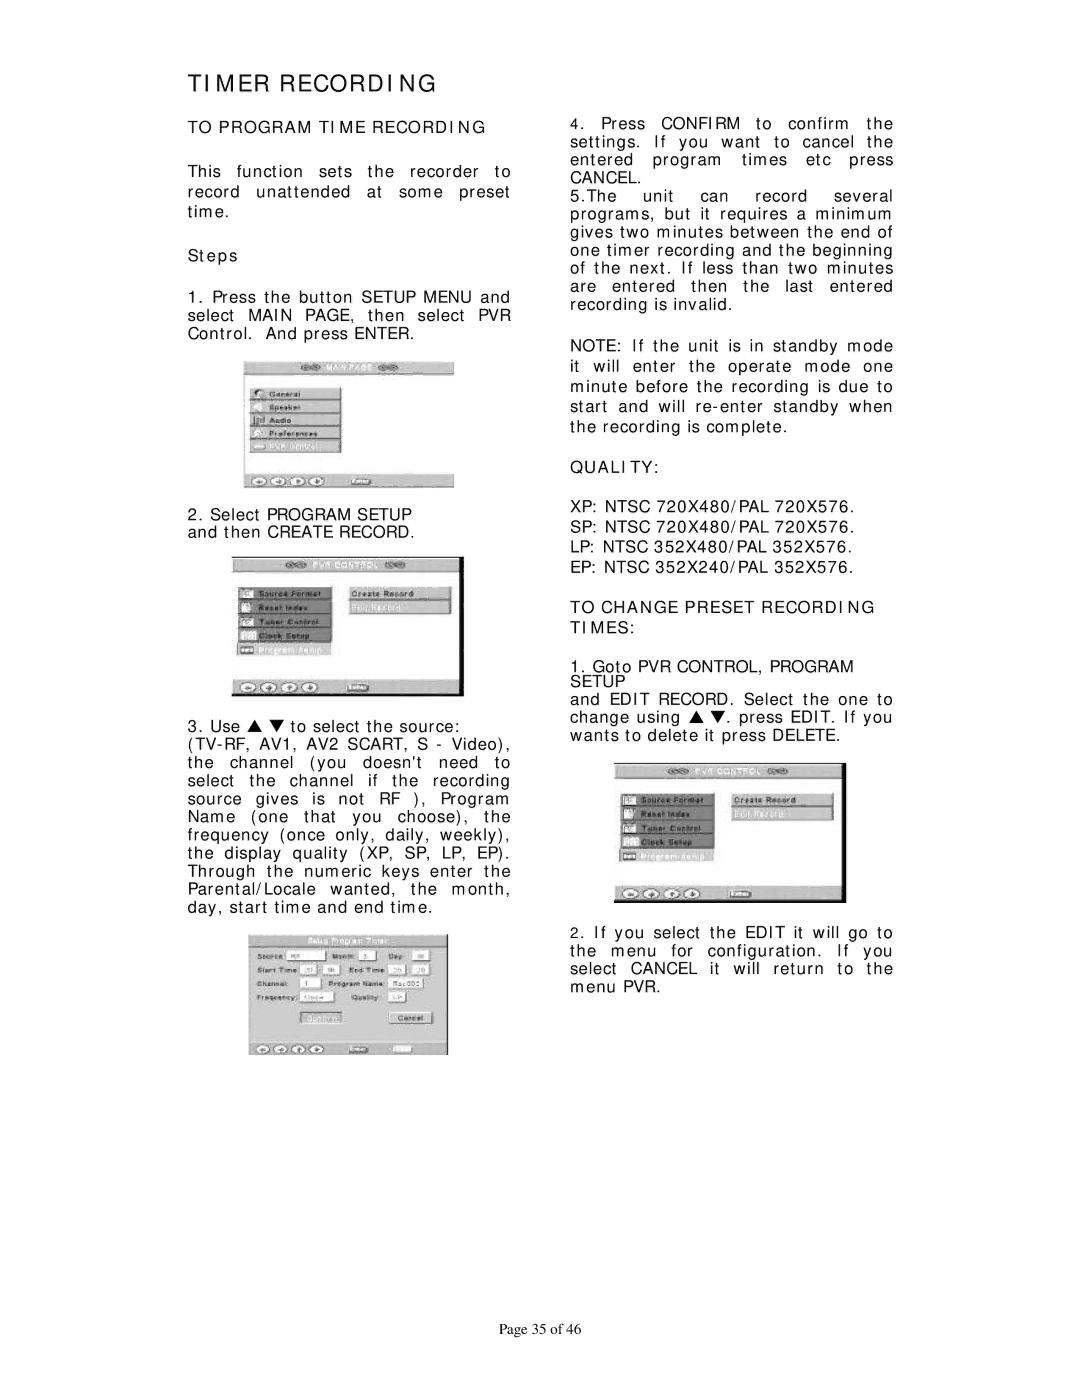
2.Select PROGRAM SETUP
and then CREATE RECORD.
3. Use S T to select the source:
4. Press CONFIRM to confirm the settings. If you want to cancel the entered program times etc press
CANCEL.
5.The unit can record several programs, but it requires a minimum gives two minutes between the end of one timer recording and the beginning of the next. If less than two minutes are entered then the last entered recording is invalid.
NOTE: If the unit is in standby mode it will enter the operate mode one minute before the recording is due to start and will
QUALITY:
XP: NTSC 720X480/PAL 720X576.
SP: NTSC 720X480/PAL 720X576.
LP: NTSC 352X480/PAL 352X576.
EP: NTSC 352X240/PAL 352X576.
TO CHANGE PRESET RECORDING TIMES:
1.Goto PVR CONTROL, PROGRAM SETUP
and EDIT RECORD. Select the one to change using S T. press EDIT. If you wants to delete it press DELETE.
2. If you select the EDIT it will go to the menu for configuration. If you select CANCEL it will return to the menu PVR.
Page 35 of 46