SCREEN menu
Item
Description
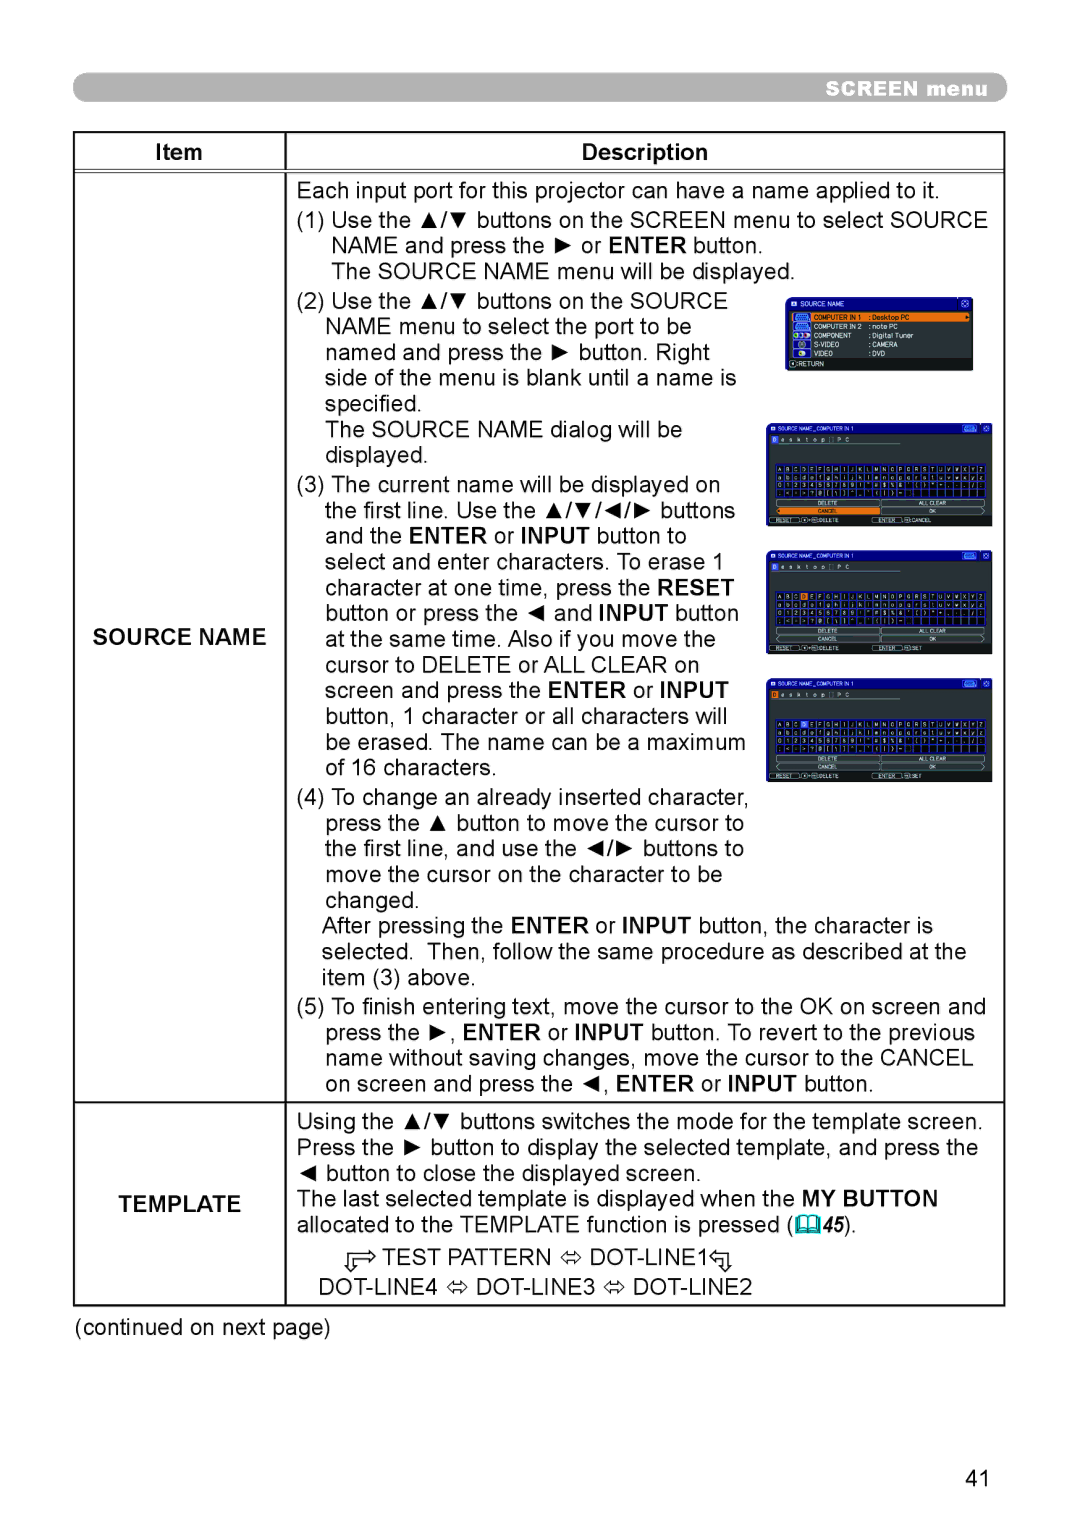
Each input port for this projector can have a name applied to it.
(1)Use the ▲/▼ buttons on the SCREEN menu to select SOURCE NAME and press the ► or ENTER button.
The SOURCE NAME menu will be displayed.
(2)Use the ▲/▼ buttons on the SOURCE
NAME menu to select the port to be named and press the ► button. Right side of the menu is blank until a name is specified.
The SOURCE NAME dialog will be displayed.
| (3) The current name will be displayed on |
| the first line. Use the ▲/▼/◄/► buttons |
| and the ENTER or INPUT button to |
| select and enter characters. To erase 1 |
| character at one time, press the RESET |
SOURCE NAME | button or press the ◄ and INPUT button |
at the same time. Also if you move the | |
| cursor to DELETE or ALL CLEAR on |
| screen and press the ENTER or INPUT |
| button, 1 character or all characters will |
| be erased. The name can be a maximum |
| of 16 characters. |
| (4) To change an already inserted character, |
| press the ▲ button to move the cursor to |
| the first line, and use the ◄/► buttons to |
| move the cursor on the character to be |
| changed. |
| After pressing the ENTER or INPUT button, the character is |
| selected. Then, follow the same procedure as described at the |
| item (3) above. |
| (5) To finish entering text, move the cursor to the OK on screen and |
| press the ►, ENTER or INPUT button. To revert to the previous |
| name without saving changes, move the cursor to the CANCEL |
| on screen and press the ◄, ENTER or INPUT button. |
| Using the ▲/▼ buttons switches the mode for the template screen. |
| Press the ► button to display the selected template, and press the |
| ◄ button to close the displayed screen. |
TEMPLATE | The last selected template is displayed when the MY BUTTON |
| allocated to the TEMPLATE function is pressed (45). |
| TEST PATTERN ó |
|
(continued on next page)
41
