INPUT menu
Item | Description | |
|
| |
| The video format for | |
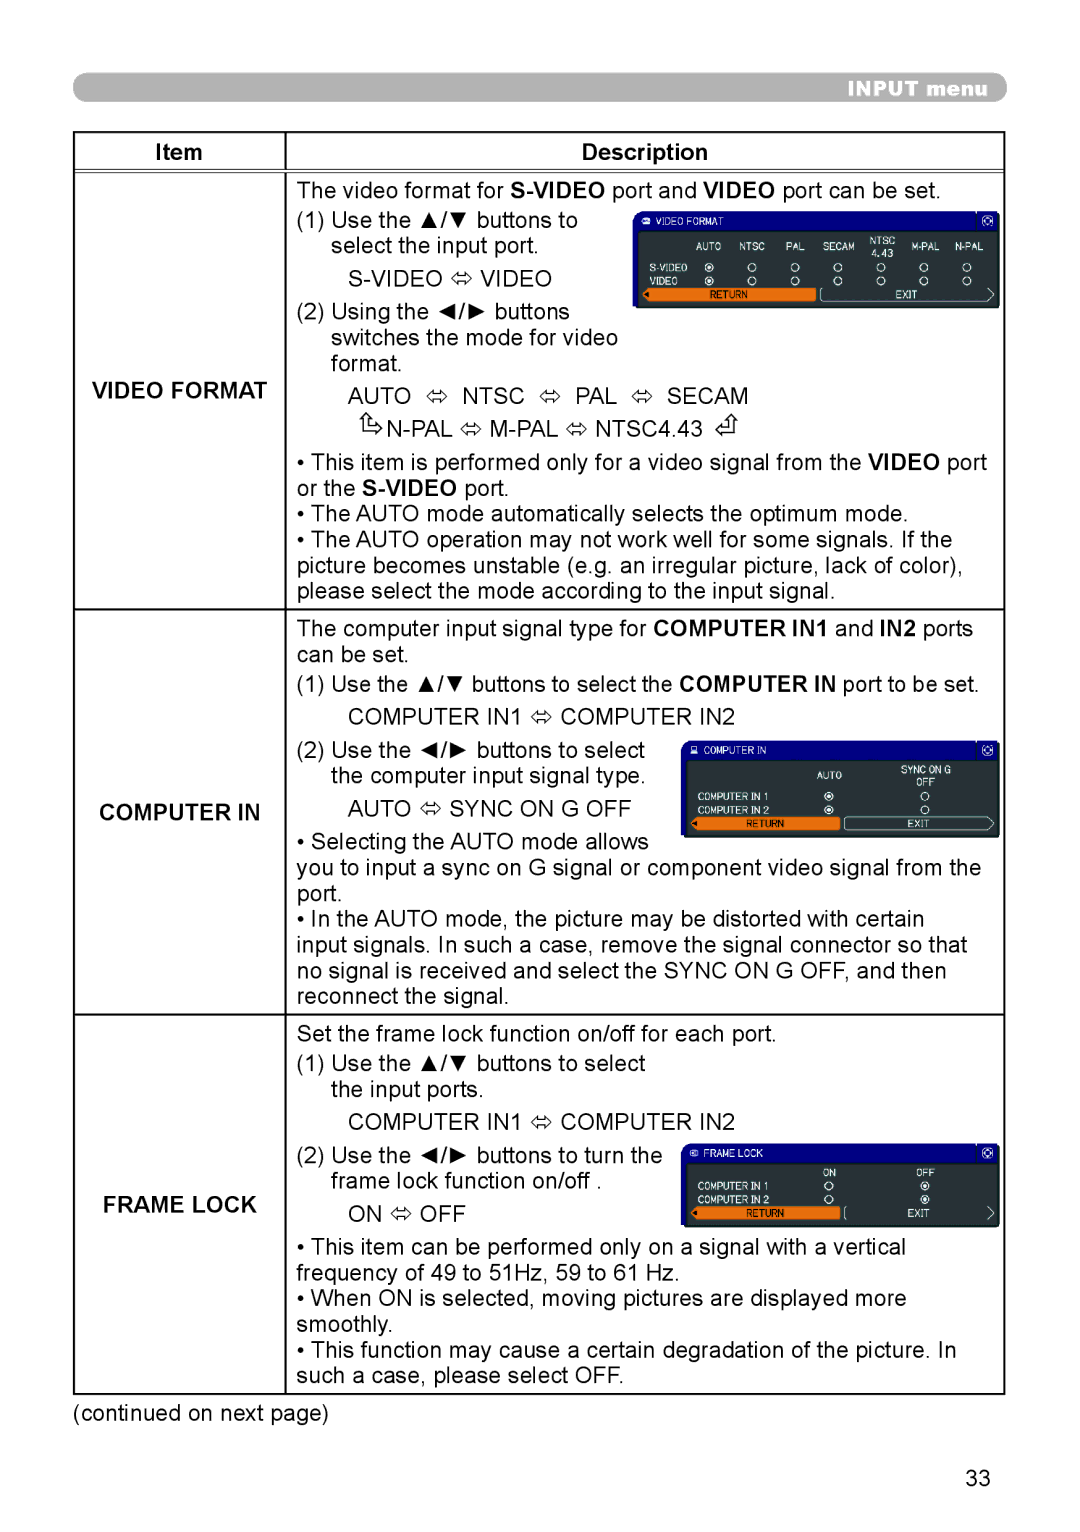
| (1) Use the ▲/▼ buttons to | |
| select the input port. | |
| ||
| (2) Using the ◄/► buttons | |
| switches the mode for video | |
VIDEO FORMAT | format. | |
AUTO ó NTSC ó PAL ó SECAM | ||
| ||
| • This item is performed only for a video signal from the VIDEO port | |
| or the | |
| • The AUTO mode automatically selects the optimum mode. | |
| • The AUTO operation may not work well for some signals. If the | |
| picture becomes unstable (e.g. an irregular picture, lack of color), | |
| please select the mode according to the input signal. | |
| The computer input signal type for COMPUTER IN1 and IN2 ports | |
| can be set. | |
| (1) Use the ▲/▼ buttons to select the COMPUTER IN port to be set. | |
| COMPUTER IN1 ó COMPUTER IN2 | |
| (2) Use the ◄/► buttons to select | |
| the computer input signal type. | |
COMPUTER IN | AUTO ó SYNC ON G OFF | |
| • Selecting the AUTO mode allows | |
| you to input a sync on G signal or component video signal from the | |
| port. | |
| • In the AUTO mode, the picture may be distorted with certain | |
| input signals. In such a case, remove the signal connector so that | |
| no signal is received and select the SYNC ON G OFF, and then | |
| reconnect the signal. | |
| Set the frame lock function on/off for each port. | |
| (1) Use the ▲/▼ buttons to select | |
| the input ports. | |
| COMPUTER IN1 ó COMPUTER IN2 | |
| (2) Use the ◄/► buttons to turn the | |
FRAME LOCK | frame lock function on/off . | |
ON ó OFF | ||
| ||
| • This item can be performed only on a signal with a vertical | |
| frequency of 49 to 51Hz, 59 to 61 Hz. | |
| • When ON is selected, moving pictures are displayed more | |
| smoothly. | |
| • This function may cause a certain degradation of the picture. In | |
| such a case, please select OFF. |
(continued on next page)
33
