until the alignment starts counting determines the maximum vertical detection angle. Once these extremes are established, position the Beam Emit- ter in the center of the left/right detection angle and up/down detection angle. Repeat this same process with the Track Sensors. This will maxi- mize the alignment accuracy. It should also be noted that once the zero digit has stated counting, it will never stop at zero again unless Alignment Mode is exited and reentered. This can be helpful for leaving the system in alignment mode for an extended period of time to check on an intermit- tent condition.
If the Start Sensor (or switch) is not con- nected, the ‘S’ position will be counting. To run a race without Start, make sure the ET option is disabled in the configuration mode.
At this point the system is properly aligned. Press the [#] ENTER button to exit Alignment Mode.
CONFIGURATION
The SBD Timer ships with the following
factory default settings: |
|
Printer Port | |
Auto Print Timeslip | 1 |
Print Line Feeds | 12 |
Print Header | Generic |
ET Option | OFF |
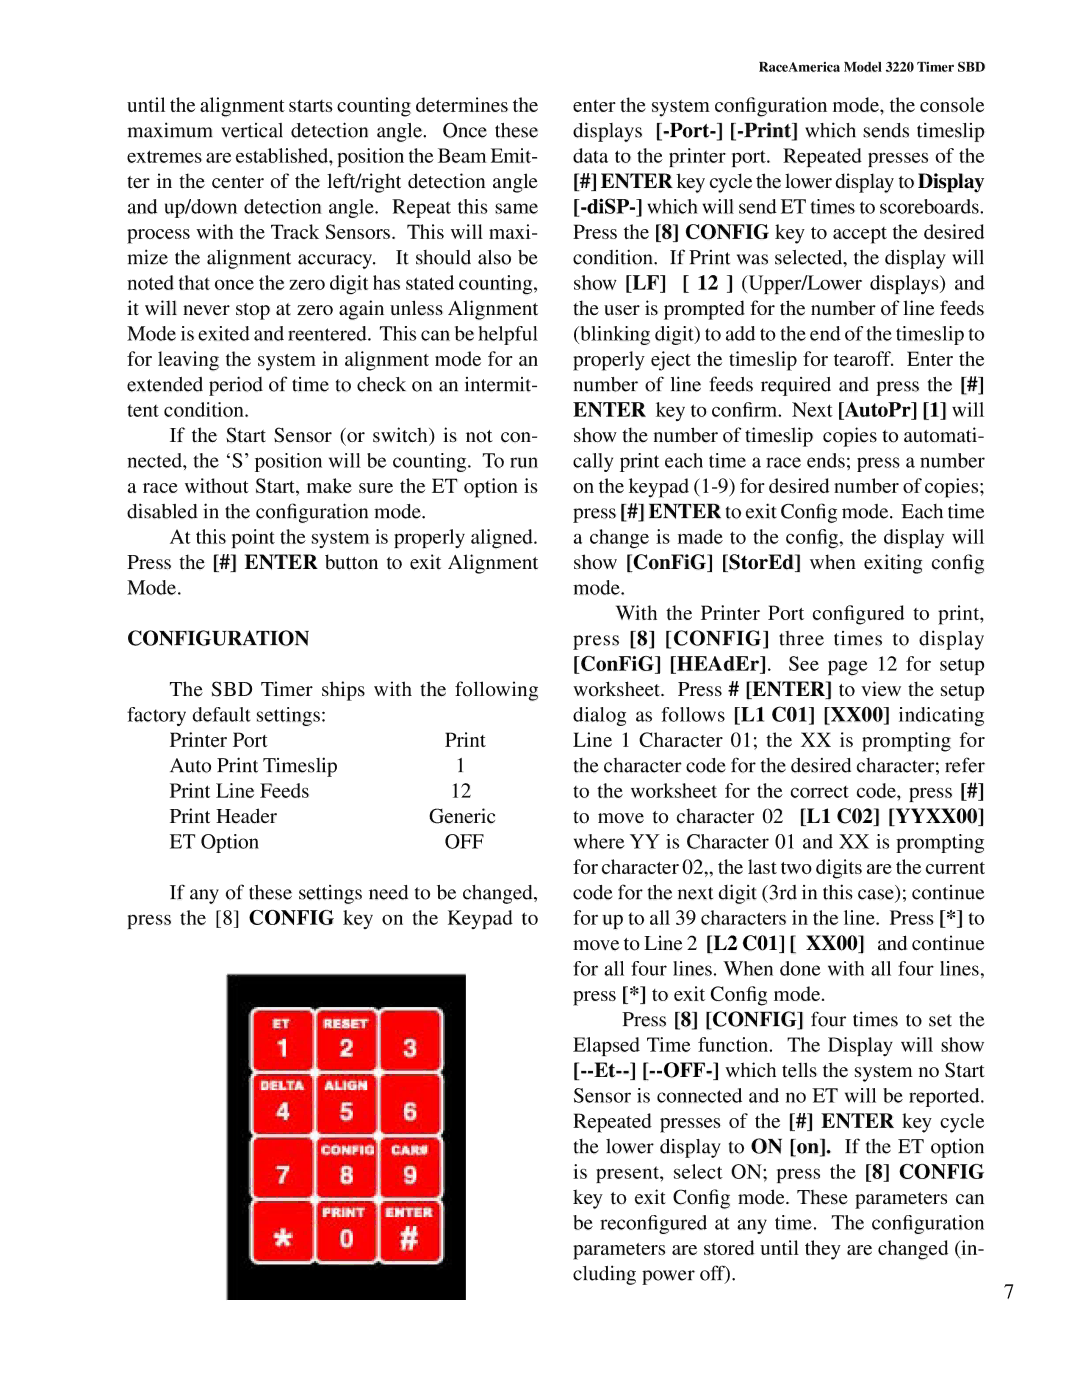
If any of these settings need to be changed, press the [8] CONFIG key on the Keypad to
RaceAmerica Model 3220 Timer SBD
enter the system configuration mode, the console displays
[#]ENTER key cycle the lower display to Display
With the Printer Port configured to print, press [8] [CONFIG] three times to display [ConFiG] [HEAdEr]. See page 12 for setup worksheet. Press # [ENTER] to view the setup dialog as follows [L1 C01] [XX00] indicating Line 1 Character 01; the XX is prompting for the character code for the desired character; refer to the worksheet for the correct code, press [#] to move to character 02 [L1 C02] [YYXX00] where YY is Character 01 and XX is prompting for character 02,, the last two digits are the current code for the next digit (3rd in this case); continue for up to all 39 characters in the line. Press [*] to move to Line 2 [L2 C01] [ XX00] and continue for all four lines. When done with all four lines, press [*] to exit Config mode.
Press [8] [CONFIG] four times to set the Elapsed Time function. The Display will show