
EIP-WX5000, EIP-WX5000L specifications
The Eiki EIP-WX5000 and EIP-WX5000L are cutting-edge projectors designed for high-performance presentations and immersive viewing experiences. Both models are equipped with advanced technologies that cater to the needs of professional environments, such as conference rooms, lecture halls, and large venues.One of the standout features of the EIP-WX5000 series is its high brightness capability, with a luminosity of up to 5000 lumens. This ensures that images remain vibrant and visible even in well-lit environments, making it ideal for business presentations or educational settings where lighting conditions can vary. The WXGA resolution (1280 x 800 pixels) offers a sharp and clear image quality, enhancing the details and clarity of presentations and videos alike.
Both projectors leverage DLP technology, known for its durability and exceptional color accuracy. This technology enables a richer color palette and minimizes the risk of color decay over time, ensuring that users can rely on consistent performance. The EIP-WX5000 and EIP-WX5000L also feature a contrast ratio of up to 3000:1, providing deeper blacks and brighter whites, which accentuates the depth of the projected image.
Flexibility in installation is another appealing characteristic of these projectors. They come with a variety of lens options that support short throw, long throw, and ultra-short throw configurations. This adaptability makes them suitable for different room layouts and sizes, allowing users to set up the projector in a way that best suits their space.
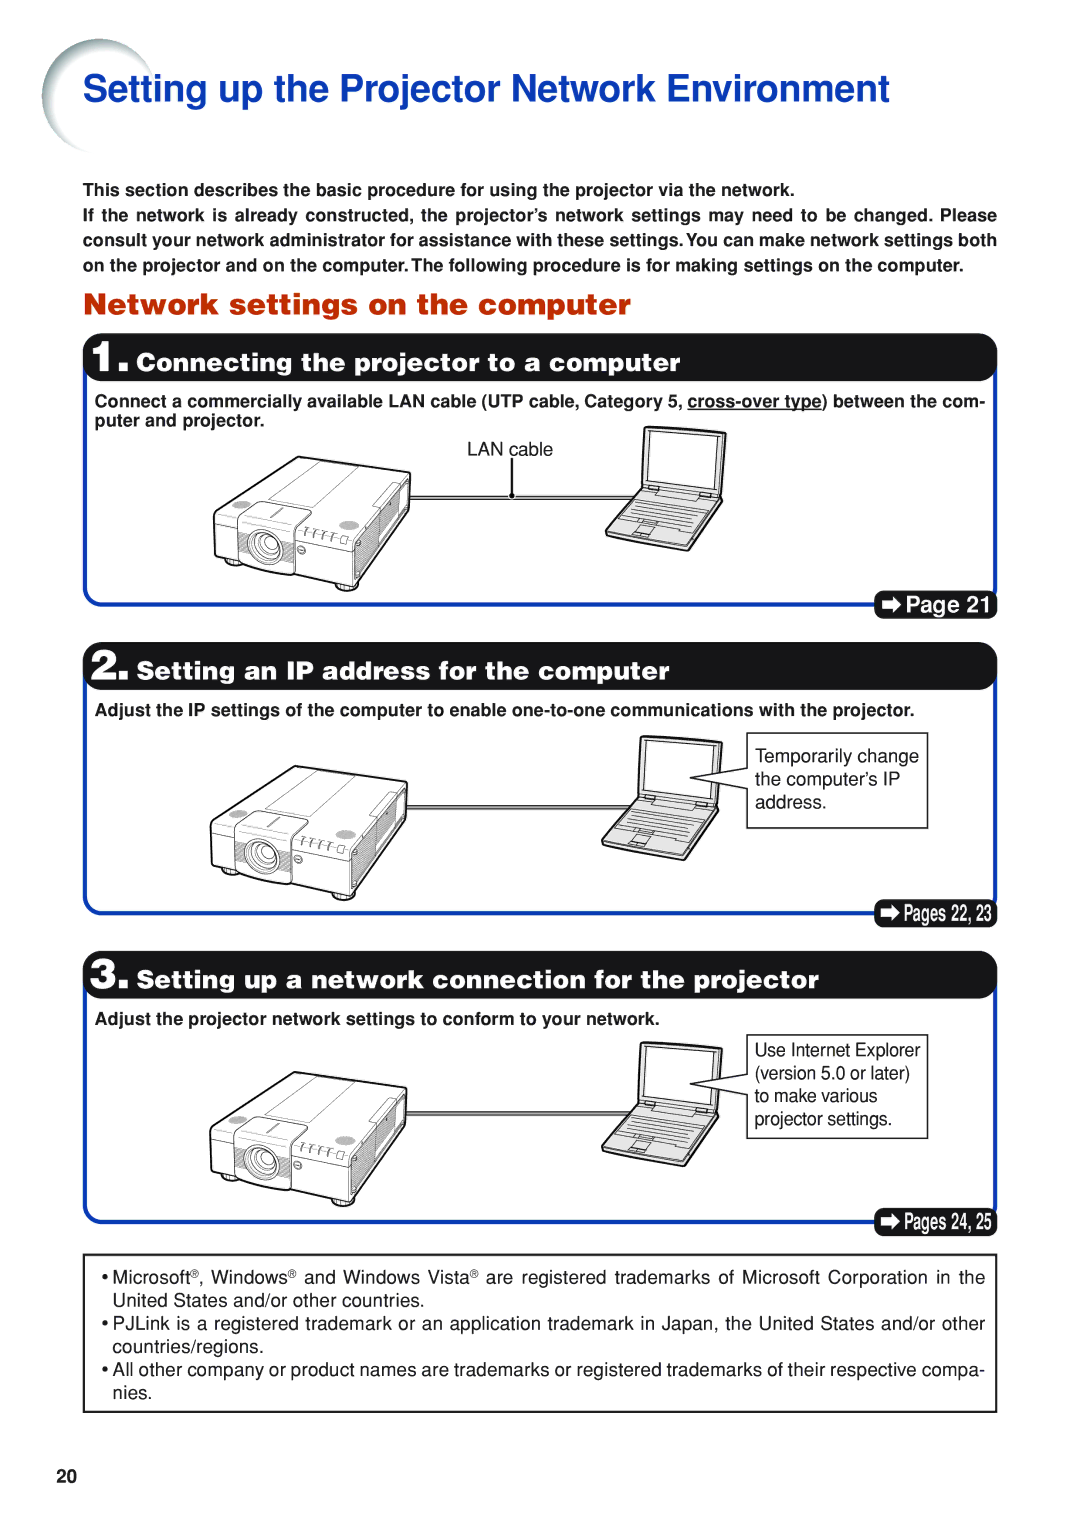
Connectivity is a key component in today’s technology, and the EIP-WX5000 series does not disappoint. The projectors are equipped with multiple input options including HDMI, VGA, and USB, facilitating easy connections with a wide range of devices such as laptops, tablets, and Blu-ray players. The inclusion of built-in networking capabilities also allows for remote management and control via a web browser, enhancing convenience for IT departments.
For those concerned about noise levels, both models operate quietly, making them suitable for environments where distractions must be minimized. Additionally, they offer extensive lamp life, which contributes to lower maintenance costs over time.
In conclusion, the Eiki EIP-WX5000 and EIP-WX5000L projectors are engineered for excellence in presentation quality, adaptability, and ease of use, making them highly favorable for professional applications across various industries.