FITTING INTO THE CABINET
IMPORTANT: Ensure that the oven is |
|
|
|
|
|
|
|
| Fig.8 |
| |||
switched off at the wall before any |
|
|
| |||
|
|
|
|
|
| |
|
|
|
|
|
| |
further work is carried out. |
|
|
|
|
|
|
|
|
|
|
|
|
|
Using a tape measure establish the internal |
|
|
|
|
|
|
width of the cabinet. Refer to page 44 if greater |
|
|
|
|
|
|
than 565mm. |
|
|
|
|
|
|
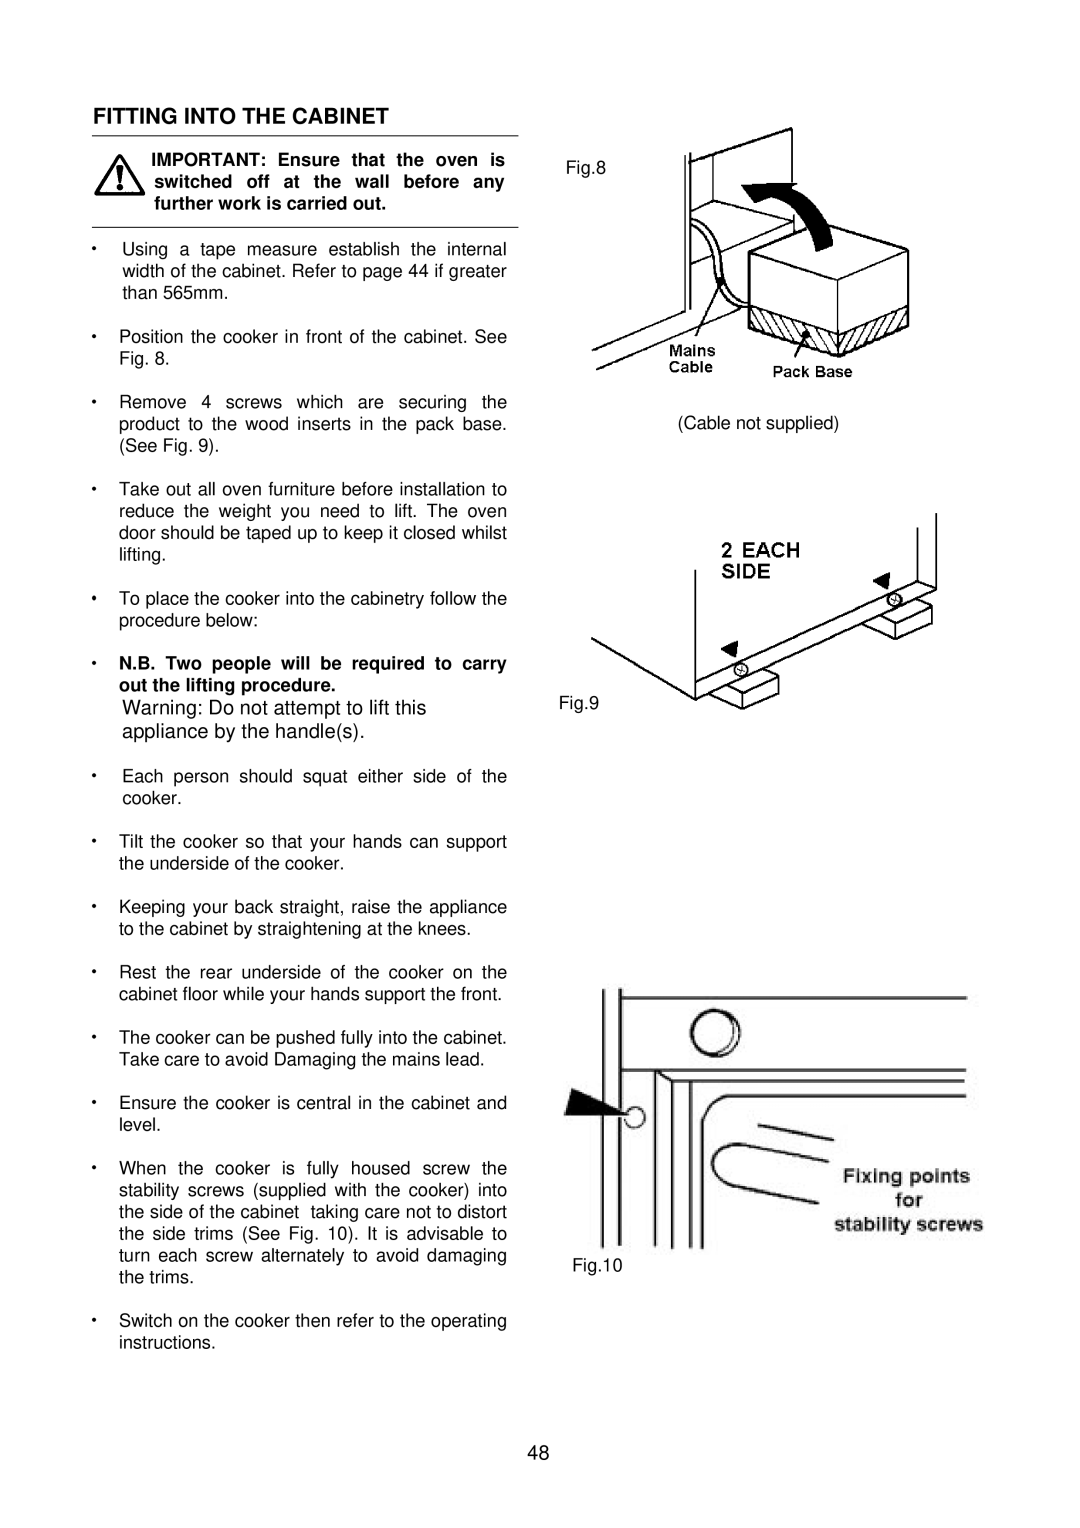
Position the cooker in front of the cabinet. See |
|
|
|
|
|
|
Fig. 8. |
|
|
|
|
|
|
Remove 4 screws which are securing the |
|
|
|
|
|
|
product to the wood inserts in the pack base. |
|
|
|
|
|
|
(See Fig. 9). |
|
|
|
|
|
|
Take out all oven furniture before installation to |
|
|
|
|
|
|
reduce the weight you need to lift. The oven |
|
|
|
|
|
|
door should be taped up to keep it closed whilst |
|
|
|
|
|
|
lifting. |
|
|
|
|
|
|
To place the cooker into the cabinetry follow the |
|
|
|
|
|
|
procedure below: |
|
|
|
|
|
|
N.B. Two people will be required to carry |
|
|
|
|
|
|
out the lifting procedure. |
|
|
|
|
|
|
| Fig.9 |
|
| |||
Warning: Do not attempt to lift this |
|
| ||||
appliance by the handle(s). |
|
|
|
|
|
|
Each person should squat either side of the |
|
|
|
|
|
|
cooker. |
|
|
|
|
|
|
Tilt the cooker so that your hands can support |
|
|
|
|
|
|
the underside of the cooker. |
|
|
|
|
|
|
Keeping your back straight, raise the appliance |
|
|
|
|
|
|
to the cabinet by straightening at the knees. |
|
|
|
|
|
|
Rest the rear underside of the cooker on the |
|
|
|
|
|
|
cabinet floor while your hands support the front. |
|
|
|
|
|
|
The cooker can be pushed fully into the cabinet. |
|
|
|
|
|
|
Take care to avoid Damaging the mains lead. |
|
|
|
|
|
|
Ensure the cooker is central in the cabinet and |
|
|
|
|
|
|
level. |
|
|
|
|
|
|
When the cooker is fully housed screw the |
|
|
|
|
|
|
stability screws (supplied with the cooker) into |
|
|
|
|
|
|
the side of the cabinet taking care not to distort |
|
|
|
|
|
|
the side trims (See Fig. 10). It is advisable to |
|
|
|
|
|
|
turn each screw alternately to avoid damaging |
|
|
|
|
|
|
|
|
| Fig.10 | |||
the trims. |
|
|
| |||
|
|
|
|
|
| |
Switch on the cooker then refer to the operating |
|
|
|
|
|
|
instructions. |
|
|
|
|
|
|
48
(Cable not supplied)