INSTALLATION Flexible Pipe Installation.

FITTING THE APPLIANCE AND CABINET

It is recommended that a 3/8" 1100mm long angle bayonet flexible hose (B.F.S.) and a ½" straight socket (B.F.S.) be used for the installation. However any approved hose of the correct length can be used. IMPORTANT: Flexible tubing used must comply with BS 669 current editions. L.P.G. flexible connections must be of a type suitable for L.P.G. and capable of operation up to 50mbar and carry a red stripe, band or label.

NOTE: Only liquid sealants can be used in threaded gas connections. Do not use P.T.F.E. tape.

1Make suitable arrangements for gas and electric supplies into the installation site. Preferably a junction box or a 3 pin earthed socket should be situated at the back of the cabinet below the oven.

2The electrical connection to the appliance is at the rear bottom right hand side; the junction box or socket should be positioned accordingly.

3Fit the cabinet as Fig.1, make sure that it is level.

4When unpacking the appliance keep it on it's polystyrene base until it is put into the cabinet to avoid damage.

NOTE: It is imperative that the appliance is left in the base to protect both the appliance and the floor. Do not allow young children to play with any part of the packaging.

5Remove the fascia panel (See section A on page 39).

6If the gas supply bayonet and wall fixing bracket are to be located behind the appliance it must be located in the shaded area as indicated in Fig.3.

7Connect flexible hose to the gas inlet supply block see Fig.3. The hose should be long enough to allow the appliance to be withdrawn from the cabinet.

8Position the appliance in front of the cabinet and

run the supply cable (See Section 2) through the cabinet and connect to the junction box or socket. Ensure that the supply is isolated at this stage. Connect flexible hose to the bayonet connector.

N.B. Two people will be required to carry out the lifting procedure.

Warning: Do not attempt to lift this appliance by the handles.

9Lift the appliance into the cabinet making sure the hose and cable are not trapped. Push the appliance as far back as it will go.

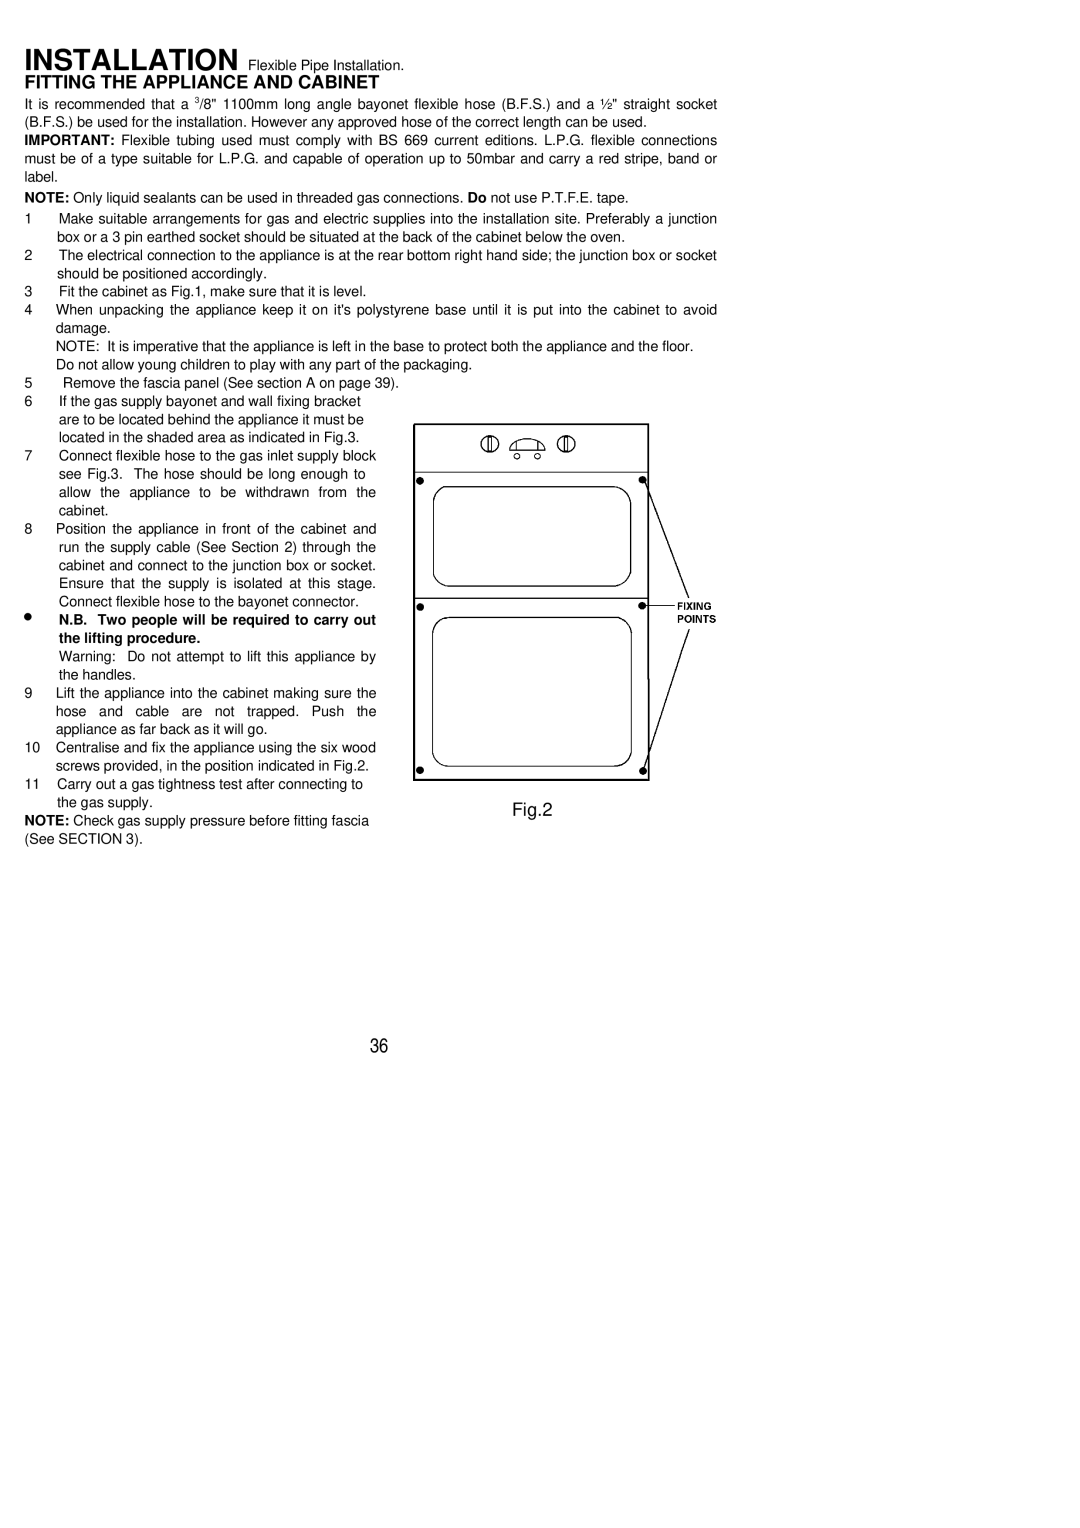
10Centralise and fix the appliance using the six wood screws provided, in the position indicated in Fig.2.

11Carry out a gas tightness test after connecting to

the gas supply.

Fig.2

NOTE: Check gas supply pressure before fitting fascia


(See SECTION 3).


36

Page 36
Image 36
Electrolux EOG9330 manual Fitting the Appliance and Cabinet

EOG9330 specifications

The Electrolux EOG9330 is a versatile and innovative built-in oven designed to enhance the cooking experience in modern kitchens. This appliance stands out for its sleek design, advanced technologies, and user-friendly features that cater to both amateur cooks and culinary experts alike.

One of the standout features of the EOG9330 is its state-of-the-art multi-functional cooking system. The oven offers a variety of cooking modes, including conventional baking, grilling, and fan-assisted cooking. This flexibility allows users to prepare a wide range of dishes, ensuring that their culinary creativity knows no bounds.

Equipped with Electrolux's innovative just-right temperature technology, the EOG9330 guarantees precise heat distribution throughout the oven cavity, ensuring that food is cooked evenly. This technology is particularly beneficial for baking, where consistent temperature control is essential for achieving perfect results.

The oven also features a highly intuitive digital interface that simplifies the cooking process. Its easy-to-read LED display provides clear guidance on selecting settings, adjusting temperatures, and monitoring cooking times. This user-friendly approach ensures that even novice cooks can operate the appliance with confidence.

Another notable characteristic of the Electrolux EOG9330 is its generous capacity. With ample interior space, this oven allows users to cook multiple dishes simultaneously, making it an ideal choice for large families or those who frequently host gatherings.

In terms of energy efficiency, the EOG9330 is designed to consume less power while delivering exceptional cooking performance. This not only reduces energy bills but also contributes to a more sustainable kitchen environment.

Cleaning this appliance is also a breeze, thanks to its easy-clean enamel interior. This smooth surface minimizes food residue and spills, making maintenance less time-consuming and hassle-free.

Finally, the EOG9330 boasts impressive safety features, including a child lock function and automatic shut-off, providing peace of mind when cooking. Overall, the Electrolux EOG9330 combines advanced technology, sleek design, and practical features, making it a top choice for anyone looking to elevate their cooking experience.