Electrolux GXYBOEOOOO, GXYEOEOOOO Lid Lock, Operating Instructions, Tilting MECHANICAL TILTING

Models: 9CHG583301 GXYDOEOOOO GXXHOEOOOO GXXBOEOOOO GXWHOEOOOO GXYBOEOOOO 9CHG583299 GXYEOEOOOO 9CHG583305 GXWEOEOOOO 9CHG583307 9CHG583304 GXXDOEOOOO GXYHOEOOOO 9CHG583303 GXXEOEOOOO 9CHG583310 9CHG583309 GXWBOEOOOO 9CHG583308 9CHG583300 9CHG583302 9CHG583306 GXWDOEOOOO

1 16
Download 16 pages 14.5 Kb
Page 10
Image 10
4.7Tilting

OPERATING INSTRUCTIONS

4.7Tilting

MECHANICAL TILTING

The pan is tilted with the help of an electric motor. It only works when the control switch (S) are switched on by turning from position 0 to I.

0 = Off

I = On

Lamp (LS) will light up.

Tilting at variable speed by turning the tilting knob (K): Emptying the pan turn to the right

Tilting back turn to the left

Turning the knob further will accelerate the tilting function.

.

K Tilting knob

the pan, the pressure will be increased to 0,45 bar (corre- sponding to 228°F (109 °C)) and remains constant. When the heating is switched off, by hand or automatically, the pan should be cooled during about 4-6 minutes, in order to decom- pose the steam and the pressure

4.9Switching off

The appliance is shut down by turning the power isolator (H) (available as an option) as well as the control switch (S) to zero. All lights will extinguish when this is done.

In the case of faults, the appliance must also be disconnected from the electric supply connection.

4.10Power failure

The loss of mains electricity while a cooking pan is being used can result in cooking being halted or interrupted. Cooking staff are then required to make an additional intervention in the con- trols or to monitor further processing.

Fig. 4 Left-hand console (at the top)

Tilting is only to be activated with lid fully open and with the swivel outlet of the water mixing unit in the correct position (precisely towards the front) and where no object is present under the appliance in the tilting zone. The pan is tilted down by turning tilting switch clockwise (to the right) and tilted up by

Power failure when:

The cooking process is taking place

The cooking process has been programmed with a starting time although this has not yet expired

The measure to be

implemented to restart the cooking process after the mains supply has been restored

Press the key (TT)

After the mains supply has been restored, the starting time comes to an end and the heating process starts automatically without any inter- vention in the controls

turning it anti clockwise (to the left). Tilting at variable speed will only take place as long as the tilting switch (K) is held in the tilting position. On being released, the switch returns to the neutral, centre position and due to the drive self-locking, the boiling pan immediately comes to rest, whatever the position and filling level. The tilting motor is automatically switched off in the extreme positions of the pan; the horizontal and fully tilted positions, so any further actuation of the tilting switch (K) has no effect.

The heating can no longer be operated with even the smallest degree of tilt from the horizontal.

Select the rate of tilting so that the produce is discharged in the region of the pouring lip. This is easy to do by varying the tilting speed. Avoid spillage of the contents over the rim of the boiling pan.

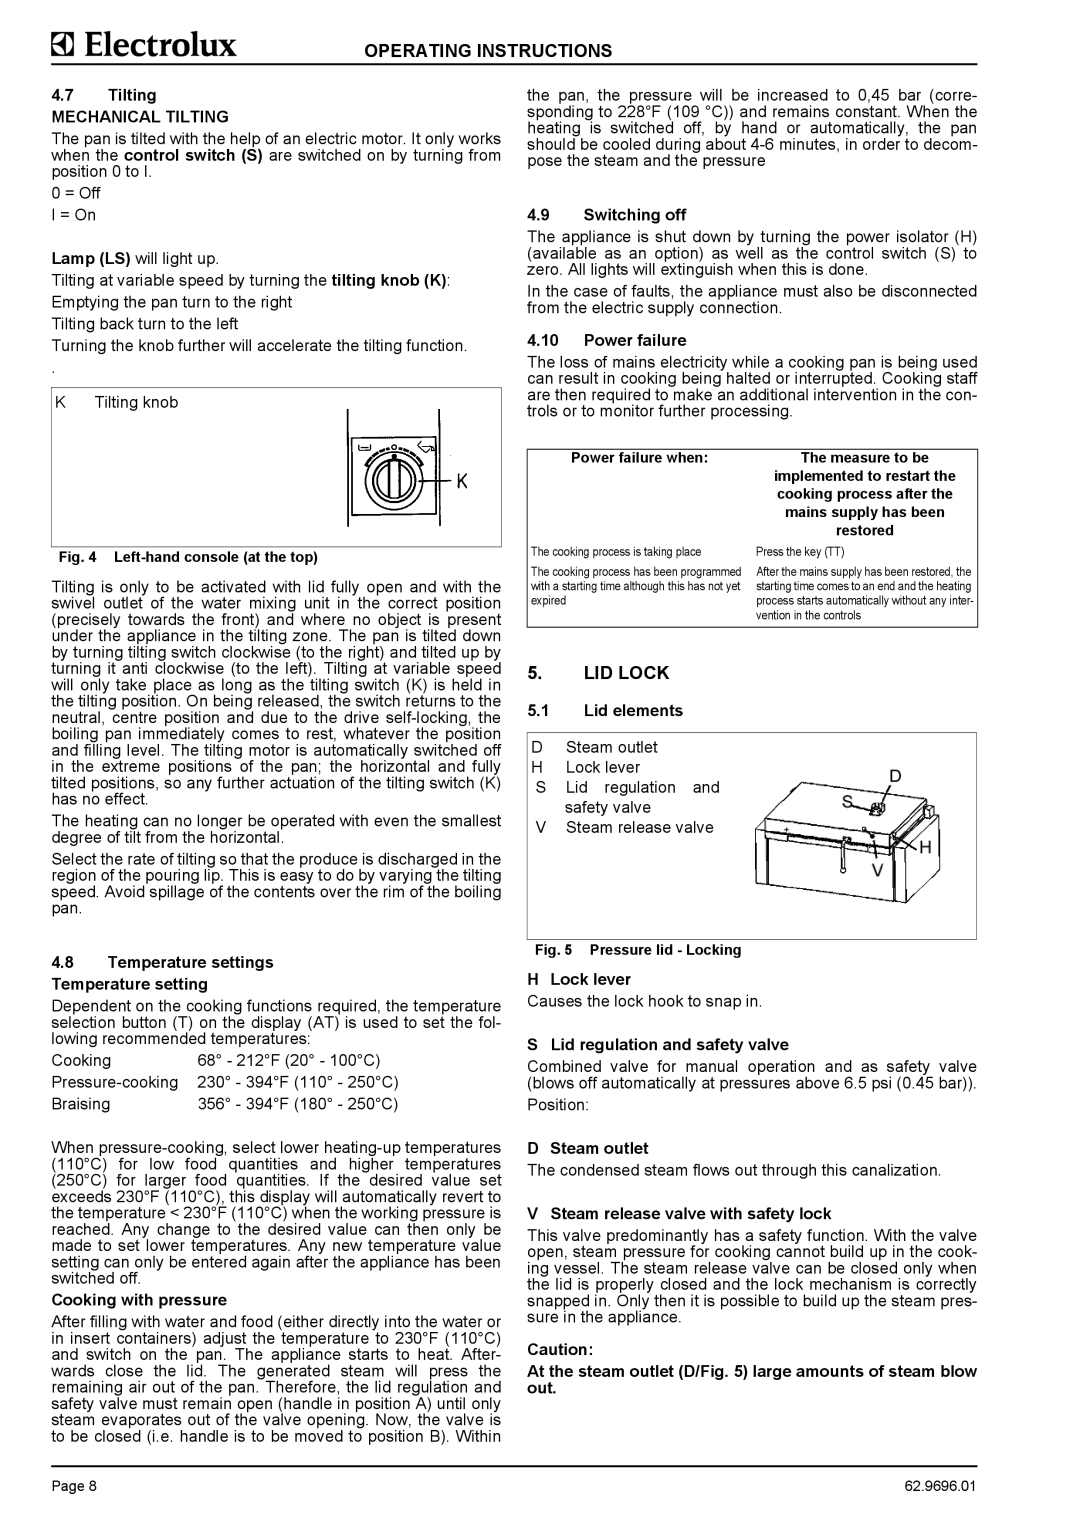
5.LID LOCK

5.1Lid elements

DSteam outlet H Lock lever

S Lid regulation and safety valve

V Steam release valve

4.8Temperature settings Temperature setting

Dependent on the cooking functions required, the temperature selection button (T) on the display (AT) is used to set the fol- lowing recommended temperatures:

Cooking

68° - 212°F (20° - 100°C)

Pressure-cooking

230° - 394°F (110° - 250°C)

Braising

356° - 394°F (180° - 250°C)

When pressure-cooking, select lower heating-up temperatures (110°C) for low food quantities and higher temperatures

(250°C) for larger food quantities. If the desired value set exceeds 230°F (110°C), this display will automatically revert to the temperature < 230°F (110°C) when the working pressure is reached. Any change to the desired value can then only be made to set lower temperatures. Any new temperature value setting can only be entered again after the appliance has been switched off.

Cooking with pressure

After filling with water and food (either directly into the water or in insert containers) adjust the temperature to 230°F (110°C) and switch on the pan. The appliance starts to heat. After- wards close the lid. The generated steam will press the remaining air out of the pan. Therefore, the lid regulation and safety valve must remain open (handle in position A) until only steam evaporates out of the valve opening. Now, the valve is to be closed (i.e. handle is to be moved to position B). Within

Fig. 5 Pressure lid - Locking

H Lock lever

Causes the lock hook to snap in.

S Lid regulation and safety valve

Combined valve for manual operation and as safety valve (blows off automatically at pressures above 6.5 psi (0.45 bar)).

Position:

D Steam outlet

The condensed steam flows out through this canalization.

V Steam release valve with safety lock

This valve predominantly has a safety function. With the valve open, steam pressure for cooking cannot build up in the cook- ing vessel. The steam release valve can be closed only when the lid is properly closed and the lock mechanism is correctly snapped in. Only then it is possible to build up the steam pres- sure in the appliance.

Caution:

At the steam outlet (D/Fig. 5) large amounts of steam blow out.

Page 8

62.9696.01

Page 10
Image 10
Electrolux GXYBOEOOOO, GXYEOEOOOO, GXXBOEOOOO, GXYHOEOOOO manual Lid Lock, Operating Instructions, Tilting MECHANICAL TILTING