CF4600GLZ00, CF4600WB00 specifications
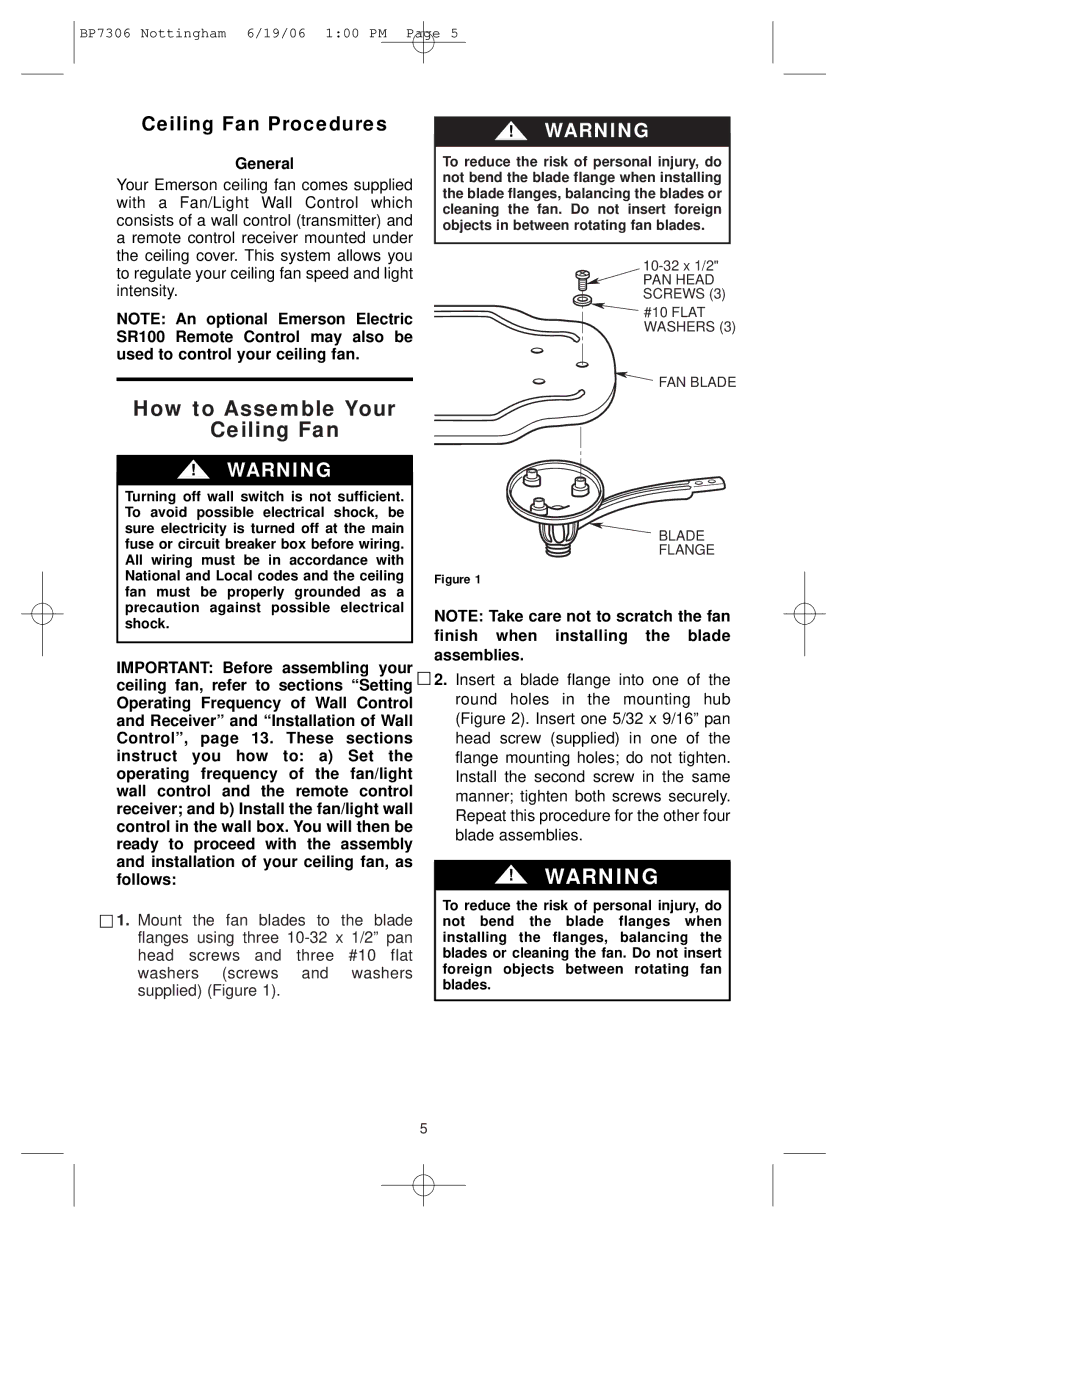
The Emerson CF4600WB00 and CF4600GLZ00 ceiling fans are exemplary models from one of the leading brands in home and industrial ventilation. These ceiling fans combine modern design with advanced technologies to deliver optimal airflow, energy efficiency, and aesthetic appeal.One of the standout features of both models is their powerful yet quiet motor. Equipped with a robust DC motor, they are designed to provide thorough air circulation without the distracting noise commonly associated with traditional ceiling fans. This makes them ideal for residential settings where maintaining a peaceful environment is crucial, such as in bedrooms, living rooms, and home offices.
The CF4600WB00 boasts a sleek, contemporary design, available in a striking black finish. Its five blades are precisely engineered to enhance airflow, ensuring that it not only looks good but performs exceptionally well. The fan's dimensions make it suitable for medium to large-sized rooms, providing ample coverage and making it a practical choice for homeowners seeking efficient cooling solutions.
In contrast, the CF4600GLZ00 features a stylish glistening finish that complements a range of decor styles, from modern to classic. This model also includes five blades designed for optimal performance, with an emphasis on energy conservation. Both fans are compatible with energy-efficient LED lighting, allowing users to illuminate their spaces while keeping electricity costs down.
Another key feature of these ceiling fans is their smart technology integration. Both models can be operated via remote control, providing convenience and ease of use without the need for cumbersome pull chains. Some versions also offer compatibility with smart home systems, allowing homeowners to control their settings using voice commands or smartphone applications.
The Emerson CF4600 series is built with durability in mind. The materials used in construction are designed to withstand the test of time, resisting wear and tear from exposure to varying environmental conditions. Additionally, the fans come with a limited lifetime warranty, further assuring customers of their quality and reliability.
In conclusion, the Emerson CF4600WB00 and CF4600GLZ00 ceiling fans are a perfect blend of style, performance, and modern technology. Their innovative motors, elegant designs, and smart features make them an excellent choice for anyone looking to enhance their indoor air quality while adding a touch of sophistication to their home. Whether for leisure or workspaces, these ceiling fans are a testament to Emerson's commitment to quality and customer satisfaction.

