Chapter 2: Hardware Installation
To install the access point, follow the steps outlined below:
1.Select a Site – Choose a proper place for the access point. In general, the best location is at the center of your wireless coverage area, within line of sight of all wireless devices. Try to place the access point in a position that can best cover its Basic Service Set (refer to “Infrastructure Wireless LAN” on page
•Mount the access point as high as possible above any obstructions in the coverage area.
•Avoid mounting next to or near building support columns or other obstructions that may cause reduced signal or null zones in parts of the coverage area.
•Mount away from any signal absorbing or reflecting structures (such as those containing metal).
2.Mount the Access Point – The access point can be mounted on any flat surface, such as a desktop, a ceiling, or a wall.
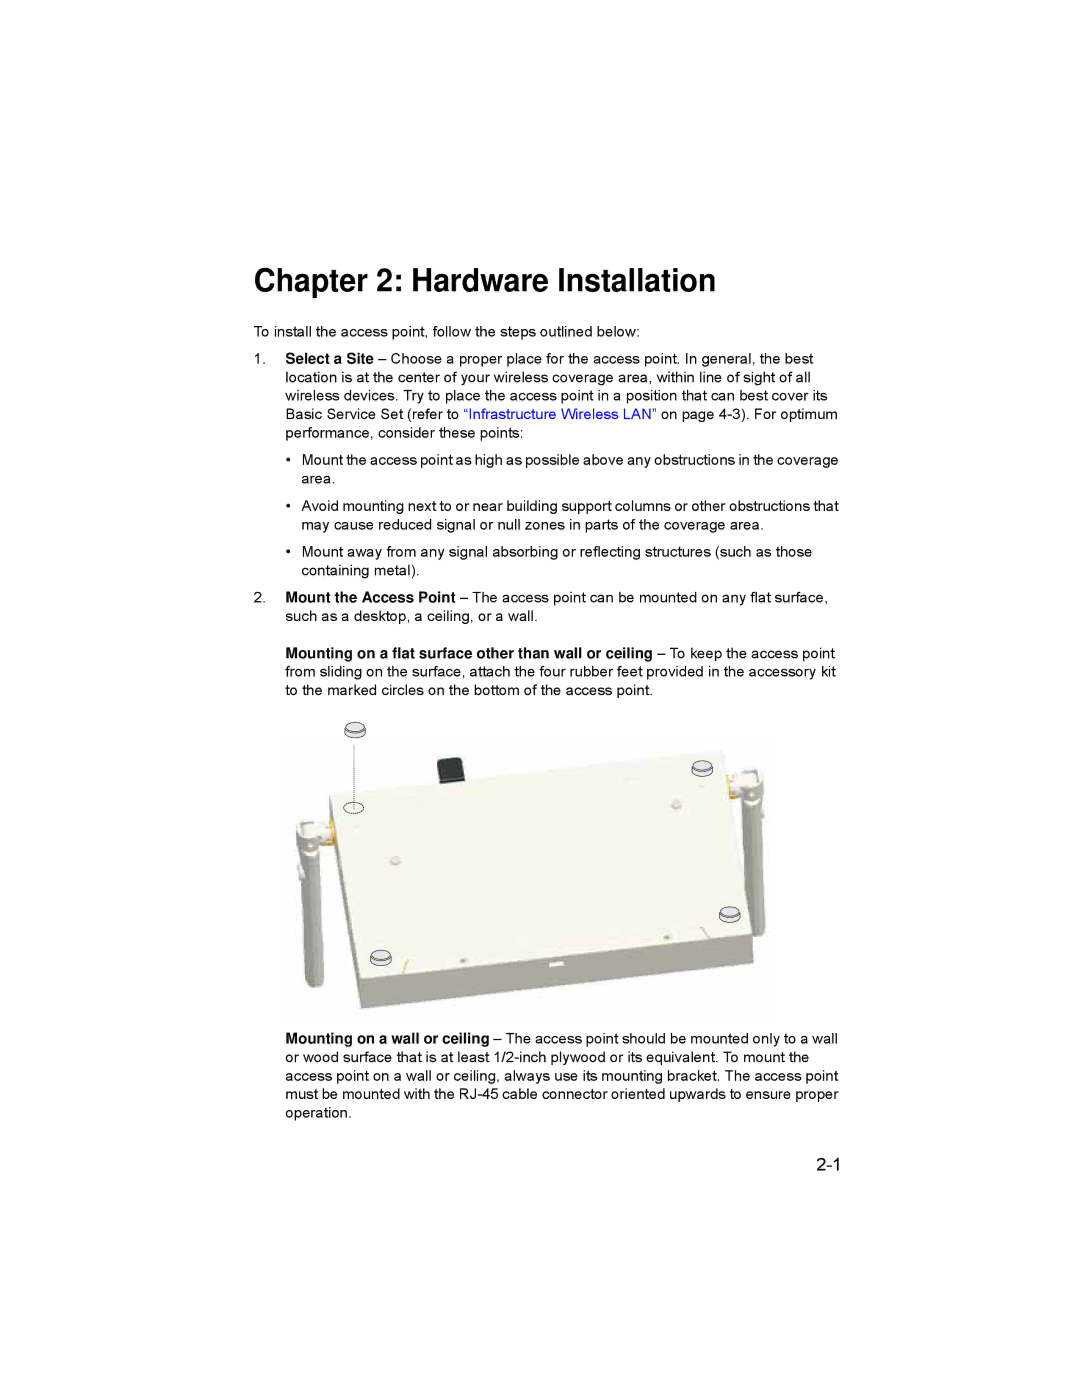
Mounting on a flat surface other than wall or ceiling – To keep the access point from sliding on the surface, attach the four rubber feet provided in the accessory kit to the marked circles on the bottom of the access point.
Mounting on a wall or ceiling – The access point should be mounted only to a wall or wood surface that is at least