Tips for Using the QuickConnect II™ System
Make sure you install the SubliJet IQ Driver and theChromaBlast
Driver™ from the CD that came with your Quick Connect II system.
Perform a nozzle check from the SubliJet and ChromaBlast Driver™.
A few cleanings may be necessary to get a good nozzle check.
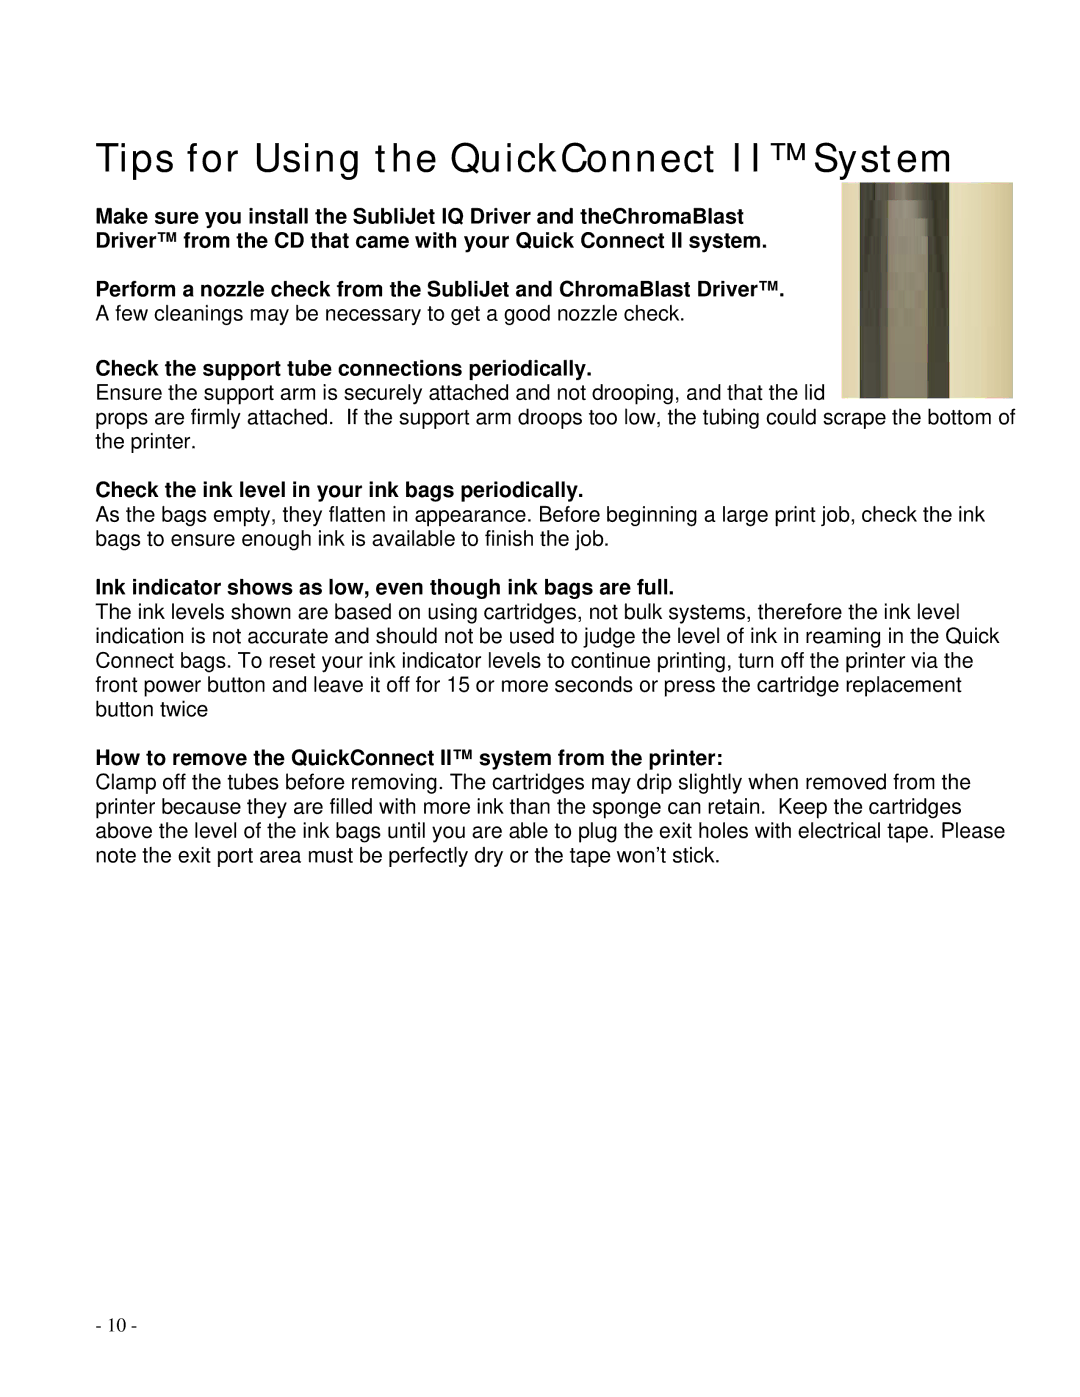
Check the support tube connections periodically.
Ensure the support arm is securely attached and not drooping, and that the lid
props are firmly attached. If the support arm droops too low, the tubing could scrape the bottom of the printer.
Check the ink level in your ink bags periodically.
As the bags empty, they flatten in appearance. Before beginning a large print job, check the ink bags to ensure enough ink is available to finish the job.
Ink indicator shows as low, even though ink bags are full.
The ink levels shown are based on using cartridges, not bulk systems, therefore the ink level indication is not accurate and should not be used to judge the level of ink in reaming in the Quick Connect bags. To reset your ink indicator levels to continue printing, turn off the printer via the front power button and leave it off for 15 or more seconds or press the cartridge replacement button twice
How to remove the QuickConnect II™ system from the printer:
Clamp off the tubes before removing. The cartridges may drip slightly when removed from the printer because they are filled with more ink than the sponge can retain. Keep the cartridges above the level of the ink bags until you are able to plug the exit holes with electrical tape. Please note the exit port area must be perfectly dry or the tape won’t stick.
- 10 -