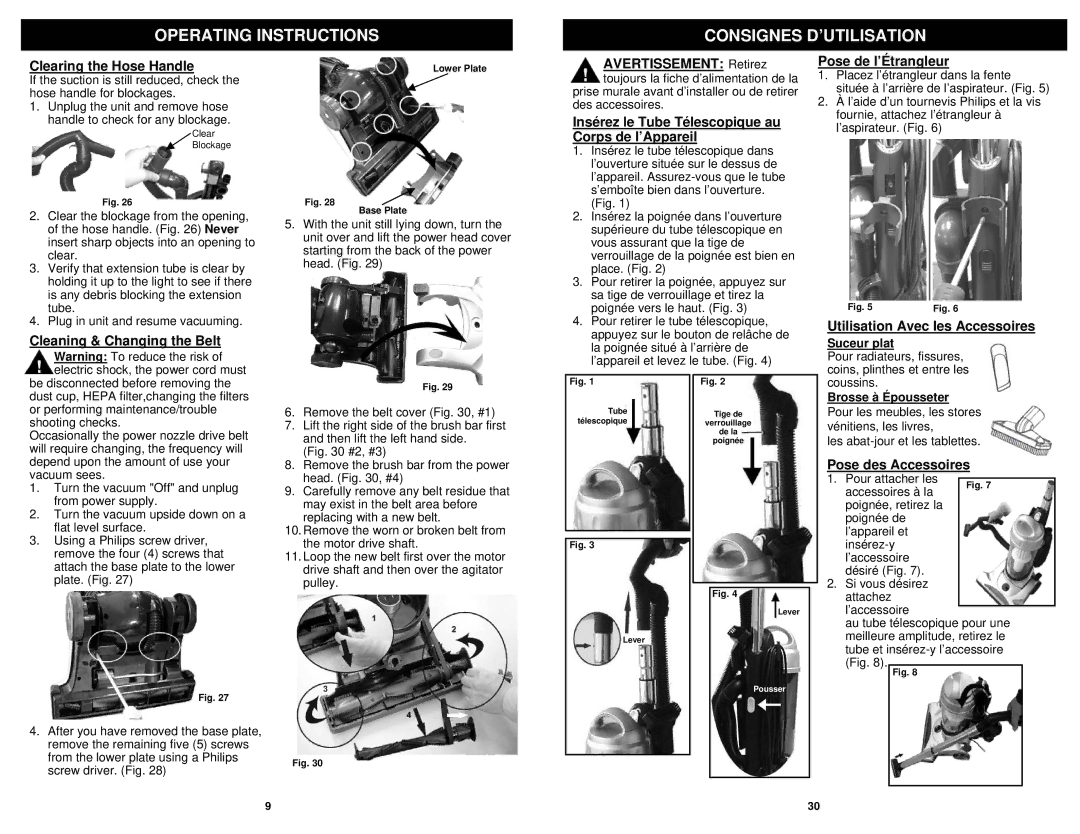
V1310PT specifications
The Euro-Pro V1310PT is a versatile and compact steam cleaner that has gained popularity among homeowners and cleaning enthusiasts alike. Known for its efficiency, the V1310PT features a powerful steam output that effectively tackles dirt, grime, and other difficult stains in a variety of surfaces.At the heart of the Euro-Pro V1310PT is its impressive heating element which allows the device to reach steam-ready temperatures in just a matter of minutes. This rapid heating technology ensures that users can start cleaning without long waiting times, making it ideal for those with busy lifestyles. The steam output can be adjusted according to the cleaning task, providing both ultra-high pressure steam for deep cleaning and gentler steam for delicate surfaces.
One of the standout features of the V1310PT is its lightweight and portable design. Weighing in at just a few pounds, this steam cleaner is easy to maneuver, whether you are cleaning floors, upholstery, or tight corners. The long power cord further adds to its flexibility, allowing you to cover larger areas without the need to constantly change power outlets.
The Euro-Pro V1310PT comes with a variety of attachments that enhance its cleaning capability. It includes different nozzles designed for specific tasks – from wide and narrow brushes for floors, to fabric steamers for clothing and drapes. These specialized attachments make it easy to customize the cleaning process, ensuring optimal results on various surfaces.
Safety is another important consideration in the V1310PT’s design. It features automatic shut-off technology that activates when the water level is low or if the unit has been idle for an extended period. This not only helps in conserving energy but also adds a layer of safety during use.
In terms of energy efficiency, the Euro-Pro V1310PT is a welcome option for eco-conscious users. It uses only water to produce steam, eliminating the need for harmful chemicals and contributing to a healthier environment.
Overall, the Euro-Pro V1310PT combines efficiency, safety, and versatility in one compact package, making it an excellent choice for anyone looking to enhance their cleaning routine with the power of steam. Its combination of advanced features and user-friendly design solidifies its position as a go-to steam cleaning solution in many homes.

