Fig. 22
Fig. 19
Fig. 18

OPERATING INSTRUCTIONS

CONSIGNES D’UTILISATION

5.The HEPA filter may also be washed by running it under the tap allowing the water to run on the dirty side.

(Fig. 18) We

recommend washing it once a month or when

suction appears reduced. Always allow 24 hours for air drying before replacing into the vacuum.

Please Note: The white material in the HEPA filter will discolor over time - This is NORMAL and will NOT affect the performance of the filter.

WARNING: Never over fill the dust cup - remove dirt and clean

the HEPA dust cup filter, filter ring and debris screen each time the dust cup is emptied during prolonged usage or risk motor damage.

Cleaning the Filter Ring

1.Around the HEPA filter there is a filter ring. This is washable in lukewarm water.

(Fig. 19) To remove the filter ring, slide it off the HEPA filter.

2.We recommend washing the filter ring when you are washing your HEPA filter. Always allow the

filter ring to air dry for

24 hours before replacing onto

the HEPA filter. Never run the vacuum without all the filters in place.

Note: This is a washable filter, but we recommend replacing it every three (3) months.

Cleaning the HEPA Filter Frame

1.Before replacing the HEPA filter in the HEPA Filter frame, you can (should) rinse the frame in lukewarm water by just running it under the tap to remove any dust that is adhering to the frame. (Fig. 20) Do NOT place in dishwasher.

Fig. 20

2.Make sure that the filter frame is completely dry before replacing into the dust cup. Always air dry for 24 hours.

Cleaning the Pre-Motor Filters

1.Underneath the dust cup container, are two pre-motor filters. (Fig. 21)

2.One is small and it fits into the air inlet pipe.

3.To remove, just lift out.

4.To remove the second pre-motor filter, twist the pre-motor filter cover, lift the cover out and remove the second pre- motor filter. (Fig. 21)

Fig. 21

Pre-

Motor

Filter

Cover

5.To clean the pre-motor filters, rinse in lukewarm water and let air dry completely for 24 hours. Do not use a washing machine to rinse the filters. Do not use a hair dryer to

dry them. Air dry only. Never operate the vacuum cleaner without all filters in place.

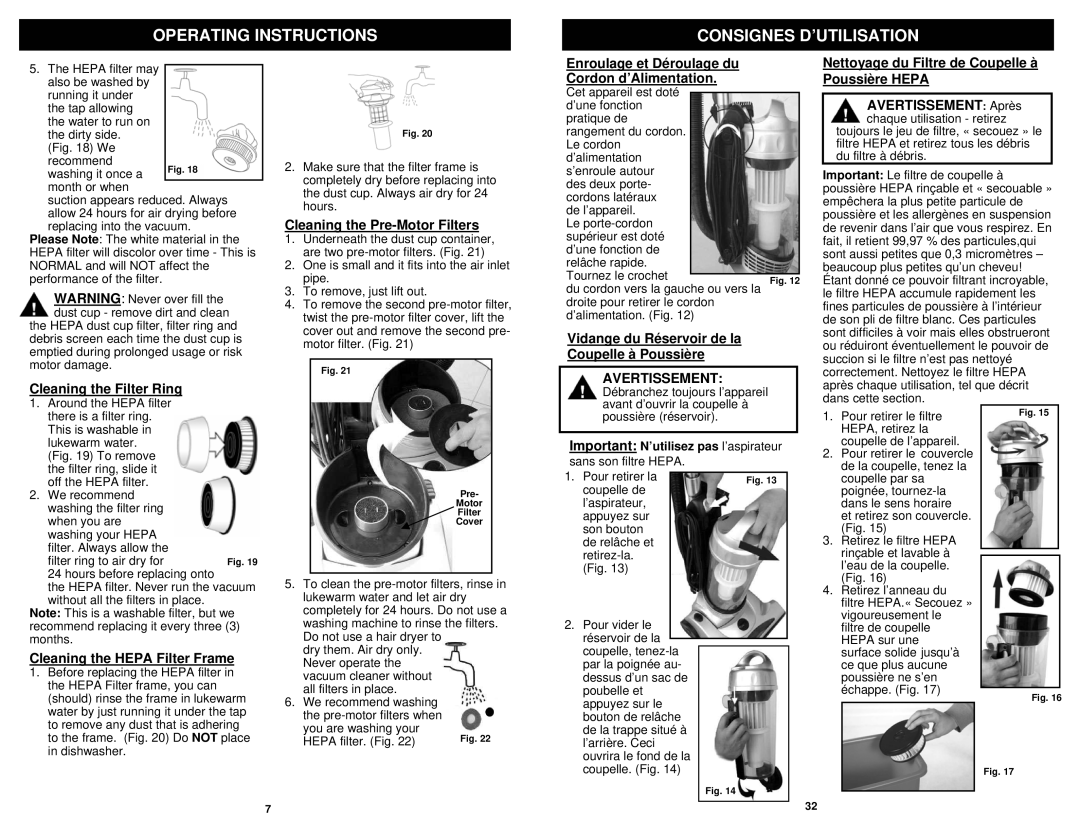
6.We recommend washing the pre-motor filters when you are washing your

HEPA filter. (Fig. 22)

Enroulage et Déroulage du

Cordon d’Alimentation.

Cet appareil est doté d’une fonction pratique de rangement du cordon. Le cordon d’alimentation s’enroule autour des deux porte- cordons latéraux

de l’appareil. Le porte-cordon supérieur est doté d’une fonction de relâche rapide.

Tournez le crochetFig. 12 du cordon vers la gauche ou vers la droite pour retirer le cordon d’alimentation. (Fig. 12)

Vidange du Réservoir de la

Coupelle à Poussière

AVERTISSEMENT:

Débranchez toujours l’appareil avant d’ouvrir la coupelle à poussière (réservoir).

Important: N’utilisez pas l’aspirateur

sans son filtre HEPA.

1.

Pour retirer la


Fig. 13


coupelle de


l’aspirateur,


appuyez sur


son bouton


de relâche et


retirez-la.


(Fig. 13)


2.

Pour vider le


réservoir de la


coupelle, tenez-la


par la poignée au-


dessus d’un sac de


poubelle et


appuyez sur le


bouton de relâche


de la trappe situé à


l’arrière. Ceci


ouvrira le fond de la


coupelle. (Fig. 14)


Fig. 14


Nettoyage du Filtre de Coupelle à Poussière HEPA

AVERTISSEMENT: Après

chaque utilisation - retirez toujours le jeu de filtre, « secouez » le filtre HEPA et retirez tous les débris du filtre à débris.

Important: Le filtre de coupelle à poussière HEPA rinçable et « secouable » empêchera la plus petite particule de poussière et les allergènes en suspension de revenir dans l’air que vous respirez. En fait, il retient 99,97 % des particules,qui sont aussi petites que 0,3 micromètres – beaucoup plus petites qu’un cheveu! Étant donné ce pouvoir filtrant incroyable, le filtre HEPA accumule rapidement les fines particules de poussière à l’intérieur de son pli de filtre blanc. Ces particules sont difficiles à voir mais elles obstrueront ou réduiront éventuellement le pouvoir de succion si le filtre n’est pas nettoyé correctement. Nettoyez le filtre HEPA après chaque utilisation, tel que décrit dans cette section.

1. Pour retirer le filtre

Fig. 15

HEPA, retirez la


coupelle de l’appareil.


2.Pour retirer le couvercle de la coupelle, tenez la coupelle par sa poignée, tournez-la dans le sens horaire

et retirez son couvercle. (Fig. 15)

3.Retirez le filtre HEPA

rinçable et lavable à


l’eau de la coupelle.


(Fig. 16)


4. Retirez l’anneau du


filtre HEPA.« Secouez »


vigoureusement le


filtre de coupelle


HEPA sur une


surface solide jusqu’à


ce que plus aucune


poussière ne s’en


échappe. (Fig. 17)

Fig. 16


Fig. 17

7

32

Page 8
Image 8
Euro-Pro V1310PT owner manual Avertissement

V1310PT specifications

The Euro-Pro V1310PT is a versatile and compact steam cleaner that has gained popularity among homeowners and cleaning enthusiasts alike. Known for its efficiency, the V1310PT features a powerful steam output that effectively tackles dirt, grime, and other difficult stains in a variety of surfaces.

At the heart of the Euro-Pro V1310PT is its impressive heating element which allows the device to reach steam-ready temperatures in just a matter of minutes. This rapid heating technology ensures that users can start cleaning without long waiting times, making it ideal for those with busy lifestyles. The steam output can be adjusted according to the cleaning task, providing both ultra-high pressure steam for deep cleaning and gentler steam for delicate surfaces.

One of the standout features of the V1310PT is its lightweight and portable design. Weighing in at just a few pounds, this steam cleaner is easy to maneuver, whether you are cleaning floors, upholstery, or tight corners. The long power cord further adds to its flexibility, allowing you to cover larger areas without the need to constantly change power outlets.

The Euro-Pro V1310PT comes with a variety of attachments that enhance its cleaning capability. It includes different nozzles designed for specific tasks – from wide and narrow brushes for floors, to fabric steamers for clothing and drapes. These specialized attachments make it easy to customize the cleaning process, ensuring optimal results on various surfaces.

Safety is another important consideration in the V1310PT’s design. It features automatic shut-off technology that activates when the water level is low or if the unit has been idle for an extended period. This not only helps in conserving energy but also adds a layer of safety during use.

In terms of energy efficiency, the Euro-Pro V1310PT is a welcome option for eco-conscious users. It uses only water to produce steam, eliminating the need for harmful chemicals and contributing to a healthier environment.

Overall, the Euro-Pro V1310PT combines efficiency, safety, and versatility in one compact package, making it an excellent choice for anyone looking to enhance their cleaning routine with the power of steam. Its combination of advanced features and user-friendly design solidifies its position as a go-to steam cleaning solution in many homes.