d)Clean out any grass
e)Inspect blades and sharpen or replace as required.
f)If blade removal is necessary, be careful for the sharp cutting edges of the blades.
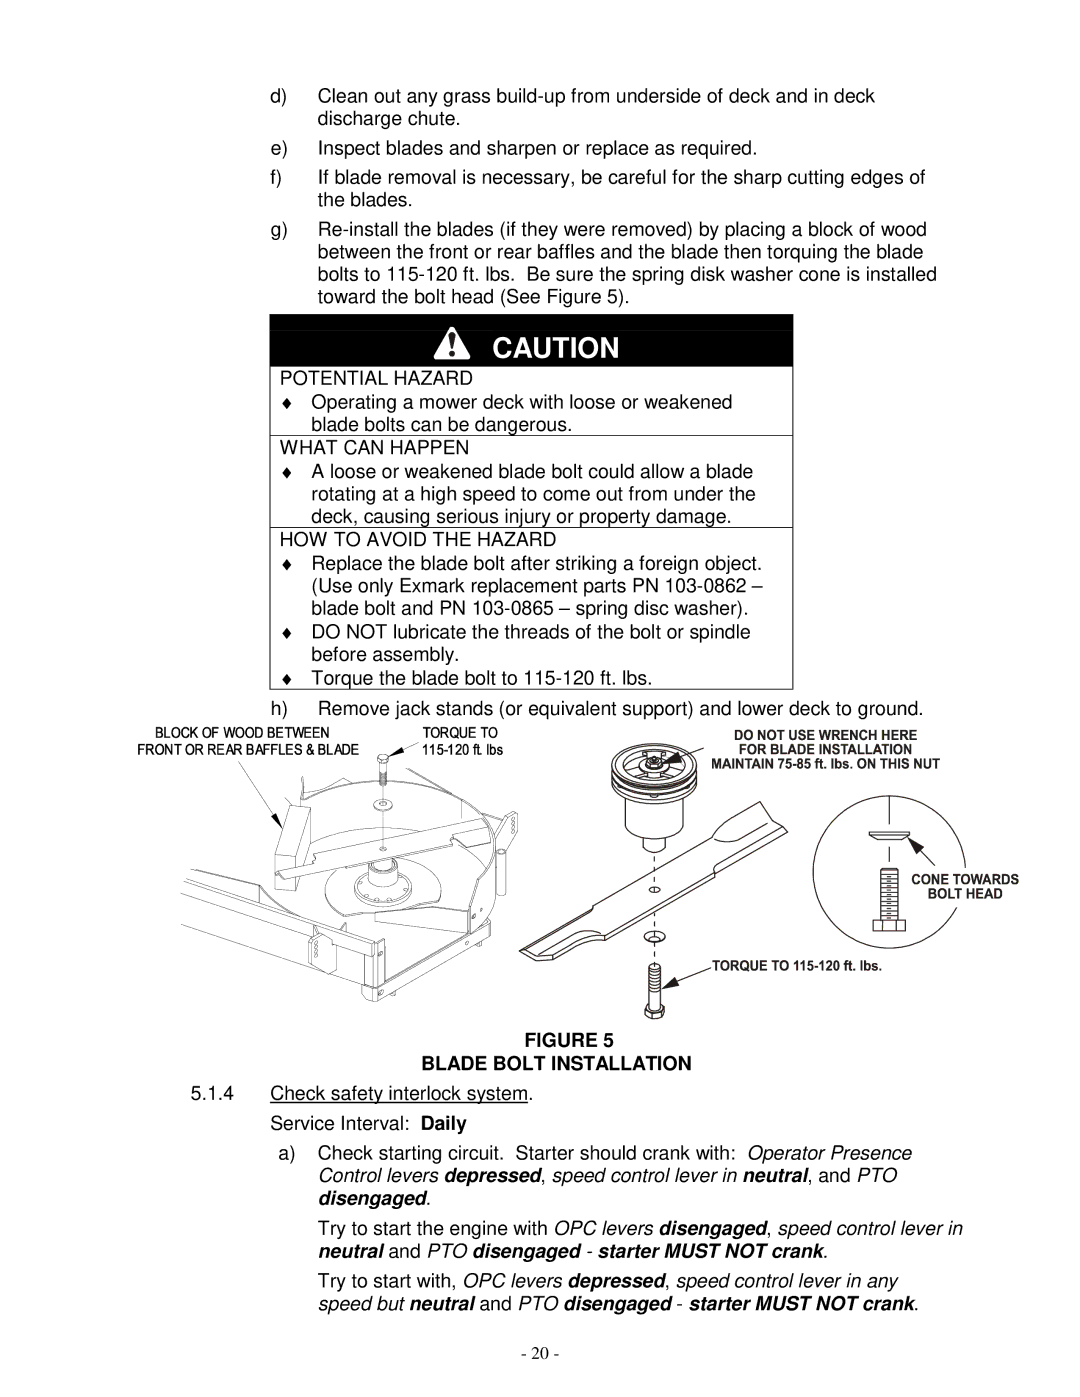
g)
CAUTION
POTENTIAL HAZARD
♦Operating a mower deck with loose or weakened blade bolts can be dangerous.
WHAT CAN HAPPEN
♦A loose or weakened blade bolt could allow a blade rotating at a high speed to come out from under the deck, causing serious injury or property damage.
HOW TO AVOID THE HAZARD
♦Replace the blade bolt after striking a foreign object. (Use only Exmark replacement parts PN
♦DO NOT lubricate the threads of the bolt or spindle before assembly.
♦Torque the blade bolt to
h)Remove jack stands (or equivalent support) and lower deck to ground.
FIGURE 5
BLADE BOLT INSTALLATION
5.1.4Check safety interlock system. Service Interval: Daily
a)Check starting circuit. Starter should crank with: Operator Presence Control levers depressed, speed control lever in neutral, and PTO disengaged.
Try to start the engine with OPC levers disengaged, speed control lever in neutral and PTO disengaged - starter MUST NOT crank.
Try to start with, OPC levers depressed, speed control lever in any speed but neutral and PTO disengaged - starter MUST NOT crank.
- 20 -