FOX 2G Tx specifications
Extron Electronics, a leader in the field of advanced audiovisual solutions, has introduced the FOX 2G Tx, a cutting-edge transmitter designed to meet the ever-evolving demands of modern AV systems. This device is an essential component in Extron's FOX Series, which is renowned for its robust capabilities in extending HDMI signals over long distances while ensuring high-quality performance.The FOX 2G Tx utilizes sophisticated technology to transmit uncompressed HDMI signals up to 330 feet over multimode fiber and up to 2,500 feet over single-mode fiber. This unrivaled range allows for flexible installation options in a variety of applications, such as large auditoriums, control rooms, and educational settings. The transmitter supports HDMI 2.0, accommodating resolutions up to 4K at 60 Hz with 4:4:4 chroma subsampling. This feature is crucial in preserving image quality, making it ideal for high-definition video content and presentations.
One of the standout features of the FOX 2G Tx is its support for HDCP 2.3, ensuring compatibility with the latest digital content protection standards. This guarantees that users can transmit protected content without issues. Additionally, the device supports deep color, 3D, and multi-channel audio formats including Dolby TrueHD and DTS-HD Master Audio, providing a comprehensive multimedia experience.
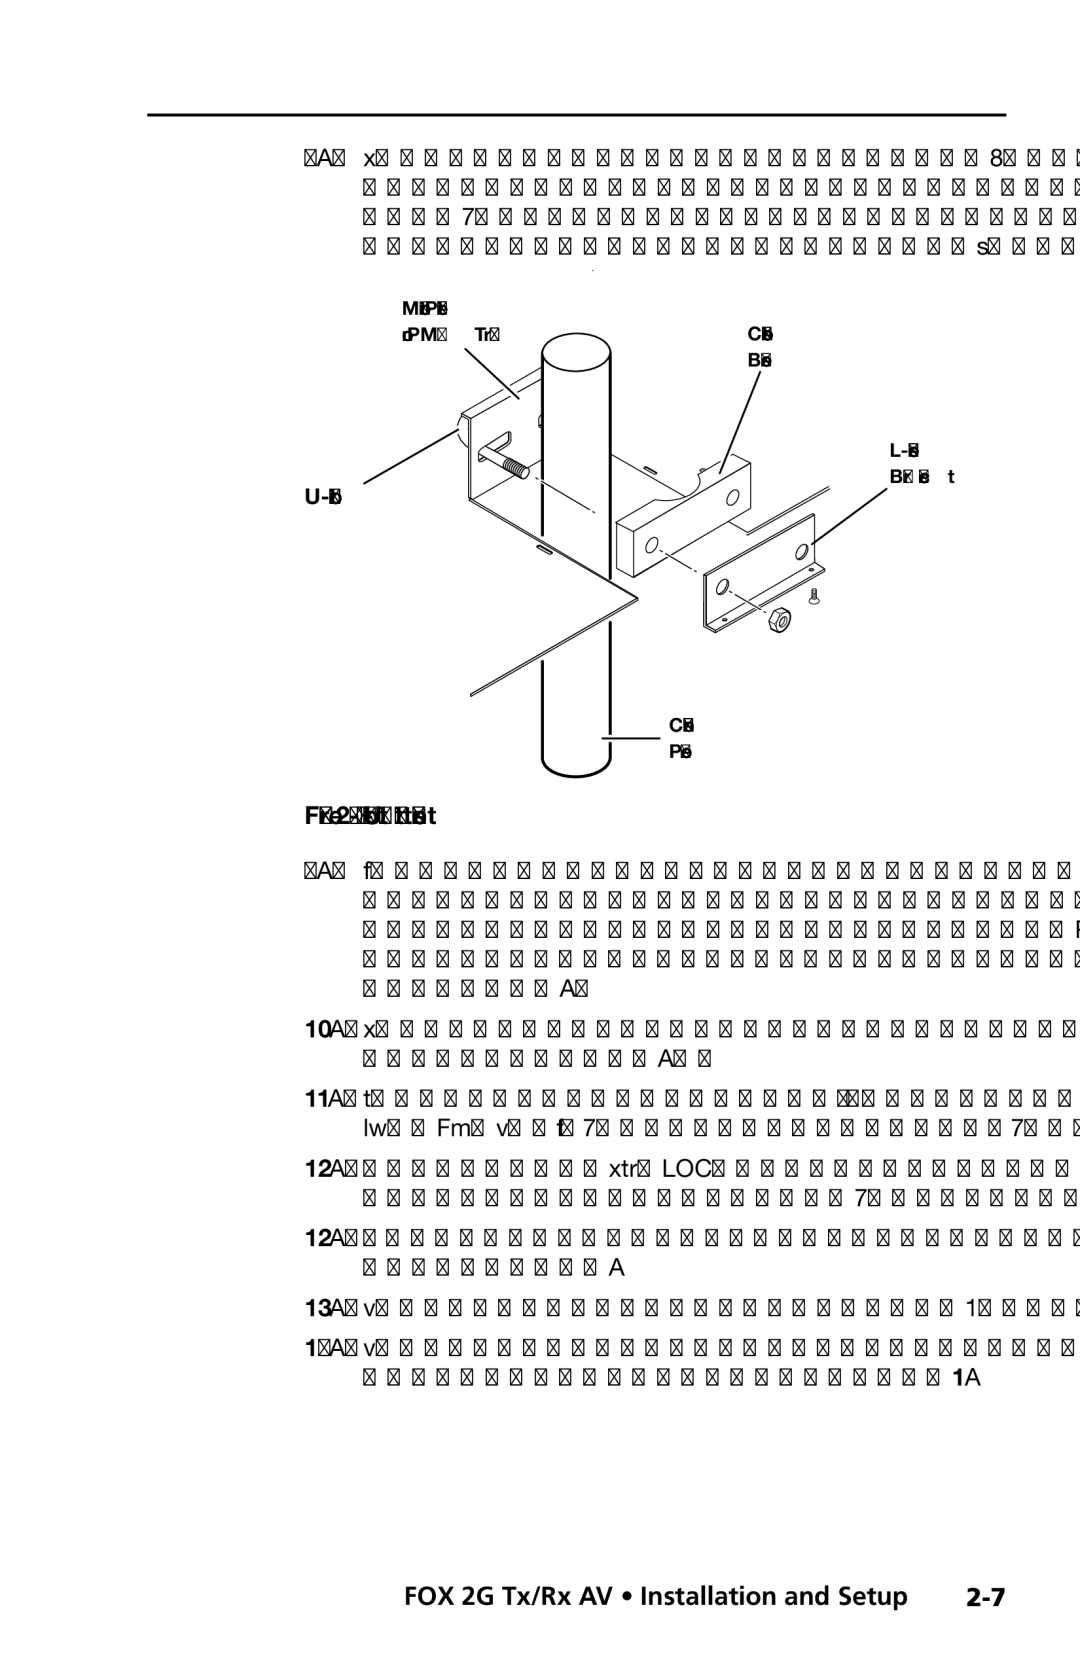
Another distinguishing characteristic of the FOX 2G Tx is its simplicity in installation and operation. The device is designed with a compact form factor and includes mounting options, making it easy to integrate into existing AV systems. Furthermore, it is equipped with an intuitive status LED that provides real-time feedback on signal presence and operational status, allowing for quick troubleshooting and maintenance.
For enhanced flexibility, the FOX 2G Tx features a built-in EDID emulator. This ensures that the source device and display maintain optimal signal quality by preserving the correct metadata for each connected device. The use of fiber optic technology also contributes to superior immunity against electrical interference, resulting in a stable signal transmission, even in environments with high electromagnetic interference.
In summary, the Extron FOX 2G Tx is a versatile and powerful transmitter that excels in delivering high-quality HDMI signals over long distances. With its advanced features, compatibility with the latest standards, and user-friendly design, it is a go-to solution for professional AV installations seeking reliability and performance. Whether in corporate, educational, or entertainment settings, the FOX 2G Tx stands out as a key component in modern audiovisual setups.

