Operation, cont’d
output video using each device’s own operating instructions. Select an input. The image should appear on the screen.
Selecting an input
To select an input using the front panel buttons, press and release the button for the desired input
Input selection can also be done by an
Normal and auto-sync mode
The
Viewing the current switch mode
The current mode can be determined at any time by pressing and holding the input 1/Mode button until either the input 2/Norm or input 3/Auto LED blinks to indicate the mode. Release the input 1/Mode button.
Conversely, if selecting input 1 and the input 1/Mode button is held too long, the current mode is displayed and input 1 is not selected.
Selecting normal mode
Press and hold the input 1/Mode and input 2/Norm buttons simultaneously. The input 2/Norm LED blinks to indicate normal mode. Release both buttons. The default input is input 1, but if you release the input/Mode 1 button before releasing the input 2/Norm button, the switcher may select input 2.
When changing mode, if the input 1/Mode button is released too soon (before the input 2 or 3 LED begins to blink), input 1 may be selected.
Selecting auto-sync mode
Press and hold the input 1/Mode and input 3/Auto buttons simultaneously. The input 3/Auto LED blinks to indicate auto- sync mode. Release both buttons. The
When changing mode, if the input 1/Mode button is released too soon (before the input 2 or 3 LED begins to blink), input 1 may be selected.
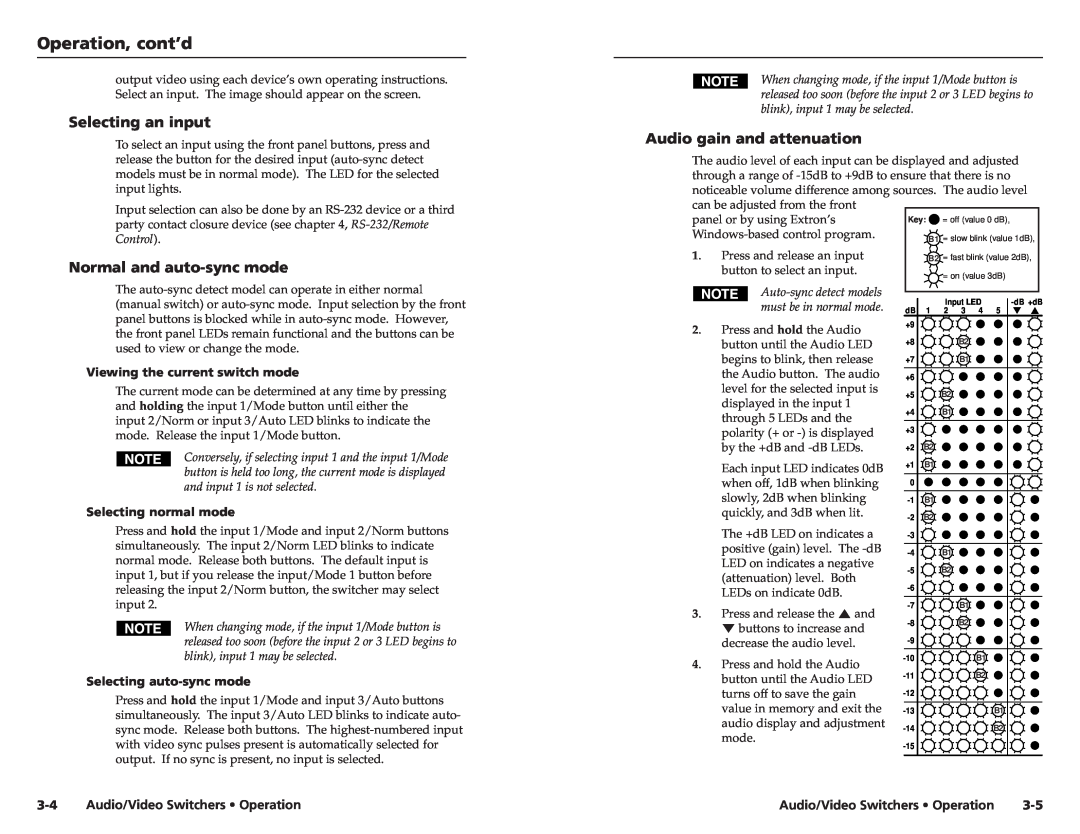
Audio gain and attenuation
The audio level of each input can be displayed and adjusted through a range of
panel or by using Extron’s | Key: | = off (value 0 dB), | |||
| B1 = slow blink (value 1dB), | ||||
1. | Press and release an input |
| B2 = fast blink (value 2dB), | ||
| button to select an input. |
|
| = on (value 3dB) | |
|
|
|
| ||
|
|
| Input LED | ||
| must be in normal mode. |
|
| ||
| dB | 1 | 2 3 4 | 5 | |
2. | Press and hold the Audio | +9 |
|
|
|
+8 |
| B2 |
| ||
| button until the Audio LED |
|
| ||
| begins to blink, then release | +7 |
| B1 |
|
| the Audio button. The audio | +6 |
|
|
|
| level for the selected input is | +5 |
| B2 |
|
| displayed in the input 1 |
|
| ||
| +4 |
| B1 |
| |
| through 5 LEDs and the |
|
| ||
| +3 |
|
|
| |
| polarity (+ or |
|
|
| |
|
|
|
|
| |
| by the +dB and | +2 | B2 |
|
|
| Each input LED indicates 0dB | +1 | B1 |
|
|
|
|
|
|
| |
| when off, 1dB when blinking | 0 |
|
|
|
| slowly, 2dB when blinking | B1 |
|
| |
| quickly, and 3dB when lit. | B2 |
|
| |
| The +dB LED on indicates a |
|
|
| |
| positive (gain) level. The |
| B1 |
| |
| LED on indicates a negative |
| B2 |
| |
| (attenuation) level. Both |
|
| ||
|
|
|
| ||
| LEDs on indicate 0dB. |
|
|
| |
|
|
| B1 |
| |
3. | Press and release the and |
|
| ||
| B2 |
| |||
| buttons to increase and |
|
| ||
|
|
|
| ||
| decrease the audio level. |
|
|
| |
4. | Press and hold the Audio |
| B1 |
| |
| B2 |
| |||
| button until the Audio LED |
|
| ||
|
|
|
|
| |
| turns off to save the gain |
|
|
| |
| value in memory and exit the |
|
| B1 | |
| audio display and adjustment |
|
| B2 | |
| mode. |
|
| ||
|
|
|
| ||
|
|
|
|
| |
Audio/Video Switchers • Operation | Audio/Video Switchers • Operation |
