
280 CFM, 500 CFM specifications
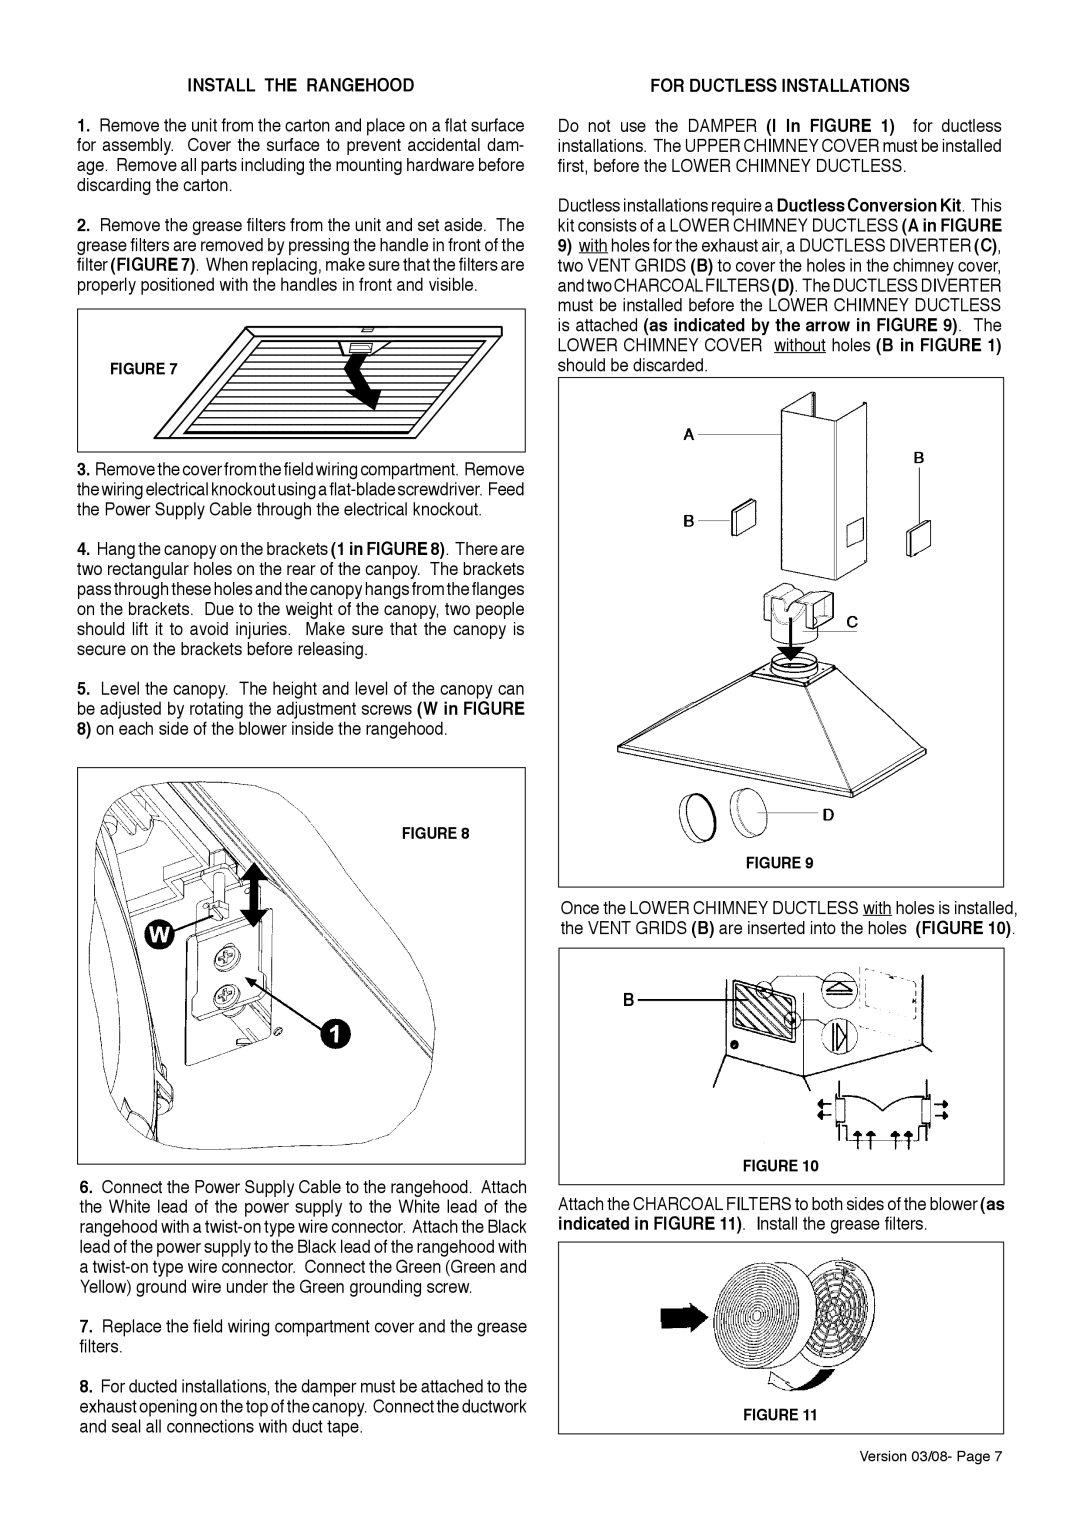
Faber, a respected name in the kitchen ventilation industry, brings innovation and functionality to home cooking with its range of powerful range hoods, including the Faber 280 CFM and 500 CFM models. These hoods are designed to efficiently eliminate smoke, steam, and odors from your kitchen, enhancing not only the cooking experience but also the overall atmosphere of your home.The 280 CFM range hood is an ideal choice for smaller kitchens or for those who don’t cook frequently. Despite its compact size, this model packs a punch with its impressive airflow capacity of 280 cubic feet per minute. This ensures that cooking odors and airborne grease particles are quickly drawn away, leaving your kitchen fresh and clean. The low-profile design is perfect for modern kitchen spaces while still providing maximum functionality. This model often features user-friendly controls, allowing for easy operation of fan speeds and lighting adjustments.
On the other hand, the Faber 500 CFM range hood caters to serious home chefs and larger kitchen spaces. With an impressive airflow capability of 500 CFM, it is equipped to handle the demands of heavy cooking. This model is particularly beneficial for those who regularly use gas ranges and generate significant heat and smoke. The robust motor is designed for quiet operation, ensuring that you can enjoy your culinary creations without the disruptive noise common in many traditional hood models.
Both the 280 CFM and 500 CFM range hoods incorporate advanced technologies such as LED lighting, which provides energy-efficient illumination for your cooking area. This feature not only enhances visibility but also adds a modern touch to your kitchen aesthetics. Additionally, these models often include dishwasher-safe filters, making maintenance a breeze. The stainless steel construction of these range hoods ensures durability and resistance to scratches and tarnishing, leading to a longevity that surpasses many competitors in the market.
With their blend of high performance, stylish design, and advanced features, the Faber 280 CFM and 500 CFM range hoods stand out as excellent choices for any home chef looking to elevate their kitchen experience. Whether you opt for the compact efficiency of the 280 CFM or the powerful performance of the 500 CFM, Faber's commitment to quality ensures that your cooking environment remains clean and pleasant.