FoodPro Plus
Users Manual
Table 1. Specifications and Features (cont.)
Other
Certifications | CE, NSF, CMC |
|
|
Warranty | 2 years |
|
|
Accessories | Nylon Carrying Pouch, QuickStart |
| Guide, and Battery |
|
|
[1]Calibration Geometry: >22 °C 144 mm source @ 200 mm (1.45:1) E=0.97DD <25 °C 140 mm source @ 100 mm (0.7:1) E=1.00 BB.
Proper Application and Operation
Before You Start
First time users should reference “Battery Insertion Replacement” before using the unit.
Noncontact (Infrared) Mode
Pressing and holding the ON button starts the food safety thermometer in noncontact (infrared) measurement mode. The measurement will continue as long as the ON button is depressed, indicated by the blinking “SCAN”.
When the button is released, “HOLD” appears on the display and the last measurement remains visible for 7 seconds before the display goes blank.
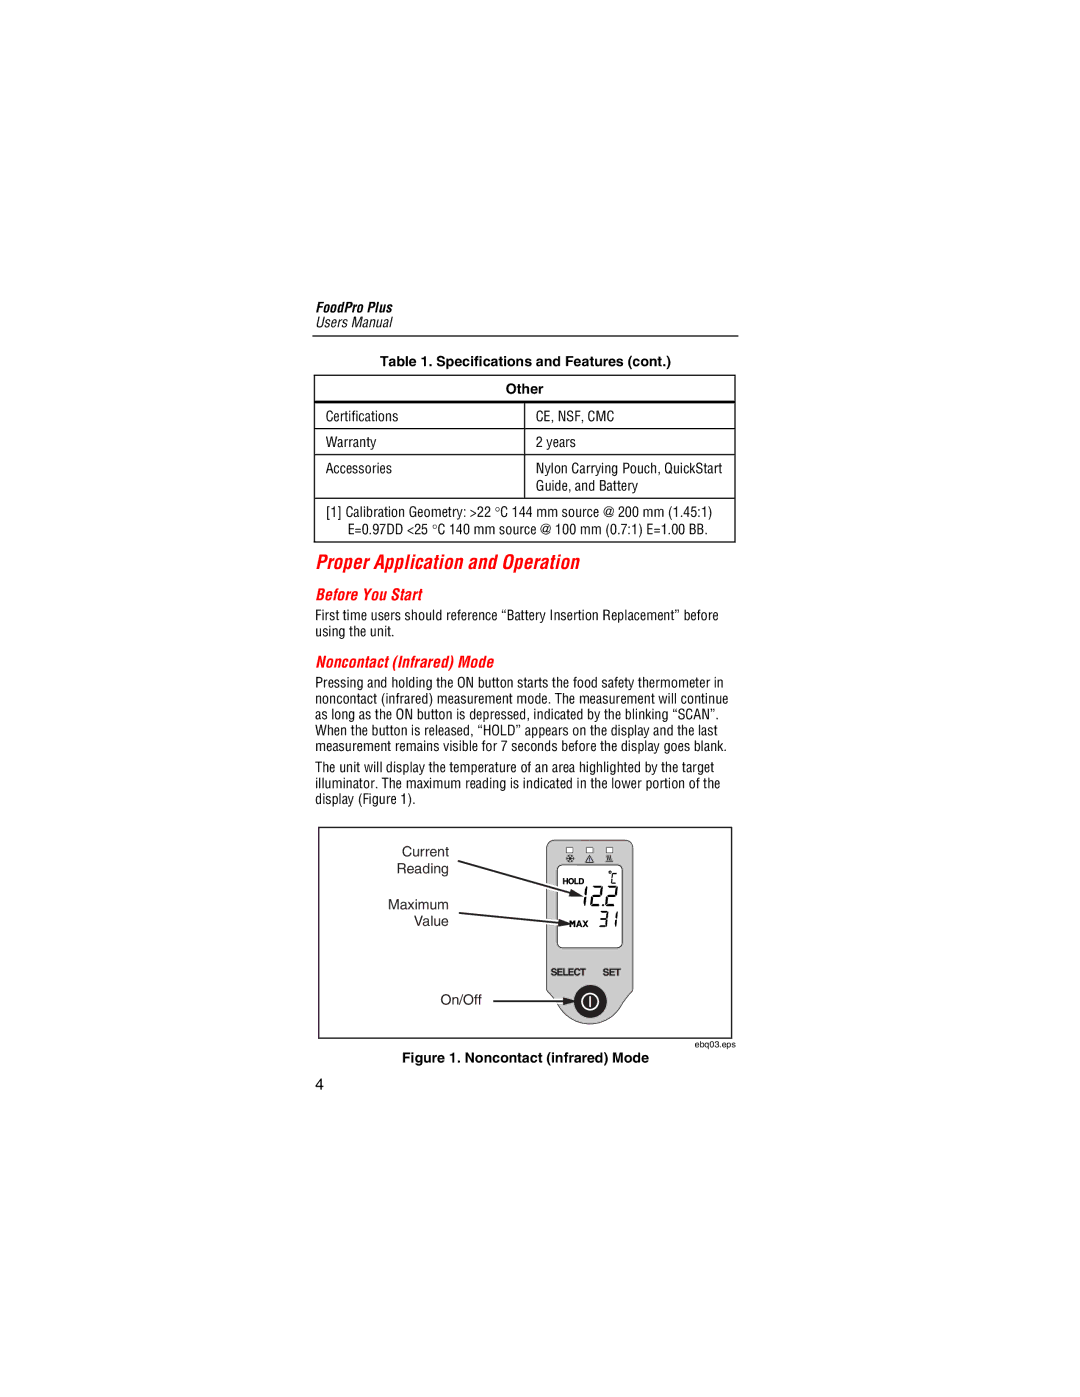
The unit will display the temperature of an area highlighted by the target illuminator. The maximum reading is indicated in the lower portion of the display (Figure 1).
Current
Reading
Maximum
Value
On/Off
ebq03.eps
Figure 1. Noncontact (infrared) Mode
4
