STILL IMAGE MODE iMACRO (CLOSE-UP) PHOTOGRAPHY
STILL IMAGE MODE DIGITAL ZOOM
Selecting Macro mode allows you to take close- up shots. If the flash is set to “AUTO” or “:Red- eye Reduction mode”, it is automatically set to “uSuppressed Flash mode”.
●Effective Photography Range: Approx. 8 cm to 15 cm (3.1 in to 5.9 in.).
●! Using the camera width (approx. 8.5 cm or 3.3 in.) as a guide, ensure that the distance to the subject is between 8 cm (3.1 in.) and 15 cm (5.9 in.). The camera will not focus on subjects outside this focal range.
●! To use the flash, select the “yForced Flash” or “;Slow Synchro” setting in the menu screen
●! When shooting in dark conditions, use a tripod to prevent camera shake.
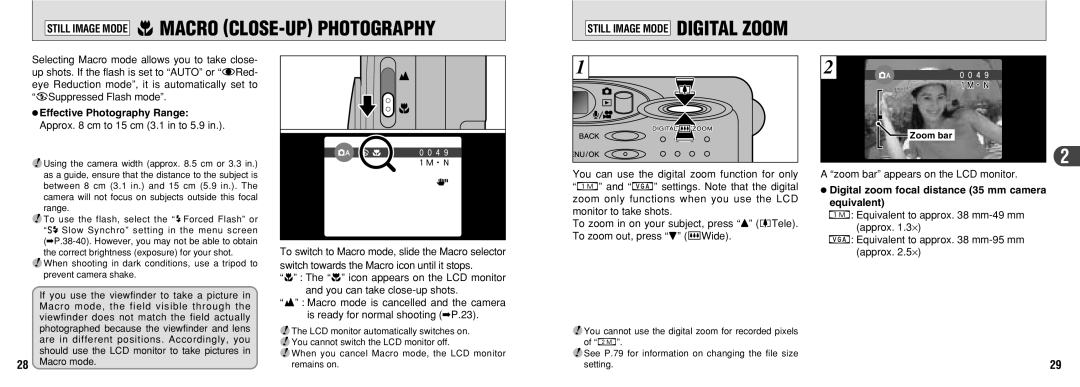
To switch to Macro mode, slide the Macro selector switch towards the Macro icon until it stops.
“i” : The “5” icon appears on the LCD monitor and you can take
1 |
You can use the digital zoom function for only “9” and “0” settings. Note that the digital zoom only functions when you use the LCD monitor to take shots.
To zoom in on your subject, press “a” ([Tele). To zoom out, press “b” (]Wide).
2
 Zoom bar
2
A “zoom bar” appears on the LCD monitor.
●Digital zoom focal distance (35 mm camera equivalent)
9: Equivalent to approx. 38
0: Equivalent to approx. 38
If you use the viewfinder to take a picture in Macro mode, the field visible through the viewfinder does not match the field actually photographed because the viewfinder and lens are in different positions. Accordingly, you should use the LCD monitor to take pictures in
28Macro mode.
“t” : Macro mode is cancelled and the camera
is ready for normal shooting (➡P.23).
●! The LCD monitor automatically switches on. ●! You cannot switch the LCD monitor off.
●! When you cancel Macro mode, the LCD monitor remains on.
●! You cannot use the digital zoom for recorded pixels |
|
of “8”. |
|
●! See P.79 for information on changing the file size | 29 |
setting. |
