OTHER ADJUSTMENTS (FEATURES MENU) (Continued)
• Specifying RGB Input Signal (Code Setting) | for RGB2, RGB3 |
You can use this option to specify and display the type of RGB input signal by code number. Each time you press ![]() or
or ![]() , one of the available choices appears in the following
, one of the available choices appears in the following
sequence:
Auto 
 Manual
Auto: Automatically displays the input signal to the optimum.
Manual: Selects RGB code number.
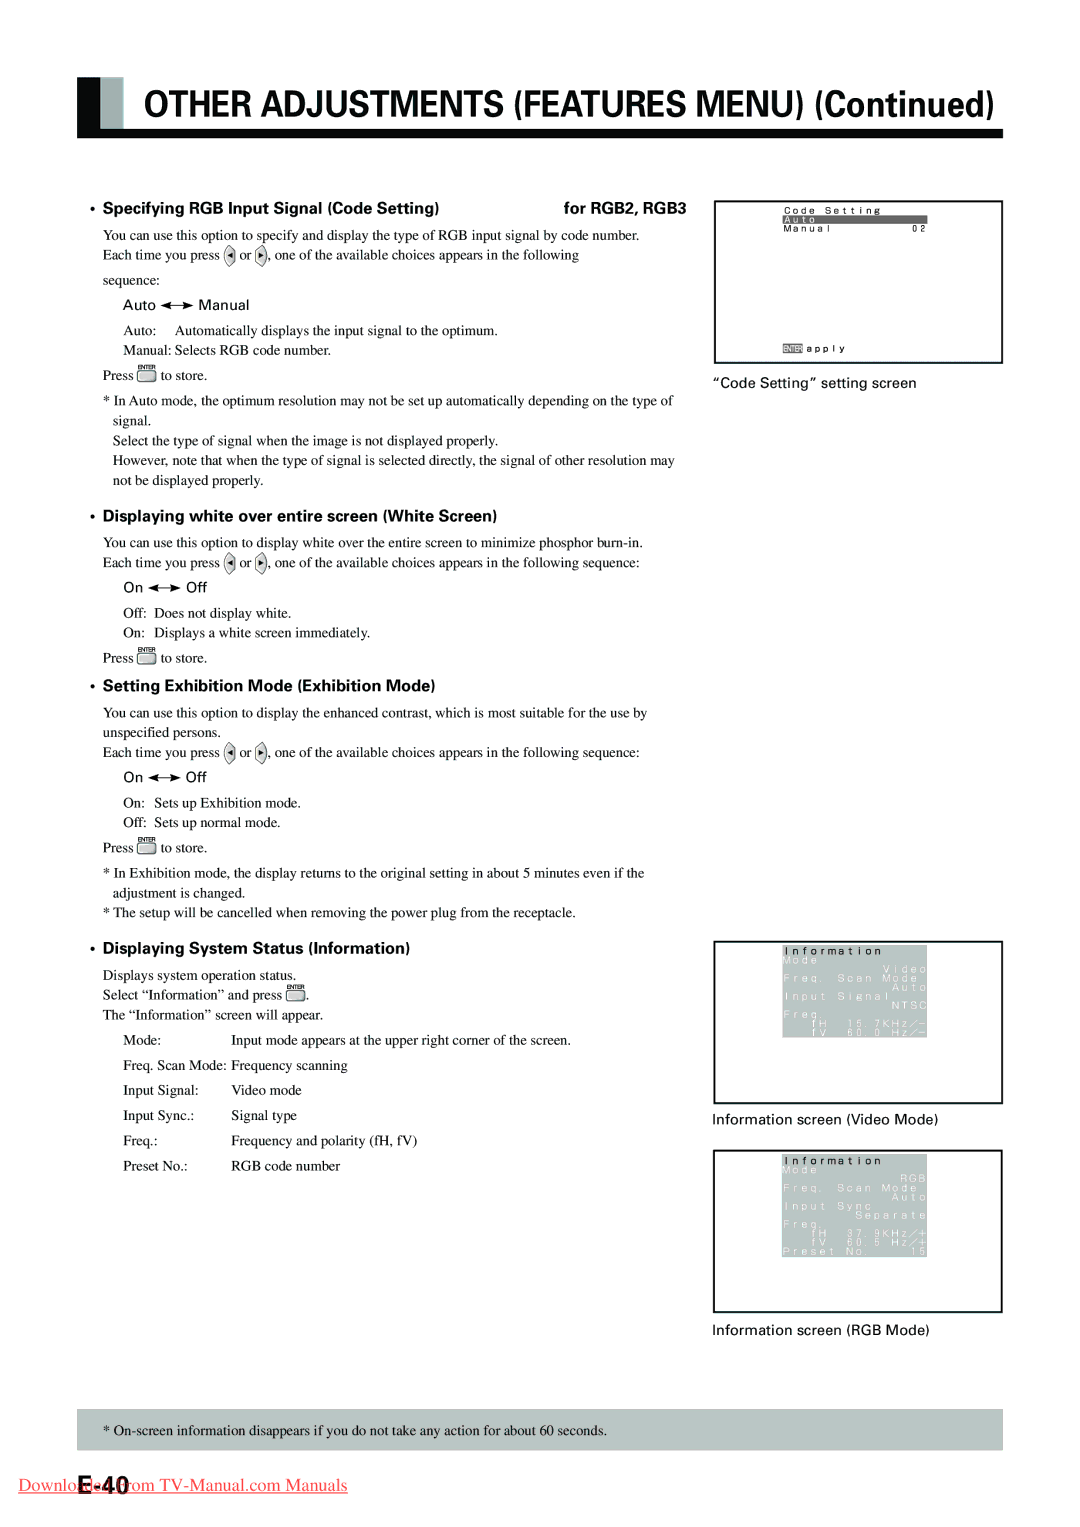
Press | to store. | “Code Setting” setting screen |
|
|
*In Auto mode, the optimum resolution may not be set up automatically depending on the type of signal.
Select the type of signal when the image is not displayed properly.
However, note that when the type of signal is selected directly, the signal of other resolution may not be displayed properly.
•Displaying white over entire screen (White Screen)
You can use this option to display white over the entire screen to minimize phosphor ![]() or
or ![]() , one of the available choices appears in the following sequence:
, one of the available choices appears in the following sequence:
On 
 Off
Off
Off: Does not display white.
On: Displays a white screen immediately.
Press ![]() to store.
to store.
•Setting Exhibition Mode (Exhibition Mode)
You can use this option to display the enhanced contrast, which is most suitable for the use by
unspecified persons.
Each time you press ![]() or
or ![]() , one of the available choices appears in the following sequence:
, one of the available choices appears in the following sequence:
On 
 Off
Off
On: Sets up Exhibition mode.
Off: Sets up normal mode.
Press ![]() to store.
to store.
*In Exhibition mode, the display returns to the original setting in about 5 minutes even if the adjustment is changed.
*The setup will be cancelled when removing the power plug from the receptacle.
•Displaying System Status (Information)
Displays system operation status. Select “Information” and press ![]() . The “Information” screen will appear.
. The “Information” screen will appear.
Mode: | Input mode appears at the upper right corner of the screen. |
Freq. Scan Mode: Frequency scanning | |
Input Signal: | Video mode |
Input Sync.: | Signal type |
Freq.: | Frequency and polarity (fH, fV) |
Preset No.: | RGB code number |
Information screen (Video Mode)
Information screen (RGB Mode)
*
