CONNECTING THE DISPLAY TO EXTERNAL EQUIPMENT (Continued)
EXAMPLE OF CONNECTION TO EXTERNAL COMPONENTS
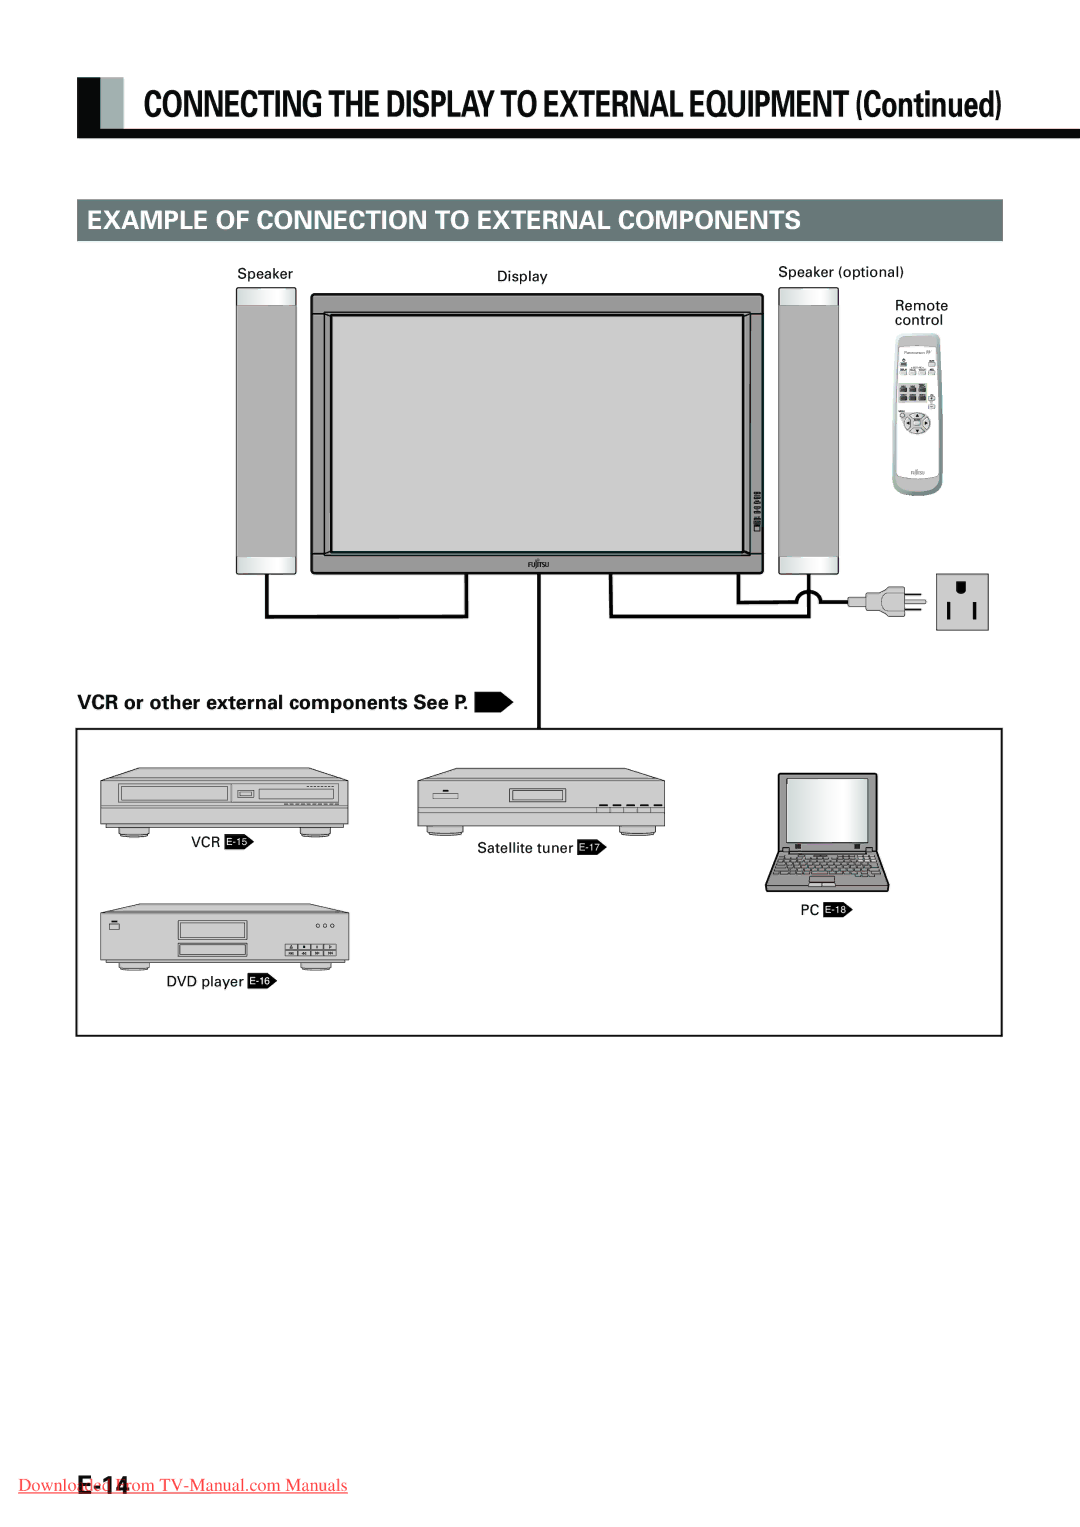
Speaker | Display | Speaker (optional) |
Remote control
VCR or other external components See P. 
VCR E-15
Satellite tuner E-17
PC
Speaker | Display | Speaker (optional) |
PC