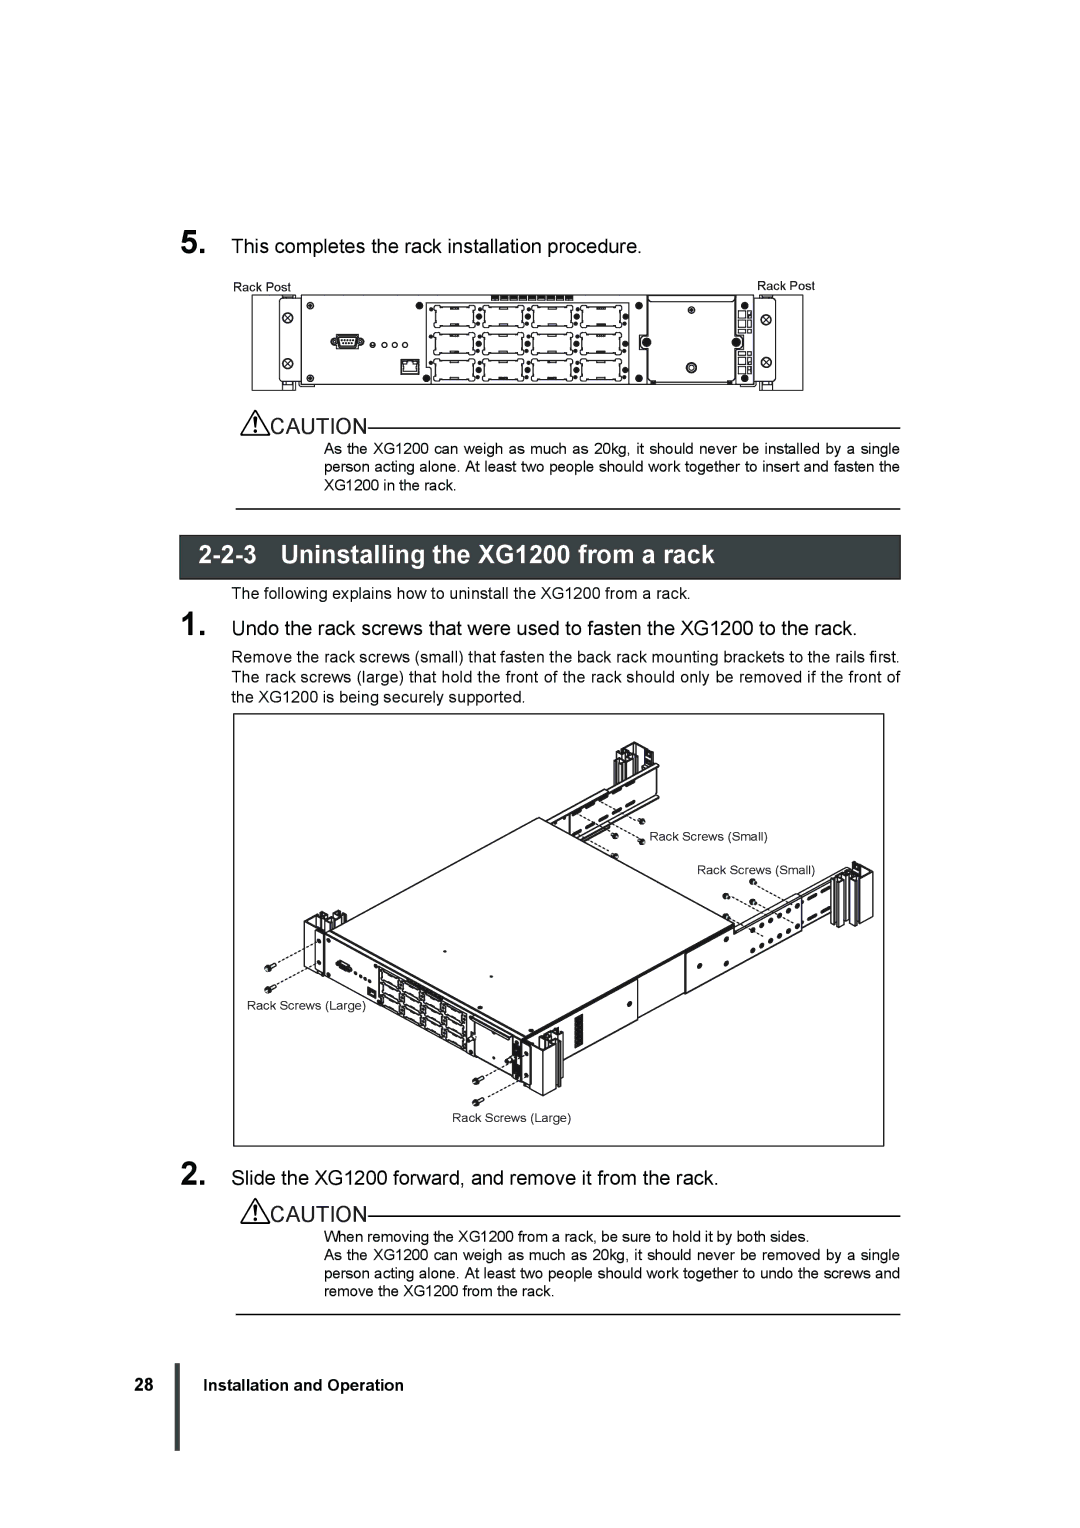
5. This completes the rack installation procedure.
Rack Post |
|
|
|
| Rack Post | |||||||||||||||||||||||||||||||||||||||||||||
|
|
|
|
|
|
|
|
|
|
|
|
|
|
|
|
|
|
|
|
|
|
|
|
|
|
|
|
|
|
|
|
|
|
|
|
|
|
|
|
|
|
|
|
|
|
|
|
|
|
|
|
|
|
|
|
|
|
|
|
|
|
|
|
|
|
|
|
|
|
|
|
|
|
|
|
|
|
|
|
|
|
|
|
|
|
|
|
|
|
|
|
|
|
|
|
|
|
|
|
|
|
|
|
|
|
|
|
|
|
|
|
|
|
|
|
|
|
|
|
|
|
|
|
|
|
|
|
|
|
|
|
|
|
|
|
|
|
|
|
|
|
|
|
|
|
|
|
|
|
|
|
|
|
|
|
|
|
|
|
|
|
|
|
|
|
|
|
|
|
|
|
|
|
|
|
|
|
|
|
|
|
|
|
|
|
|
|
|
|
|
|
|
|
|
|
|
|
|
|
|
|
|
|
|
|
|
|
|
|
|
|
|
|
|
|
|
|
|
|
|
|
|
|
|
|
|
|
|
|
|
|
|
|
|
|
|
|
|
|
|
|
|
|
|
|
|
|
|
|
|
|
|
|
|
|
|
|
|
|
|
|
|
|
|
|
|
|
|
|
|
|
|
|
|
|
|
|
|
|
|
|
|
|
|
|
|
|
|
|
|
|
|
|
|
|
|
|
|
|
|
|
|
|
|
|
![]() CAUTION
CAUTION
As the XG1200 can weigh as much as 20kg, it should never be installed by a single person acting alone. At least two people should work together to insert and fasten the XG1200 in the rack.
2-2-3 Uninstalling the XG1200 from a rack
The following explains how to uninstall the XG1200 from a rack.
1. Undo the rack screws that were used to fasten the XG1200 to the rack.
Remove the rack screws (small) that fasten the back rack mounting brackets to the rails first. The rack screws (large) that hold the front of the rack should only be removed if the front of the XG1200 is being securely supported.
![]()
![]()
![]() Rack Screws (Small)
Rack Screws (Small)
Rack Screws (Small)
Rack Screws (Large)
Rack Screws (Large)
2. Slide the XG1200 forward, and remove it from the rack.
![]() CAUTION
CAUTION
When removing the XG1200 from a rack, be sure to hold it by both sides.
As the XG1200 can weigh as much as 20kg, it should never be removed by a single person acting alone. At least two people should work together to undo the screws and remove the XG1200 from the rack.
28
Installation and Operation
