Deactivating the auto plotter
1.Press the [MENU] key.
2.Open the
3.Operate the trackball to select the “1. Dis- play”.
4.Operate the trackball to select “Off”.
5.Press the [ACQ/ENTER] key.
6.Press the [MENU] key to close the menu.
6.4 Manual Acquisition
Follow the steps below to manually acquire a target. Up to 10 targets can be manually ac- quired.
1.Place the cursor (+) on a target of interest by operating the trackball.
2.Press the [ACQ/ENTER] key.
The plot symbol changes its shape according to the status as below. A vector appears in about one minute after acquisition indicating the target’s motion trend. If the target is consistently detected for three minutes, the plot symbol changes to a solid mark. If acquisition fails, the target symbol blinks and disappears shortly.
SQUARE (dotted)
Immediately after acquisition - Plot symbol shown in broken lines.
SQUARE (dotted with a vector)
One minute after acquisition - Vector still unre- liable.
CIRCLE (Solid with a vector)
3 minutes after acquisition - Plot symbol changes to a solid circle indicating the stable tracking condition.
LARGE SQUARE
The plot symbol of a target being tracked be- comes twice as large as the normal symbol when the target is selected for data reading.
Note 1: The target to be acquired should be within 0.2 to 16 nm from own ship and not ob- scured by sea or rain clutter.
Note 2: When you want to acquire 11th target, cancel tracking one of less important targets.
Note 3: When auto acquisition mode (Auto ACQ) is on, up to five targets can be acquired. For details, see 6.5 Automatic Acquision.
![]() WARNING
WARNING
When a tracked target nears another tracked target, the targets may be "swapped." When two targets come close to each other, one of the two can become a "lost target." Should this happen, reacquisition of the "lost target" is required after the two targets have separated.
6.5 Automatic Acquisition
The
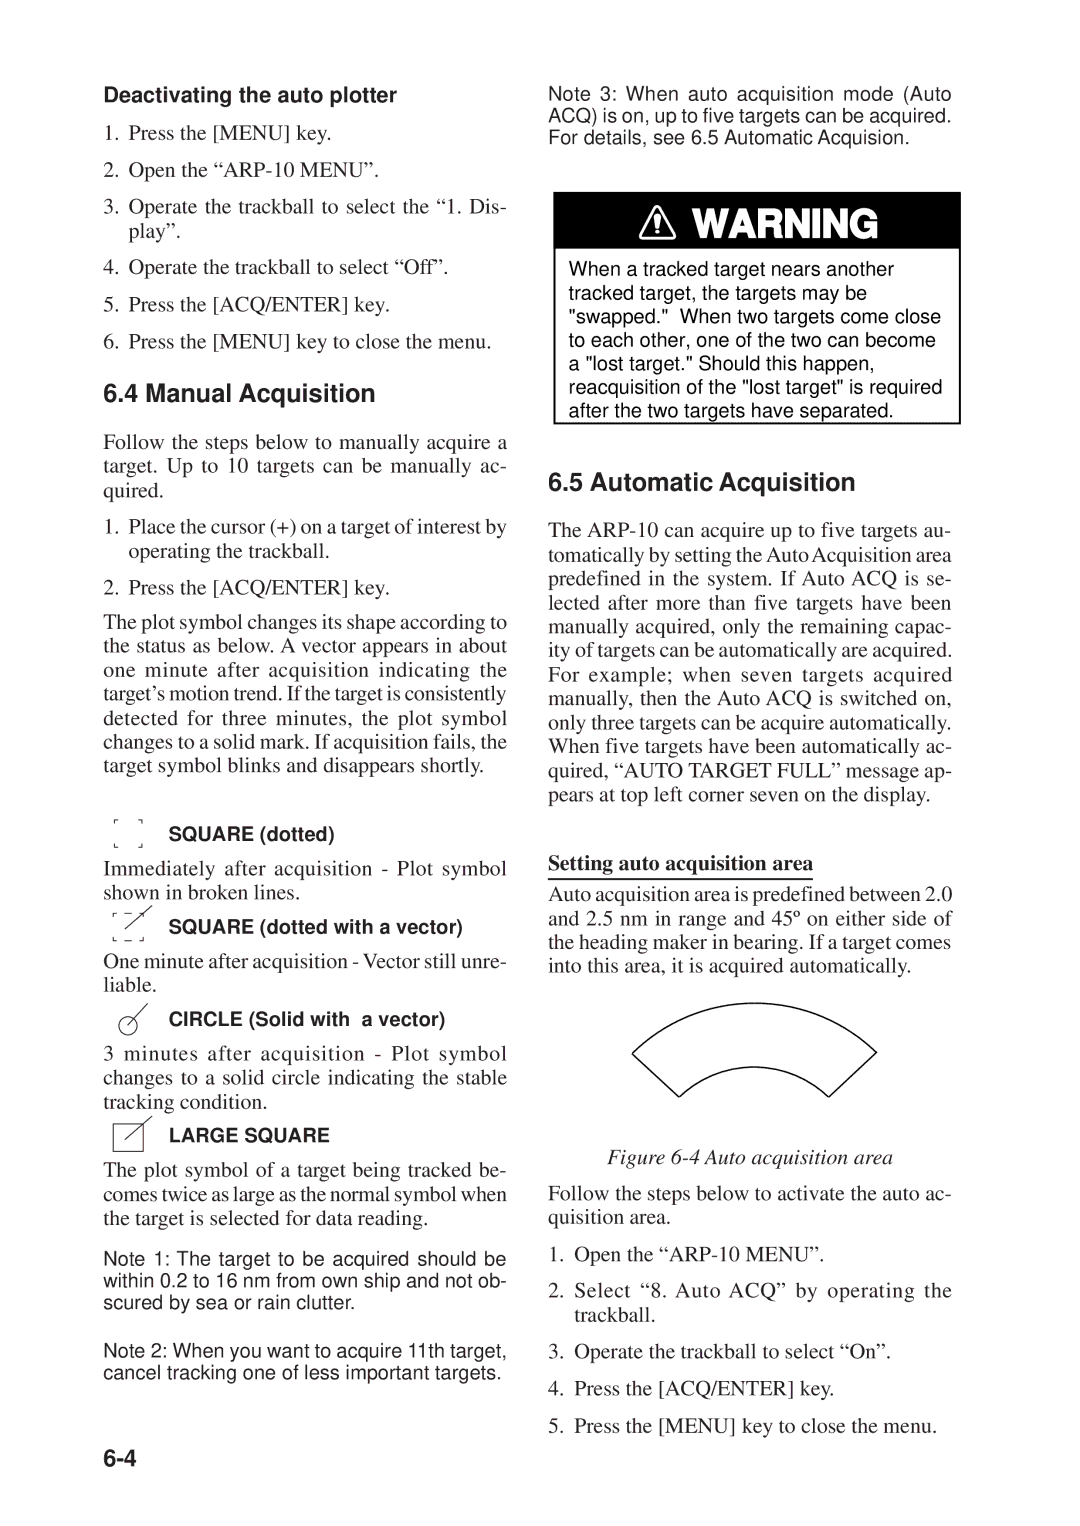
Setting auto acquisition area
Auto acquisition area is predefined between 2.0 and 2.5 nm in range and 45º on either side of the heading maker in bearing. If a target comes into this area, it is acquired automatically.
Figure 6-4 Auto acquisition area
Follow the steps below to activate the auto ac- quisition area.
1.Open the
2.Select “8. Auto ACQ” by operating the trackball.
3.Operate the trackball to select “On”.
4.Press the [ACQ/ENTER] key.
5.Press the [MENU] key to close the menu.