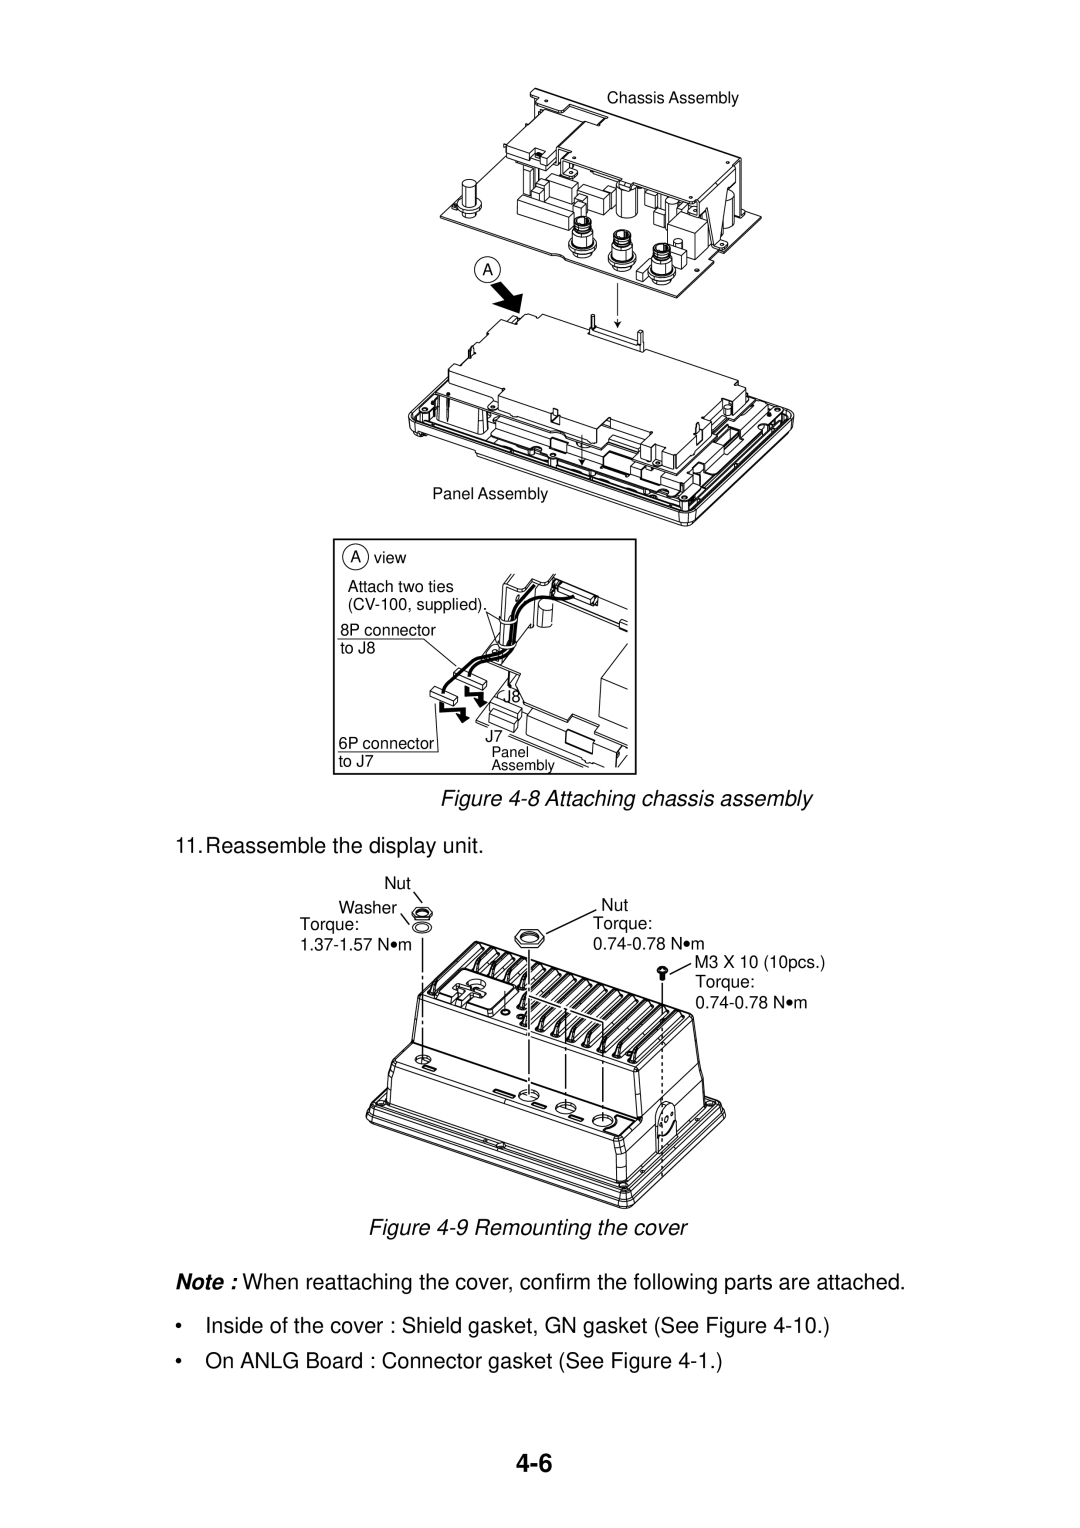
Chassis Assembly
A
Panel Assembly
A | view |
| |
Attach two ties |
| ||
8P connector |
| ||
to J8 |
| ||
|
| J8 | |
6P connector | J7 | ||
Panel | |||
to J7 |
| ||
| Assembly | ||
Figure 4-8 Attaching chassis assembly
11.Reassemble the display unit.
Nut
Washer
Torque:
Nut
Torque:
M3 X 10 (10pcs.)
Torque:
Figure 4-9 Remounting the cover
Note : When reattaching the cover, confirm the following parts are attached.
•Inside of the cover : Shield gasket, GN gasket (See Figure
•On ANLG Board : Connector gasket (See Figure