INSTALLATION Continued
C. Install the interconnecting flue parts, carefully following the instructions contained in the stacking kit. Pay particular attention to the type of ovens you are stacking and be sure to follow the corresponding instructions.
D. Check leveling of unit four (4) ways (using a common carpenter’s level on the rack inside the oven).
E. Maintain clearance from combustibles.
CAUTION: Disconnect Both Unites from electrical Supply Before Servicing.
Electrical Connections
Before attempting the electrical connection, the rating plate should be checked to ensure that the unit’s electrical characteristics and the supply electrical characteristics agree.
Installation of the wiring must be made in accordance with U.L. Commercial Electric Cooking Appliance Standards, Local and/or National Electrical Code, ANSI/NFPA
1.Switch panel size
2.Overload protection
3.Wire type
4.Wire size
5.Temperature limitations of the wires
6.Method of connection (Cable, Conduit, etc.)
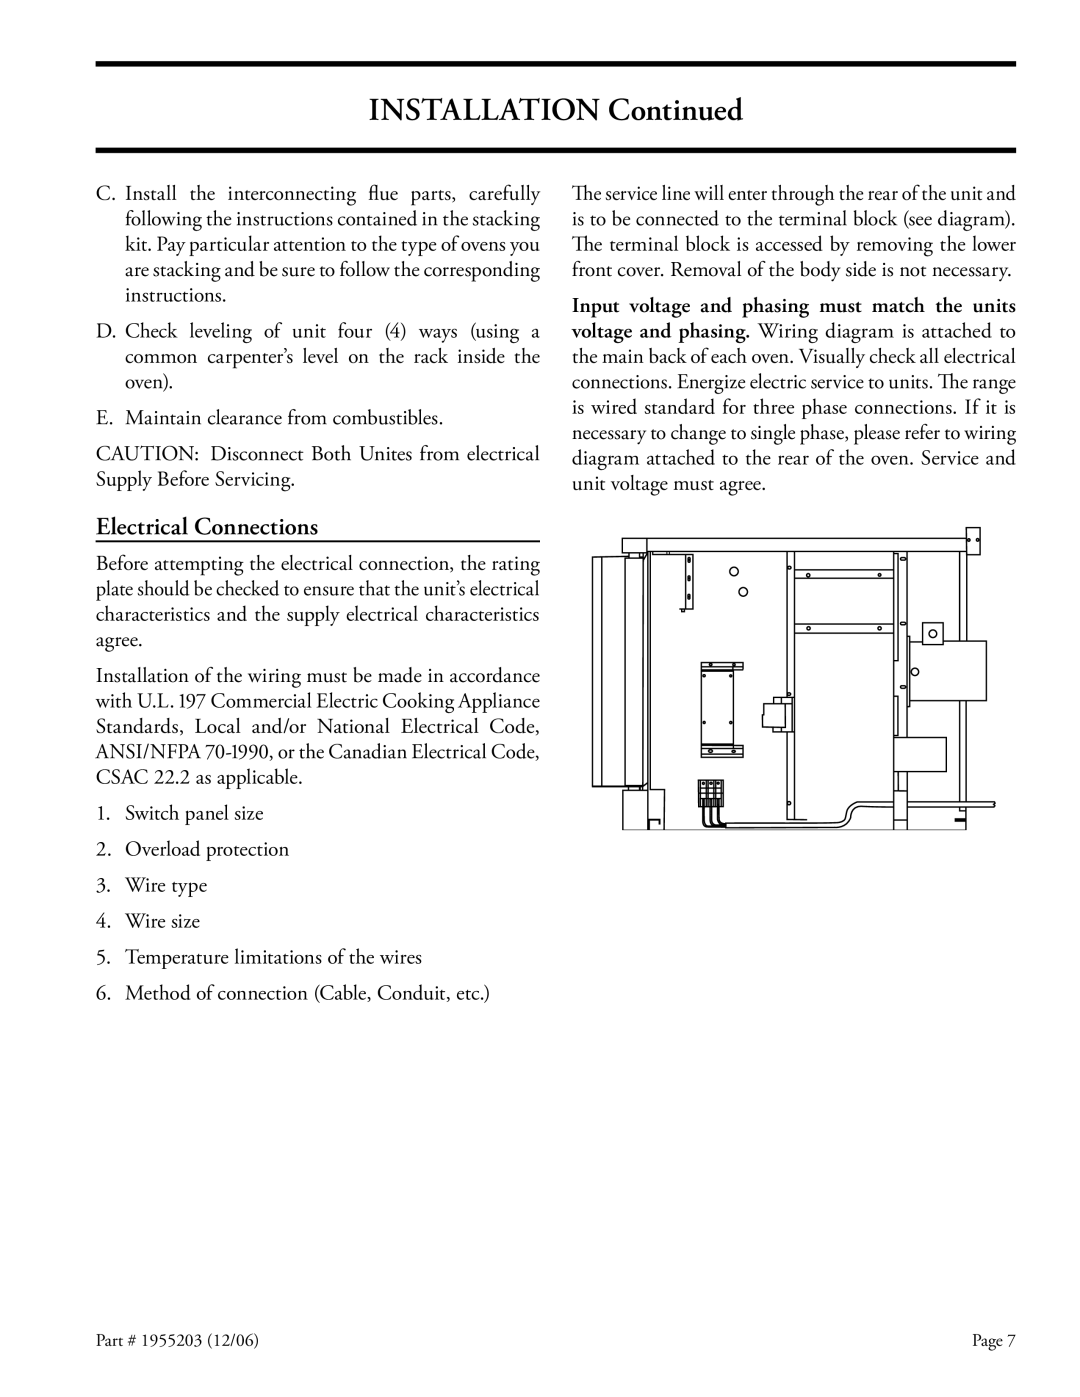
The service line will enter through the rear of the unit and is to be connected to the terminal block (see diagram). The terminal block is accessed by removing the lower front cover. Removal of the body side is not necessary.
Input voltage and phasing must match the units voltage and phasing. Wiring diagram is attached to the main back of each oven. Visually check all electrical connections. Energize electric service to units. The range is wired standard for three phase connections. If it is necessary to change to single phase, please refer to wiring diagram attached to the rear of the oven. Service and unit voltage must agree.
Part # 1955203 (12/06) | Page 7 |
