Using Your Oven
Before Using Your Oven
1.Look at the controls. Be sure you understand how to set them properly. Read over the directions for the Automatic Oven Timer so you understand its use with the controls.
2.Check oven interior. Look at the shelves. Take a practice run at removing and replacing them properly, to give sure, sturdy support.
3.Read over information and tips that follow.
4.Keep this book handy so you can refer to it, especially during the first weeks of getting acquainted with your range.
Oven Controls
The controls for the oven are marked OVEN SET and OVEN TEMP. The OVEN SET control has settings for BAKE, TIME BAKE, BROIL, CLEAN and OFF. When you turn the knob to the desired setting, the proper heating units are then activated for that operation.
OVEN TEMP control maintains the temperature you set, from WARM ( 150°F.) to BROIL (550”F.) and also at CLEAN (880°F.).
Oven Cycling Light
The Oven Cycling Light glows until the oven reaches your selected temperature, then goes off’ and on with the oven unit(s) during cooking.
PREHEATING the oven, even to high tem~erature settirws. is s~eedv. It%ely &kes longer th~n’ 10 ‘ J minutes. Preheat the oven only when necessary. Most foods will cook satisfactorily without preheating. If you find preheating is necessary, keep an eye on the indicator light and put food in the oven promptly after light goes out.
Oven On Light
The Oven On light, located to the left of the OVEN SET knob, will glow any time the OVEN SET knob is not in the OFF position.
Oven Light
(on models so equipped)
The light comes on automatically when the door is opened. (On models with oven window use switch to turn light on and off when door is closed. )
Switch is located on front of door.
Oven Interior Shelves
The shelves are designed with
(b)will not tilt when removing food from or placing food on them.
TO REMOVE THE SHELVES from the oven, pull them toward you, tilt front end upward and pull them out.
TO REPLACE, place shelf on shelf support with
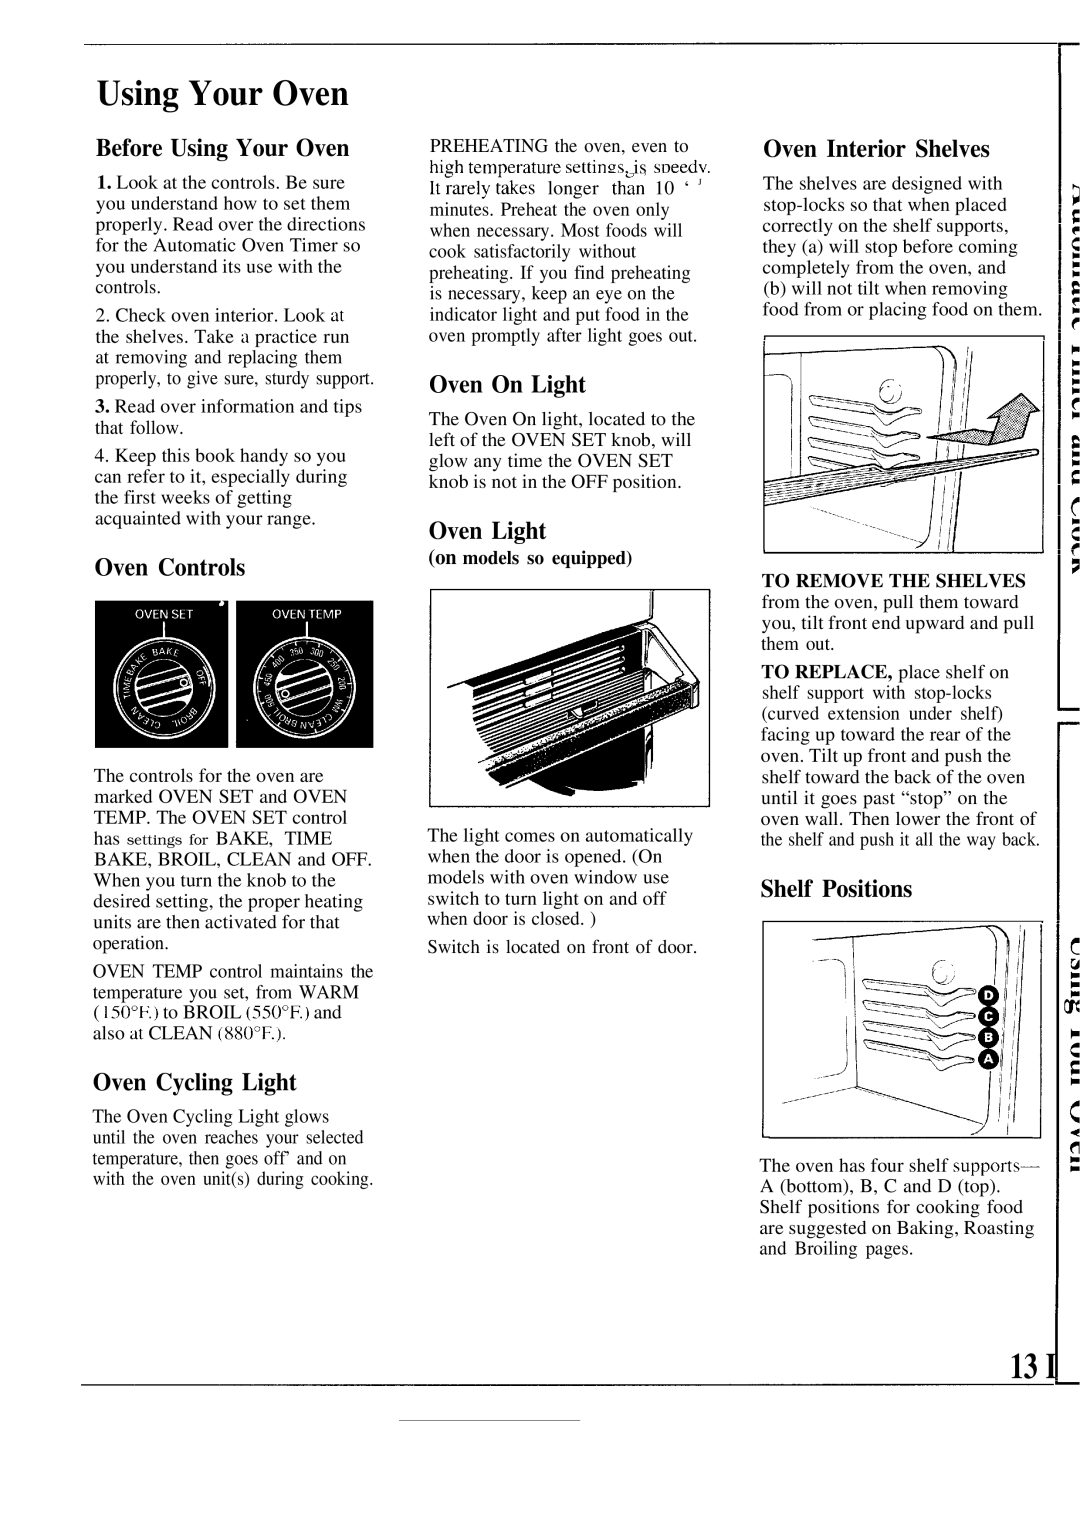
Shelf Positions
The oven has four shelf supports— A (bottom), B, C and D (top). Shelf positions for cooking food are suggested on Baking, Roasting and Broiling pages.
13 I