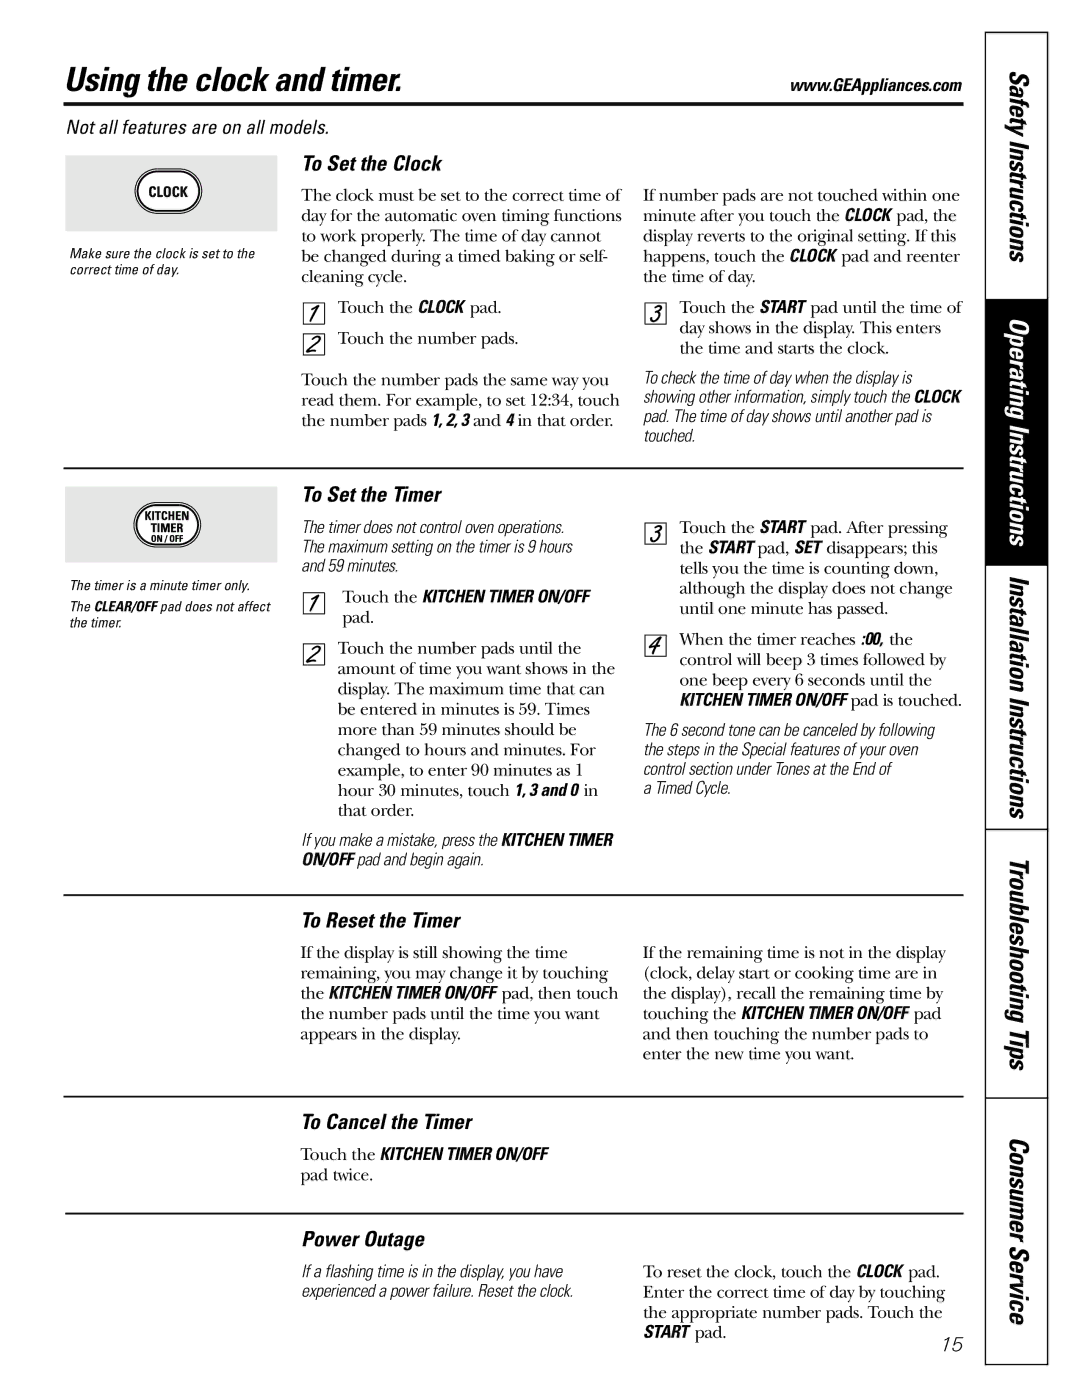
Using the clock and timer.

www.GEAppliances.com

Not all features are on all models.

Safety

Make sure the clock is set to the correct time of day.

To Set the Clock

The clock must be set to the correct time of day for the automatic oven timing functions to work properly. The time of day cannot be changed during a timed baking or self- cleaning cycle.

Touch the CLOCK pad.

Touch the number pads.

Touch the number pads the same way you read them. For example, to set 12:34, touch the number pads 1, 2, 3 and 4 in that order.

If number pads are not touched within one minute after you touch the CLOCK pad, the display reverts to the original setting. If this happens, touch the CLOCK pad and reenter the time of day.

Touch the START pad until the time of day shows in the display. This enters the time and starts the clock.

To check the time of day when the display is showing other information, simply touch the CLOCK pad. The time of day shows until another pad is touched.

Instructions Operating Instructions

The timer is a minute timer only.

The CLEAR/OFF pad does not affect the timer.

To Set the Timer

The timer does not control oven operations. The maximum setting on the timer is 9 hours and 59 minutes.

Touch the KITCHEN TIMER ON/OFF pad.

Touch the number pads until the amount of time you want shows in the display. The maximum time that can be entered in minutes is 59. Times more than 59 minutes should be changed to hours and minutes. For example, to enter 90 minutes as 1 hour 30 minutes, touch 1, 3 and 0 in that order.

If you make a mistake, press the KITCHEN TIMER ON/OFF pad and begin again.

Touch the START pad. After pressing the START pad, SET disappears; this tells you the time is counting down, although the display does not change until one minute has passed.

When the timer reaches :00, the control will beep 3 times followed by one beep every 6 seconds until the KITCHEN TIMER ON/OFF pad is touched.

The 6 second tone can be canceled by following the steps in the Special features of your oven control section under Tones at the End of

a Timed Cycle.

Installation Instructions

To Reset the Timer

If the display is still showing the time remaining, you may change it by touching the KITCHEN TIMER ON/OFF pad, then touch the number pads until the time you want appears in the display.

If the remaining time is not in the display (clock, delay start or cooking time are in the display), recall the remaining time by touching the KITCHEN TIMER ON/OFF pad and then touching the number pads to enter the new time you want.

Troubleshooting Tips

To Cancel the Timer

Touch the KITCHEN TIMER ON/OFF pad twice.

Power Outage

If a flashing time is in the display, you have

To reset the clock, touch the CLOCK pad.

experienced a power failure. Reset the clock.

Enter the correct time of day by touching


the appropriate number pads. Touch the

START pad.

15


Consumer Service

Page 15
Image 15
GE JGB915, JGB905 installation instructions Using the clock and timer, Installation Instructions, Consumer Service

JGB915, JGB905 specifications

The GE JGB905 and JGB915 are both standout models within GE's lineup of gas ranges, designed to provide a seamless cooking experience with a focus on modern technology and traditional cooking excellence. Both models feature a sleek, stainless steel design that not only enhances the kitchen's aesthetic but also ensures durability and ease of cleaning.

One of the main features of the JGB905 and JGB915 is their powerful gas burners. These ranges come equipped with multiple sealed burners, allowing for precise heat control. The variances in BTU output across the burners cater to different cooking needs, from simmering sauces to achieving high-heat sears on meats. The center oval burner, available in both models, is especially useful for accommodating larger pans or griddles.

Incorporated into these ranges is GE's advanced Edge-to-Edge cooktop, which maximizes the cooking surface. This design feature allows for the use of oversized pots and pans without sacrificing space or efficiency. Additionally, the continuous cast-iron grates provide a robust cooking surface, making it easy to slide pots from one burner to another.

When it comes to oven performance, both the JGB905 and JGB915 include an innovative convection oven. This technology circulates hot air throughout the oven cavity, promoting even cooking and browning. The ovens also feature self-cleaning options that save time and effort, allowing users to maintain a clean oven with minimal manual scrubbing.

Another characteristic of these models is the inclusion of smart technology. Equipped with built-in Wi-Fi, both ranges allow users to monitor their cooking from their smartphones. This feature adds convenience, enabling remote access to controls and notifications about the oven status, which is particularly helpful when multitasking in the kitchen.

The interior of the ovens is designed for efficiency and ample space, providing multiple rack positions to accommodate different dishes. Interior oven lighting ensures that users can easily check on their meals without opening the oven door, preserving heat and enhancing cooking precision.

In summary, the GE JGB905 and JGB915 gas ranges stand out with their sleek design, powerful burner capabilities, innovative convection technology, smart features, and user-friendly interfaces. These models cater to both novice cooks and culinary enthusiasts, making them excellent additions to any modern kitchen.