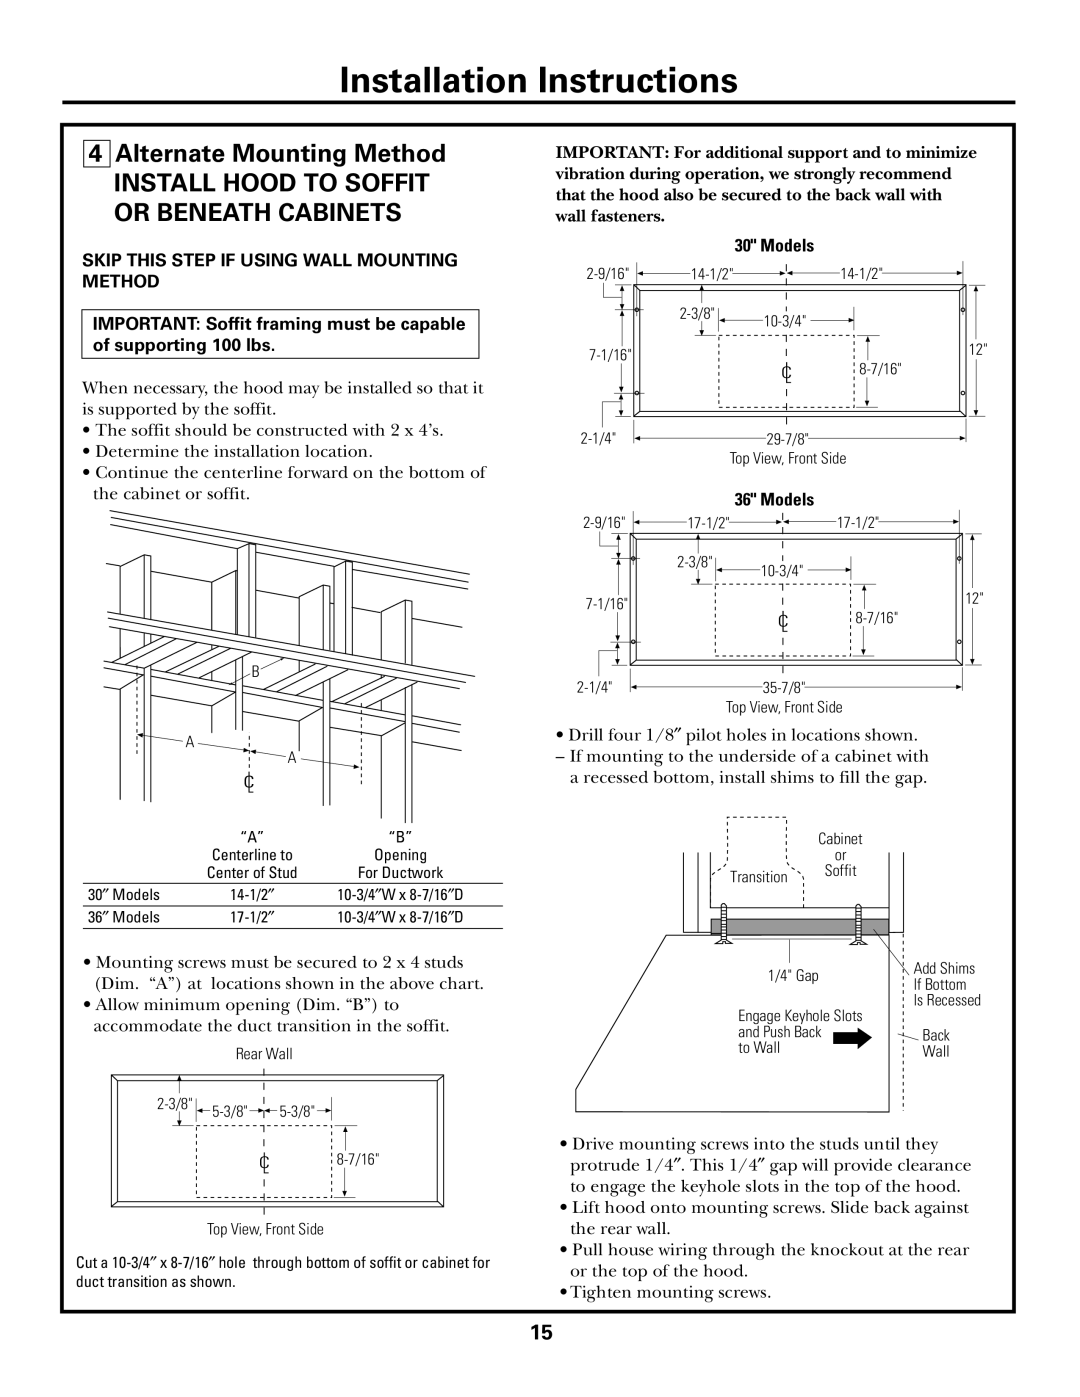
JV966, JV936, JV965 specifications
The GE JV965, JV936, and JV966 are part of GE's highly regarded line of kitchen appliances, specifically designed for modern households that prioritize efficiency, technology, and user-friendly features. These models offer a blend of style and functionality, ensuring that cooking is not only convenient but also enjoyable.The GE JV965 features a spacious design that accommodates a variety of cooking needs. Its sleek stainless-steel composition not only enhances the aesthetic appeal of the kitchen but also provides durability against daily use. One of the standout features of the JV965 is its advanced cooking modes, which include convection baking and broiling, allowing for even heat distribution and superior results. The model also includes a self-cleaning function, which saves time and effort in maintaining kitchen hygiene.
The JV936, on the other hand, places a significant emphasis on smart technology. This model features built-in Wi-Fi connectivity that enables users to control the oven remotely through a smartphone app. This capability allows for preheating from anywhere and monitoring cooking progress, making it a truly modern appliance. Furthermore, the JV936 comes equipped with a temperature probe, which ensures perfectly cooked meats by alerting users when their dish reaches the desired internal temperature.
Not to be outdone, the GE JV966 model also showcases cutting-edge technology with its integrated air fryer capabilities. This feature allows users to cook healthier meals by using little to no oil while still achieving that crispy texture often desired in traditional frying. Like its counterparts, the JV966 also includes a self-cleaning option, as well as smart functions, which make cooking more intuitive than ever.
All three models boast an intuitive interface, making it easy for users of all skill levels to navigate various cooking settings and features. They are designed to offer robust cooking performance while being energy efficient, minimizing their environmental impact.
In summary, the GE JV965, JV936, and JV966 represent a leap forward in kitchen technology, combining modern design with practical features. Whatever the cooking need, these models deliver superior performance, user-friendly controls, and innovative functionalities, making them ideal choices for today’s home chefs.

