DVM7195, JVM7196, JVM7195, PNM9196, PVM9195 specifications
The GE PVM9195, PNM9196, JVM7195, JVM7196, and DVM7195 microwave models represent a blend of innovation, efficiency, and user-friendly features that have made them popular choices among consumers. These microwaves are known for their reliable performance, impressive cooking capabilities, and modern designs that fit seamlessly into any kitchen.One of the standout features across these models is the powerful cooking performance, with wattage typically reaching up to 1,600 watts. This high power allows for faster cooking, reheating, and defrosting while ensuring even heat distribution, which is crucial for maintaining the quality of food. Many models feature a sensor cooking technology, which automatically detects humidity released from food and adjusts cooking time and power for optimal results, removing the guesswork often associated with microwave cooking.
The GE microwaves also come equipped with a variety of preset cooking functions tailored for different types of food, such as popcorn, pizza, and vegetables. This intuitive design allows users to select the perfect setting with just the touch of a button, making meal preparation more convenient. The add-30-seconds feature is another practical innovation, allowing users to quickly add extra cooking time without having to navigate through menus.
In terms of user interface, these microwaves often include an easy-to-read digital display and convenient control panels that simplify the cooking process. The LED lighting provides excellent visibility to monitor food as it cooks, while the interior space is typically designed for easy cleaning, featuring materials that resist stains and odors.
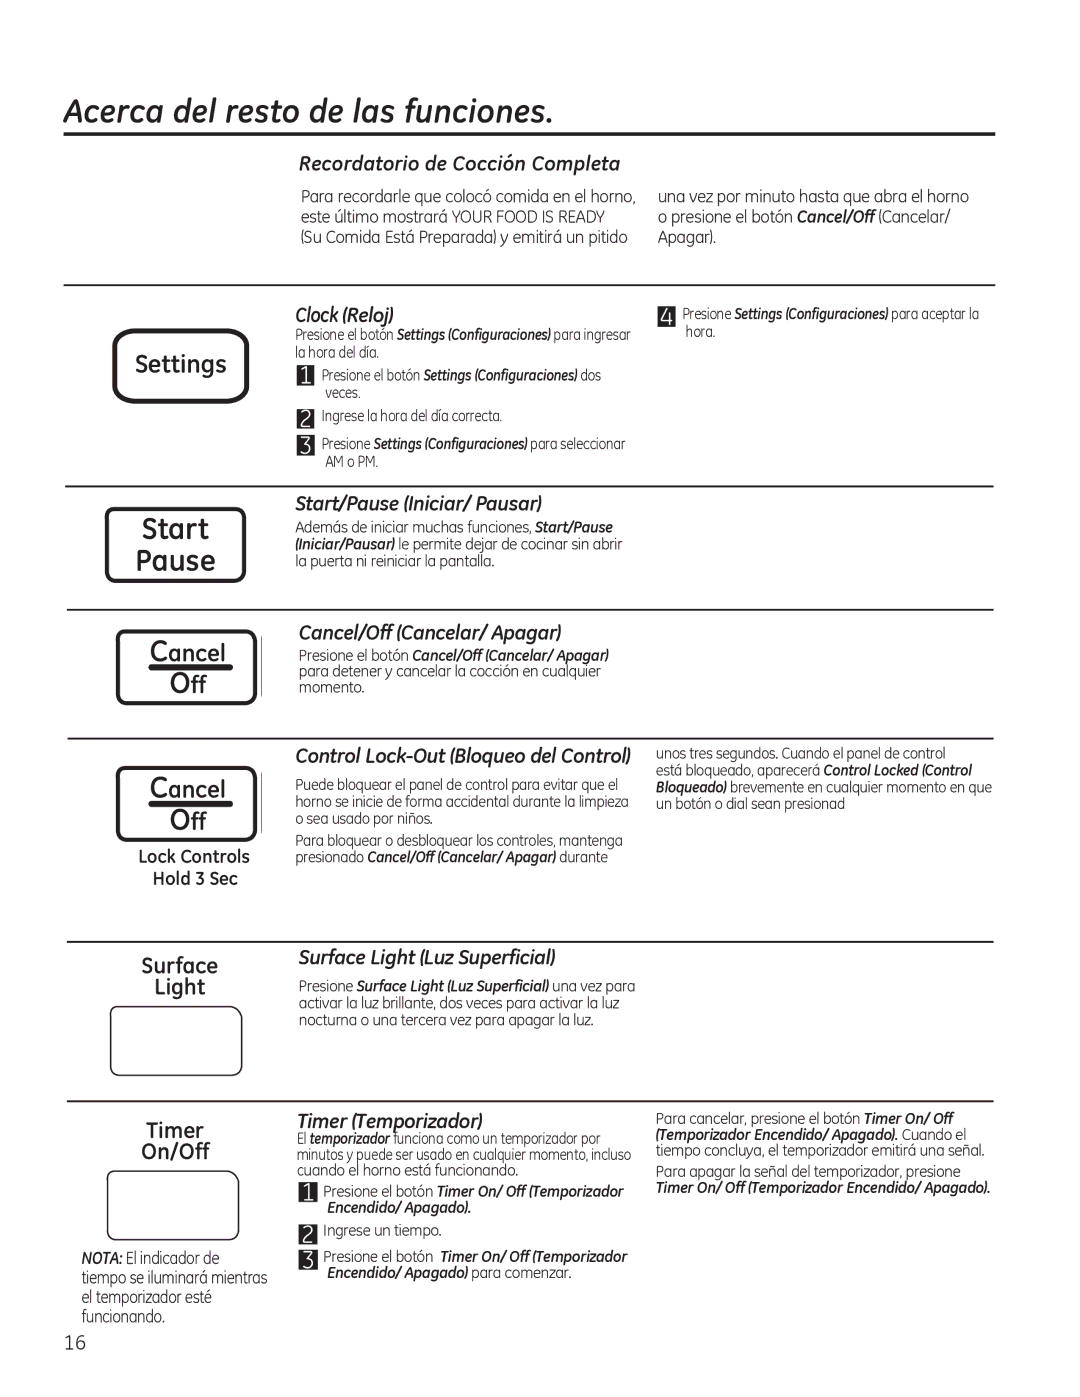
These models are also designed with safety in mind, featuring child lock capabilities to prevent accidental operation. Several models come integrated with multiple power levels, allowing users to customize their cooking experience depending on the dish being prepared.
In addition to their technological features, the GE PVM9195, PNM9196, JVM7195, JVM7196, and DVM7195 microwaves are aesthetically pleasing, often available in stainless steel finishes that complement contemporary kitchen designs. Their venting capabilities help to eliminate smoke and odors from cooking, ensuring a fresher kitchen environment.
Overall, these GE microwaves combine powerful performance, user-friendly technology, and stylish design, making them a versatile choice for modern households looking to enhance their cooking experience. Whether for reheating meals, defrosting frozen items, or preparing full dishes, these microwaves stand out as efficient tools that meet a variety of culinary needs.

