English
![]() Warning: To prevent personal Injury, always unplug the saw from power source before make any adjustments.
Warning: To prevent personal Injury, always unplug the saw from power source before make any adjustments.
BLADE BEVEL INDICATOR ADJUSTMENTS
1.Loosen bevel adjustment knob (2 ), push blade control wheel (1) and turn clockwise to position the blade at 90° measured by using combination square. (FIG. 13)
2.Loosen the holding screw (4), position the pointer over 0° and tighten the screw. (FIG 13)
NOTE: Always make a trial cut on a piece of wood when make critical cuts. Measure the cut accuracy.
BLADE BEVEL ADJUSTMENT
1.Loosen bevel adjustment knob (2) (FIG 13)
2.Push blade control wheel (1) and turn the blade control wheel to desired blade angle. 0° on bevel scale for 90° cutting. (FIG 13)
3.Tighten the bevel adjustment knob (2). (FIG 13)
![]() Warning: Make sure bevel adjustment knob is tightened before each use to avoid risk of personal injury.
Warning: Make sure bevel adjustment knob is tightened before each use to avoid risk of personal injury.
OPERATION:
![]() Warning: DO NOT turn on the table saw before clearing the table of all tools, wood scraps, etc, except the work piece and related feed or supporting devices.
Warning: DO NOT turn on the table saw before clearing the table of all tools, wood scraps, etc, except the work piece and related feed or supporting devices.
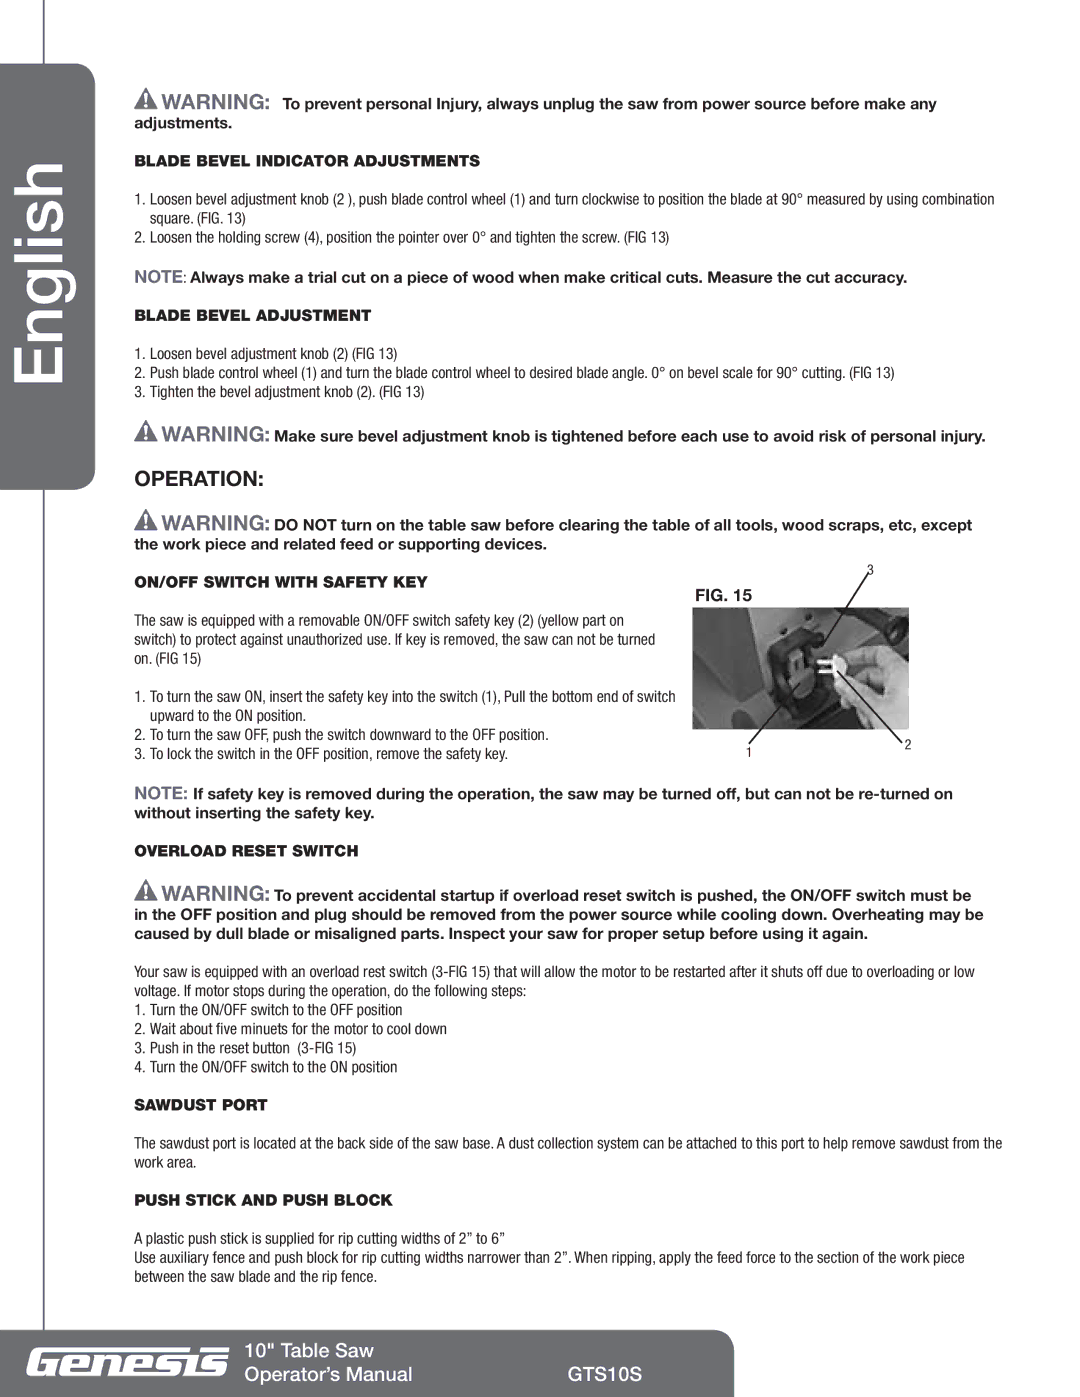
ON/OFF SWITCH WITH SAFETY KEY
The saw is equipped with a removable ON/OFF switch safety key (2) (yellow part on switch) to protect against unauthorized use. If key is removed, the saw can not be turned on. (FIG 15)
1.To turn the saw ON, insert the safety key into the switch (1), Pull the bottom end of switch upward to the ON position.
2.To turn the saw OFF, push the switch downward to the OFF position.
3.To lock the switch in the OFF position, remove the safety key.
3
FIG. 15
1 | 2 |
|
NOTE: If safety key is removed during the operation, the saw may be turned off, but can not be
OVERLOAD RESET SWITCH
![]() Warning: To prevent accidental startup if overload reset switch is pushed, the ON/OFF switch must be in the OFF position and plug should be removed from the power source while cooling down. Overheating may be caused by dull blade or misaligned parts. Inspect your saw for proper setup before using it again.
Warning: To prevent accidental startup if overload reset switch is pushed, the ON/OFF switch must be in the OFF position and plug should be removed from the power source while cooling down. Overheating may be caused by dull blade or misaligned parts. Inspect your saw for proper setup before using it again.
Your saw is equipped with an overload rest switch
1.Turn the ON/OFF switch to the OFF position
2.Wait about five minuets for the motor to cool down
3.Push in the reset button
4.Turn the ON/OFF switch to the ON position
SAWDUST PORT
The sawdust port is located at the back side of the saw base. A dust collection system can be attached to this port to help remove sawdust from the work area.
PUSH STICK AND PUSH BLOCK
A plastic push stick is supplied for rip cutting widths of 2” to 6”
Use auxiliary fence and push block for rip cutting widths narrower than 2”. When ripping, apply the feed force to the section of the work piece between the saw blade and the rip fence.
10" Table Saw |
|
Operator’s Manual | GTS10S |