Additional Features | | Supports @BIOS |
| Supports EasyTune 5 (Note 3) | |
Overclocking | Over Voltage via BIOS (CPU/ DDR/ VCC18/ VCC12/ AGP) | |
| Over Clock via BIOS (CPU/ PCI) | |
Form Factor | | ATX form factor; 29.4cm x 21.0cm |
(Note 1) Due to standard PC architecture, a certain amount of memory is reserved for system usage and therefore the actual memory size is less than the stated amount.
For example, 4 GB of memory size will instead be shown as 3.xxGB memory during system startup.
(Note 2) To set up an 8 channel audio configuration, you must use Audio Combo Kit (optional device). (Note 3) EasyTune 5 functions may vary depending on different motherboards.
1-3 Installation of the CPU and Heatsink
Before installing the CPU, please comply with the following conditions:
1.Please make sure that the motherboard supports the CPU.
2. Please take note of the one indented corner of the CPU. If you install the CPU in the wrong direction, the CPU will not insert properly. If this occurs, please change the insert direction of the CPU.
3.Please add an even layer of heat sink paste between the CPU and heatsink.
4.Please make sure the heatsink is installed on the CPU prior to system use, otherwise overheating and permanent damage of the CPU may occur.
5.Please set the CPU host frequency in accordance with the processor specifications. It is not recommended that the system bus frequency be set beyond hardware specifications since it does not meet the required standards for the peripherals. If you wish to set the frequency beyond the proper specifications, please do so according to your hardware specifications including the CPU, graphics card, memory, hard drive, etc.
1-3-1 Installation of the CPU
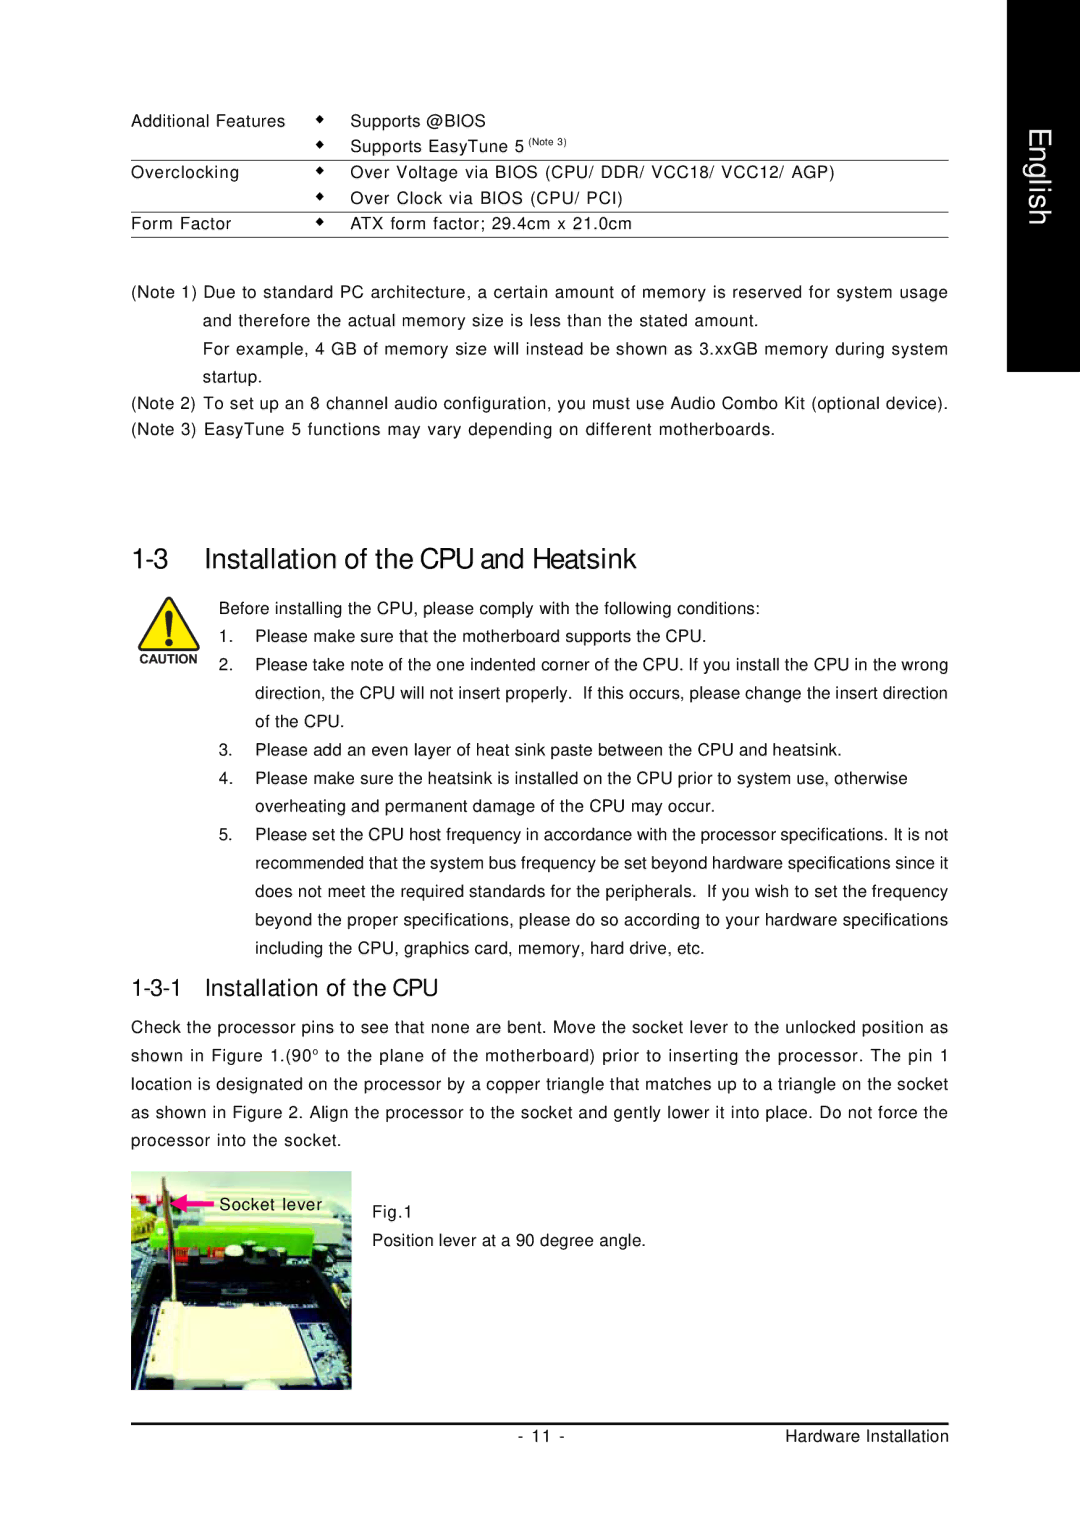
Check the processor pins to see that none are bent. Move the socket lever to the unlocked position as shown in Figure 1.(90o to the plane of the motherboard) prior to inserting the processor. The pin 1 location is designated on the processor by a copper triangle that matches up to a triangle on the socket as shown in Figure 2. Align the processor to the socket and gently lower it into place. Do not force the processor into the socket.
Socket lever | Fig.1 |
| |
| Position lever at a 90 degree angle. |
English
- 11 - | Hardware Installation |